Manage Content Planner templates
Templates let you create reusable structures for content pages in a project. Use the Templates page to create, import, review and manage your project’s templates.
Before you begin
Availability: Content Planner templates are available during the 14-day free trial and on Pro, Team and Agency plans. The Basic plan does not include Content Planner.
Only the account owner, an admin or a project manager can create, import, edit, clone or delete templates.
Open the Templates page
- Open the map where you want to manage templates.
- Select Content in the main navigation.
- Select Templates from the secondary navigation.
The secondary navigation also includes Overview, Calendar and Statuses.
The Templates page is where you view and manage the templates in the current project. The Template Editor is the separate workspace that opens when you create or edit one template.
Understand the Templates page
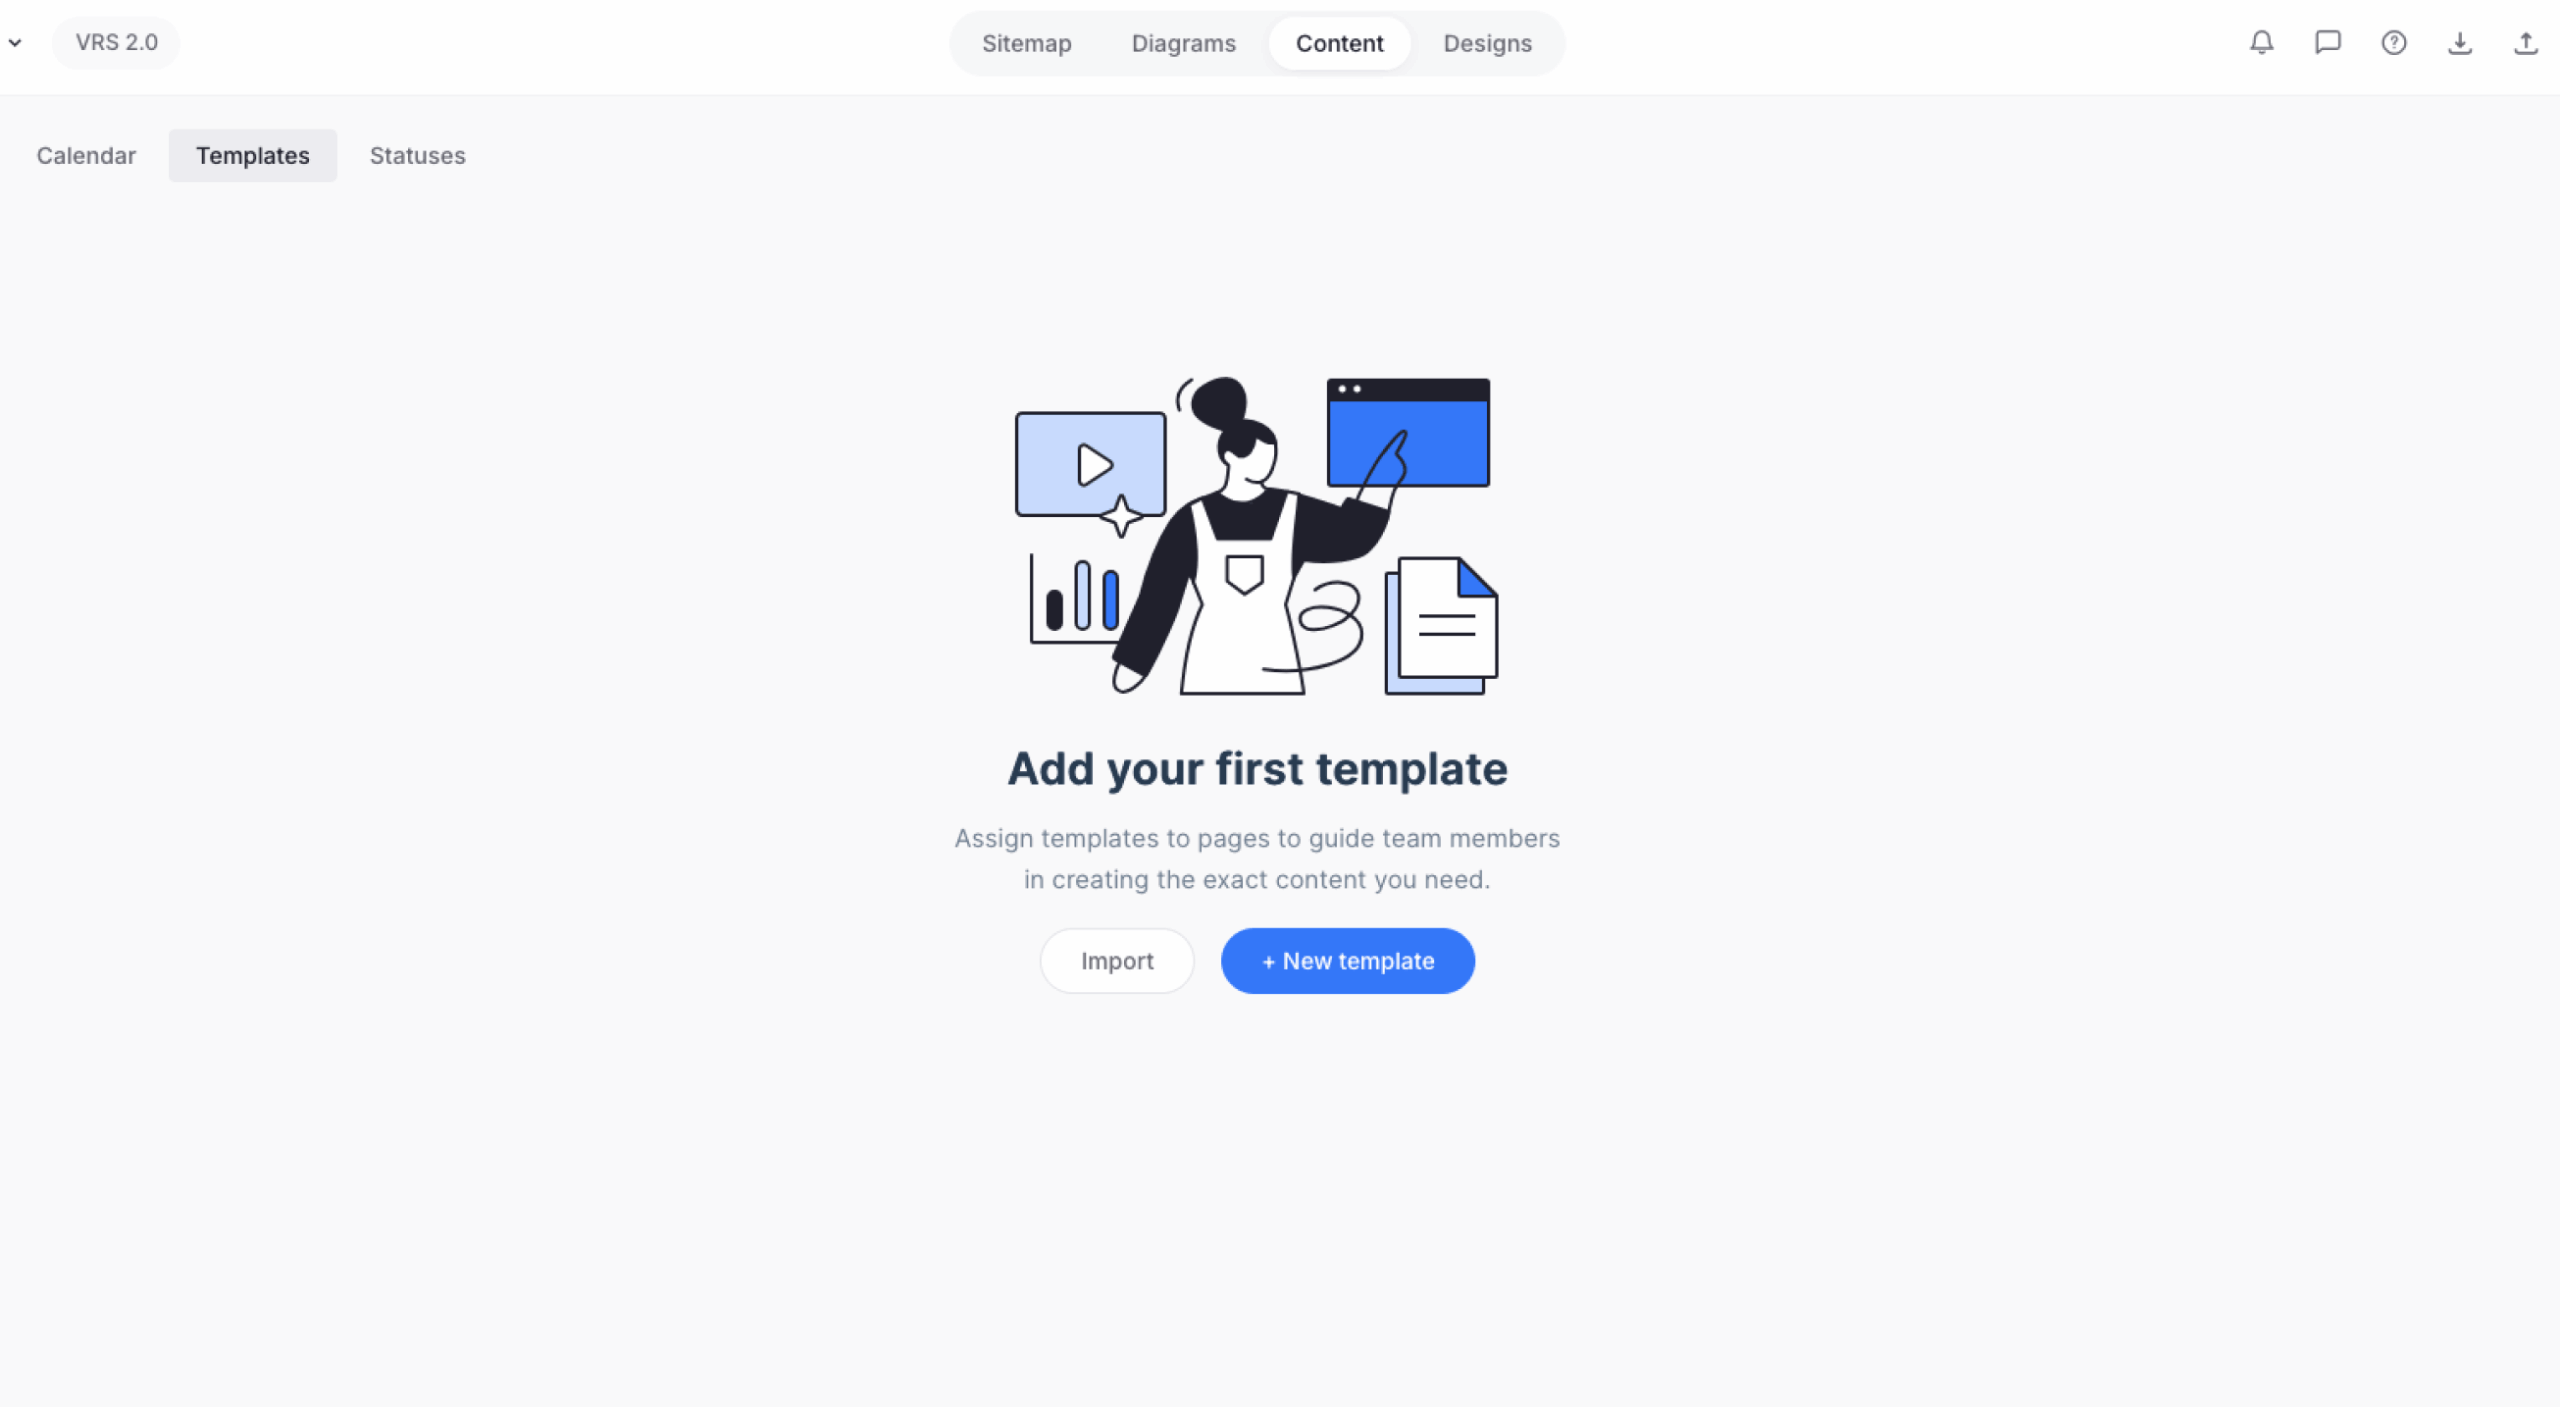
Empty Templates page
If the project does not contain any templates, the page shows two actions in the upper-right corner:
- Import lets you duplicate templates from another project or add Slickplan’s default templates.
- New Template lets you create a template from scratch.
Template information
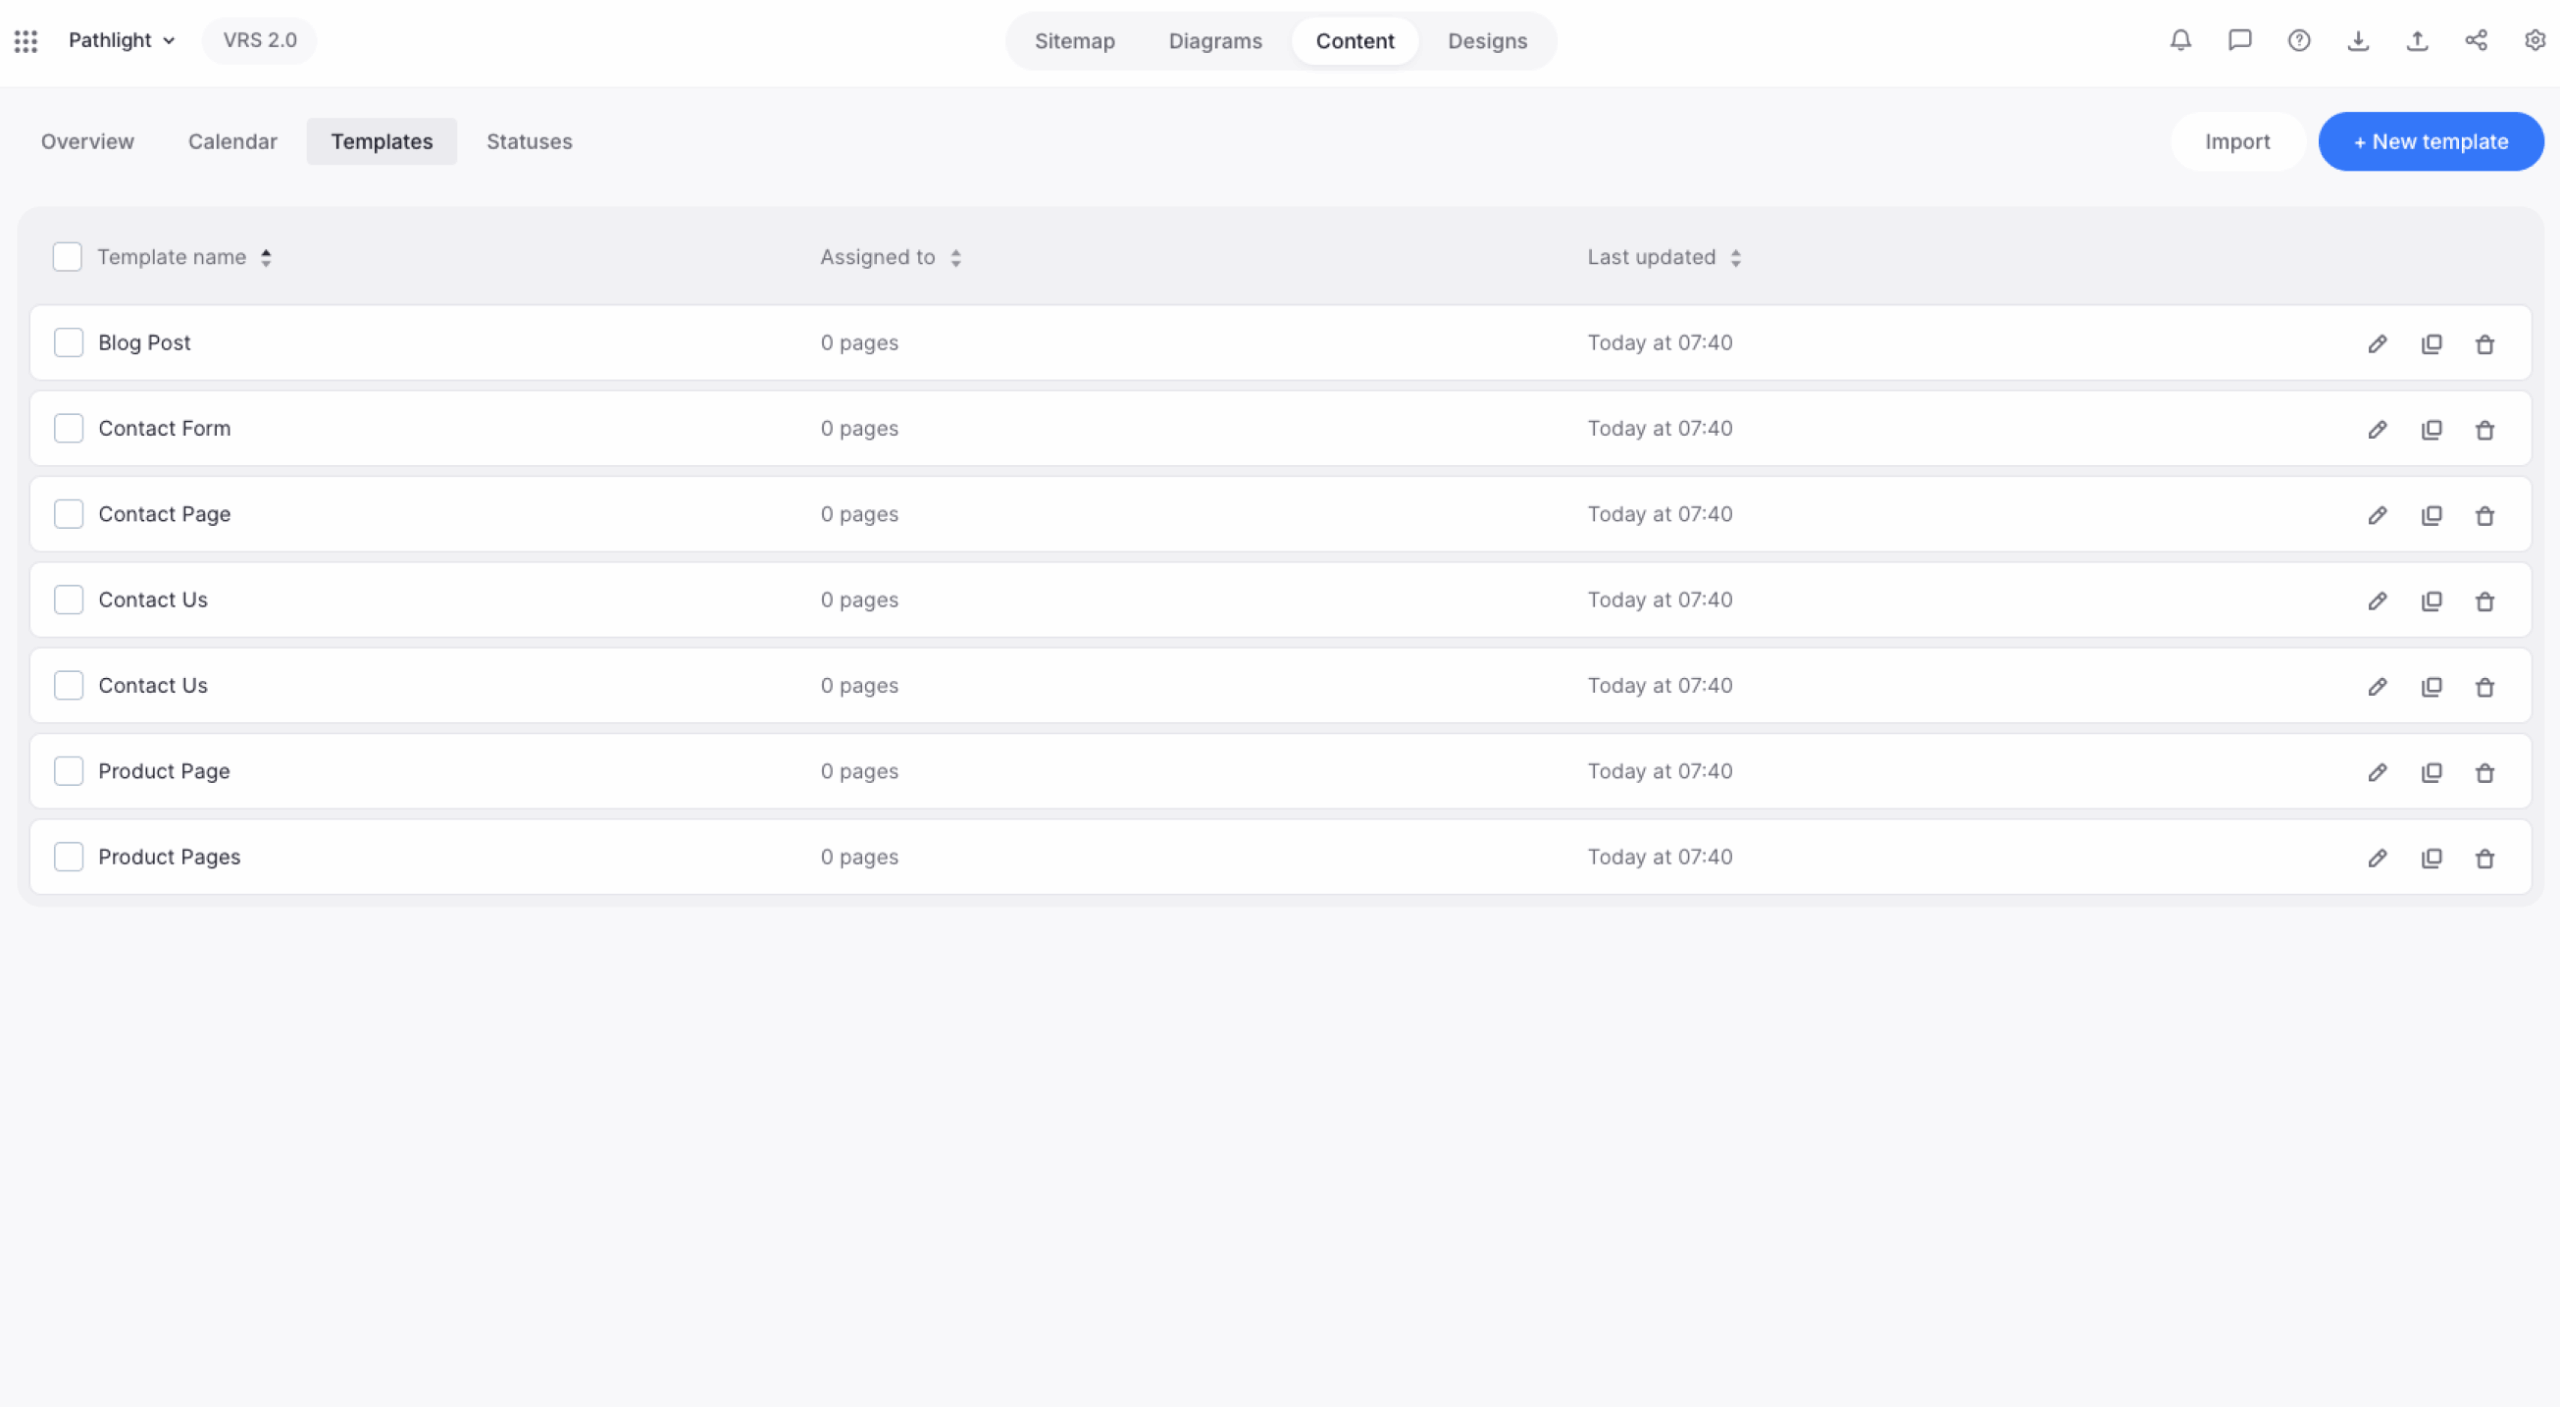
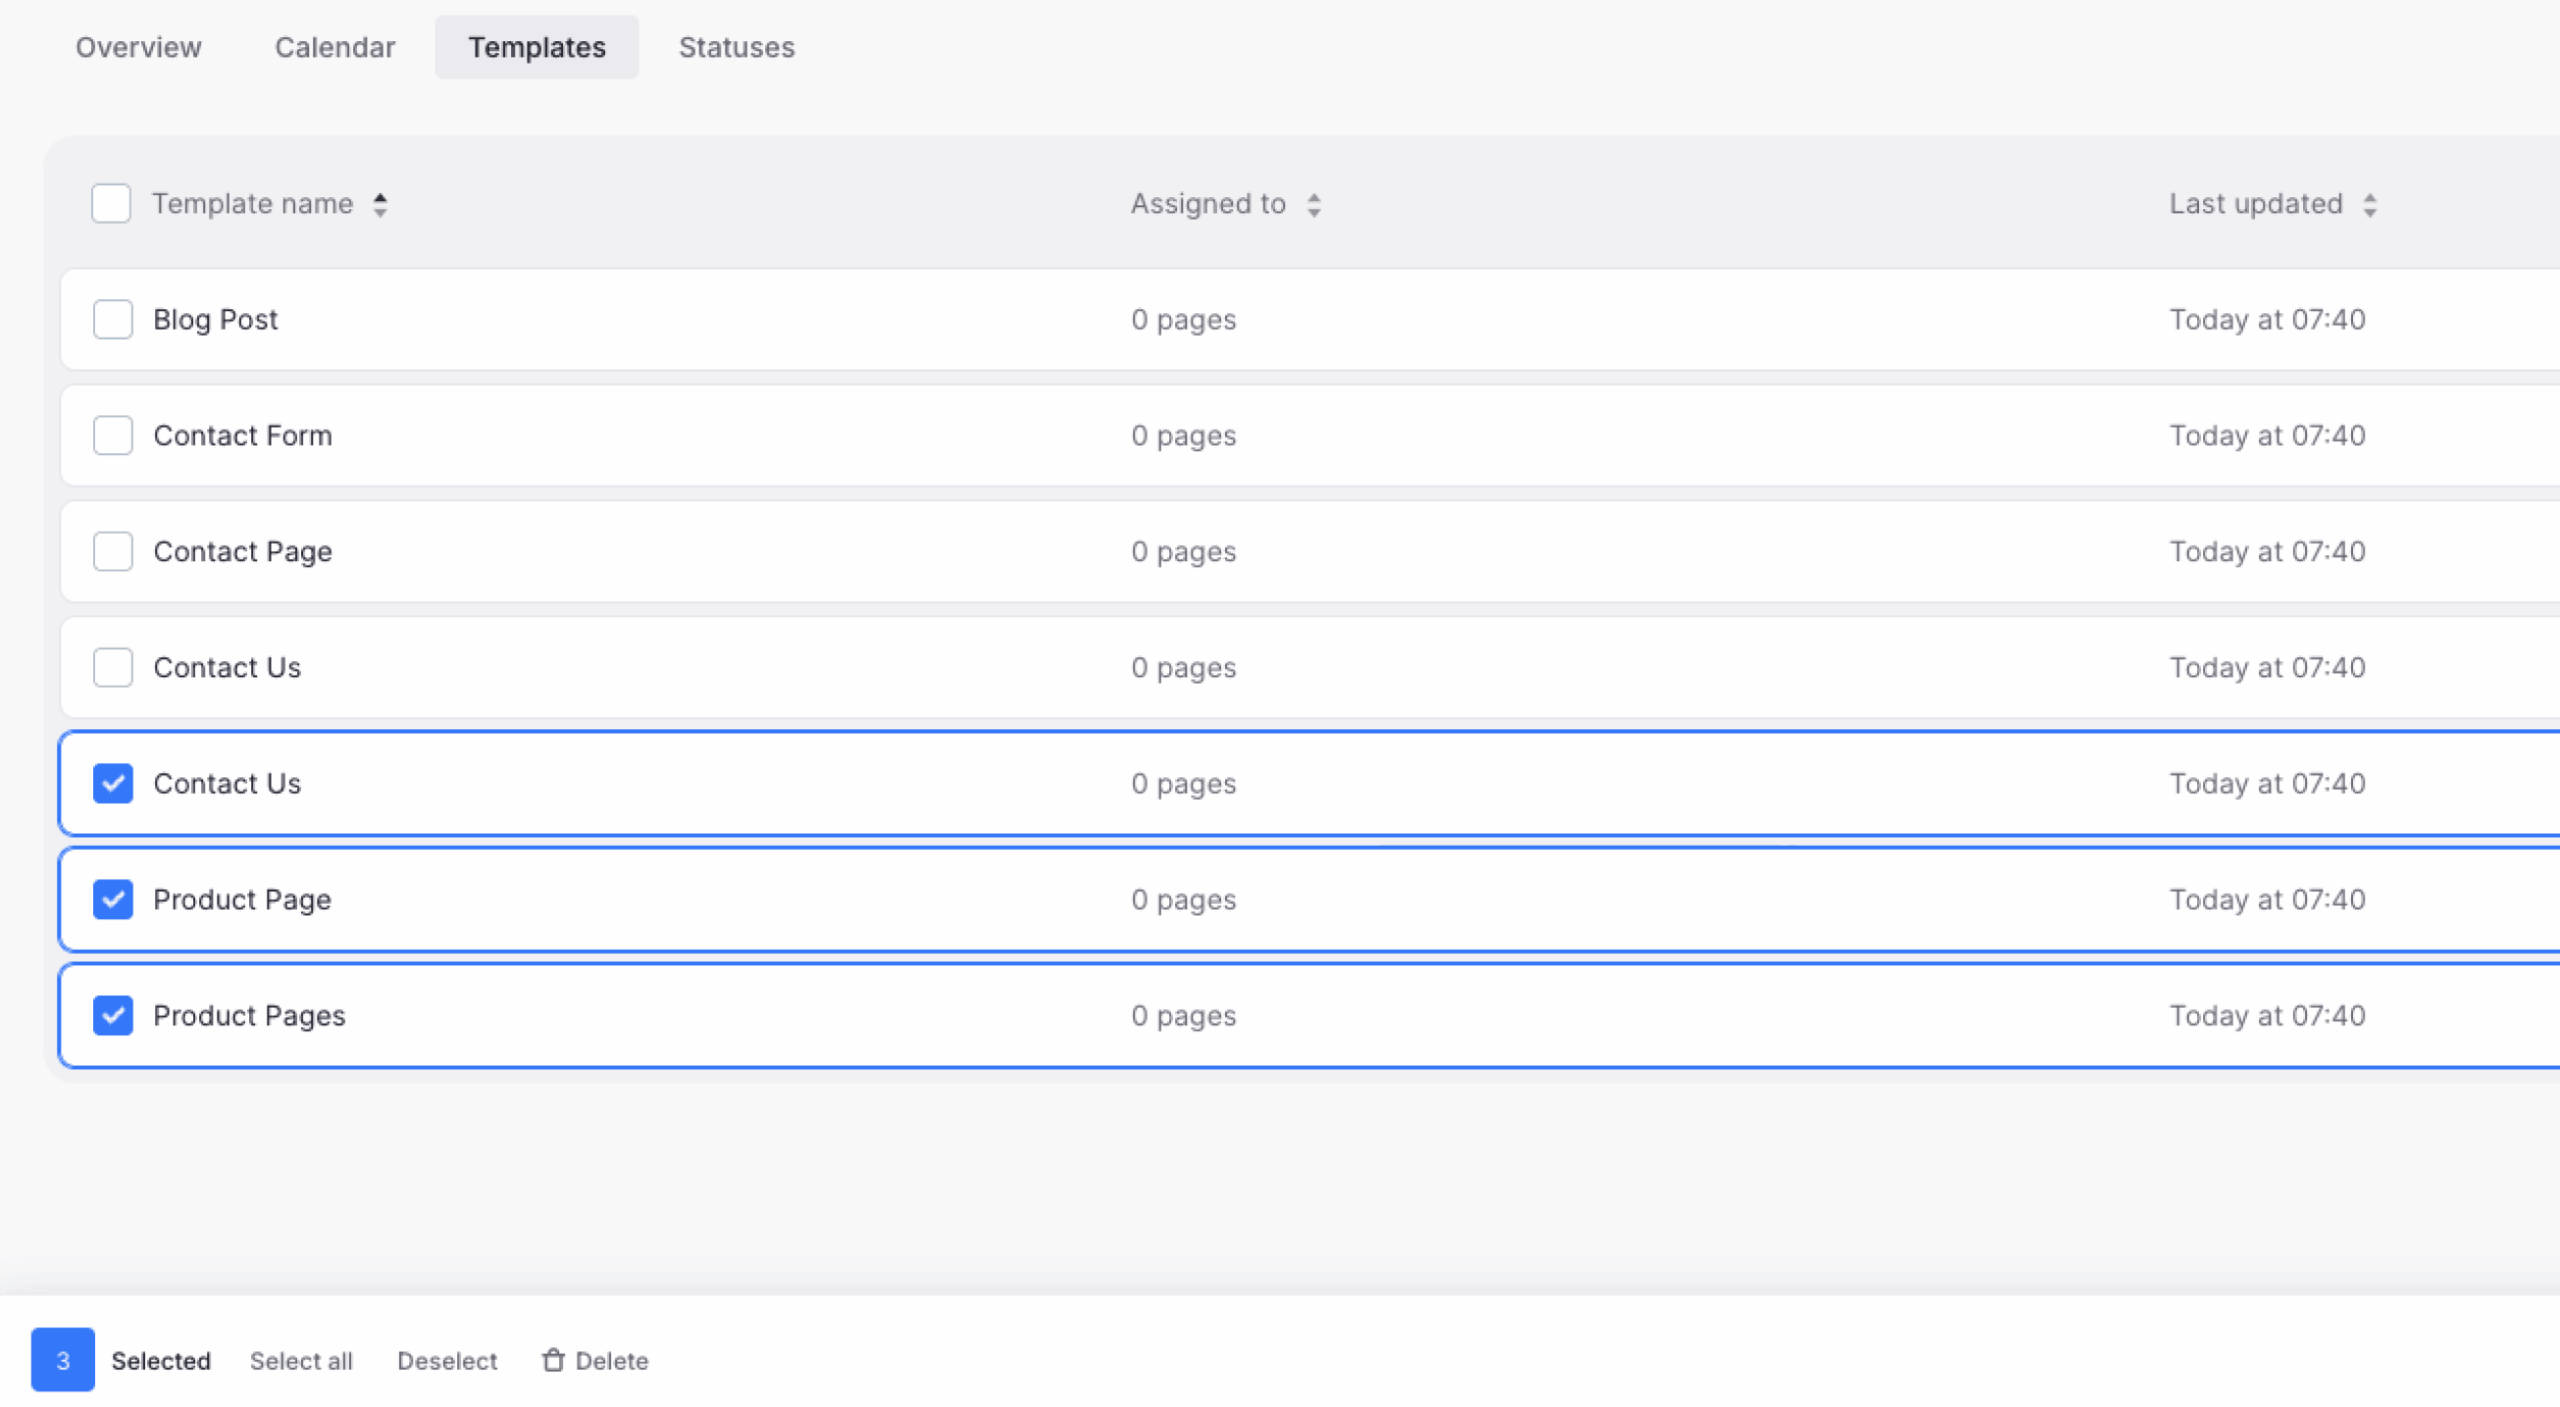
When templates exist, each template appears in a row. The table shows:
- The template name
- Assigned to, which shows how many pages use the template
- Last updated, which shows when the template was most recently changed
Each row also includes Edit, Clone and Delete actions.
Sort templates
Use the arrows beside a column heading to sort the table. You can sort templates by:
- Template name in alphabetical or reverse-alphabetical order
- Assigned to in ascending or descending order by the number of assigned pages
- Last updated from older to newer updates or from newer to older updates
Select the arrows again to reverse the current order.
Create a template
- Select New Template.
- Enter the template name.
- Select Add.
The Template Editor opens. Use the content blocks on the left to build the reusable page structure. The available blocks are Text, Image, Video, Document, Table, Note, Form and Code.
At the top of the Template Editor, you can return using Back to Templates, open the template-name menu to Rename, Clone or Delete the template and check Template Applied To to see how many pages use it.
For instructions on arranging content blocks and adding guidance, see Building custom templates.
Import templates
Importing creates independent copies in the current project. Changes made to the imported templates do not affect the originals.
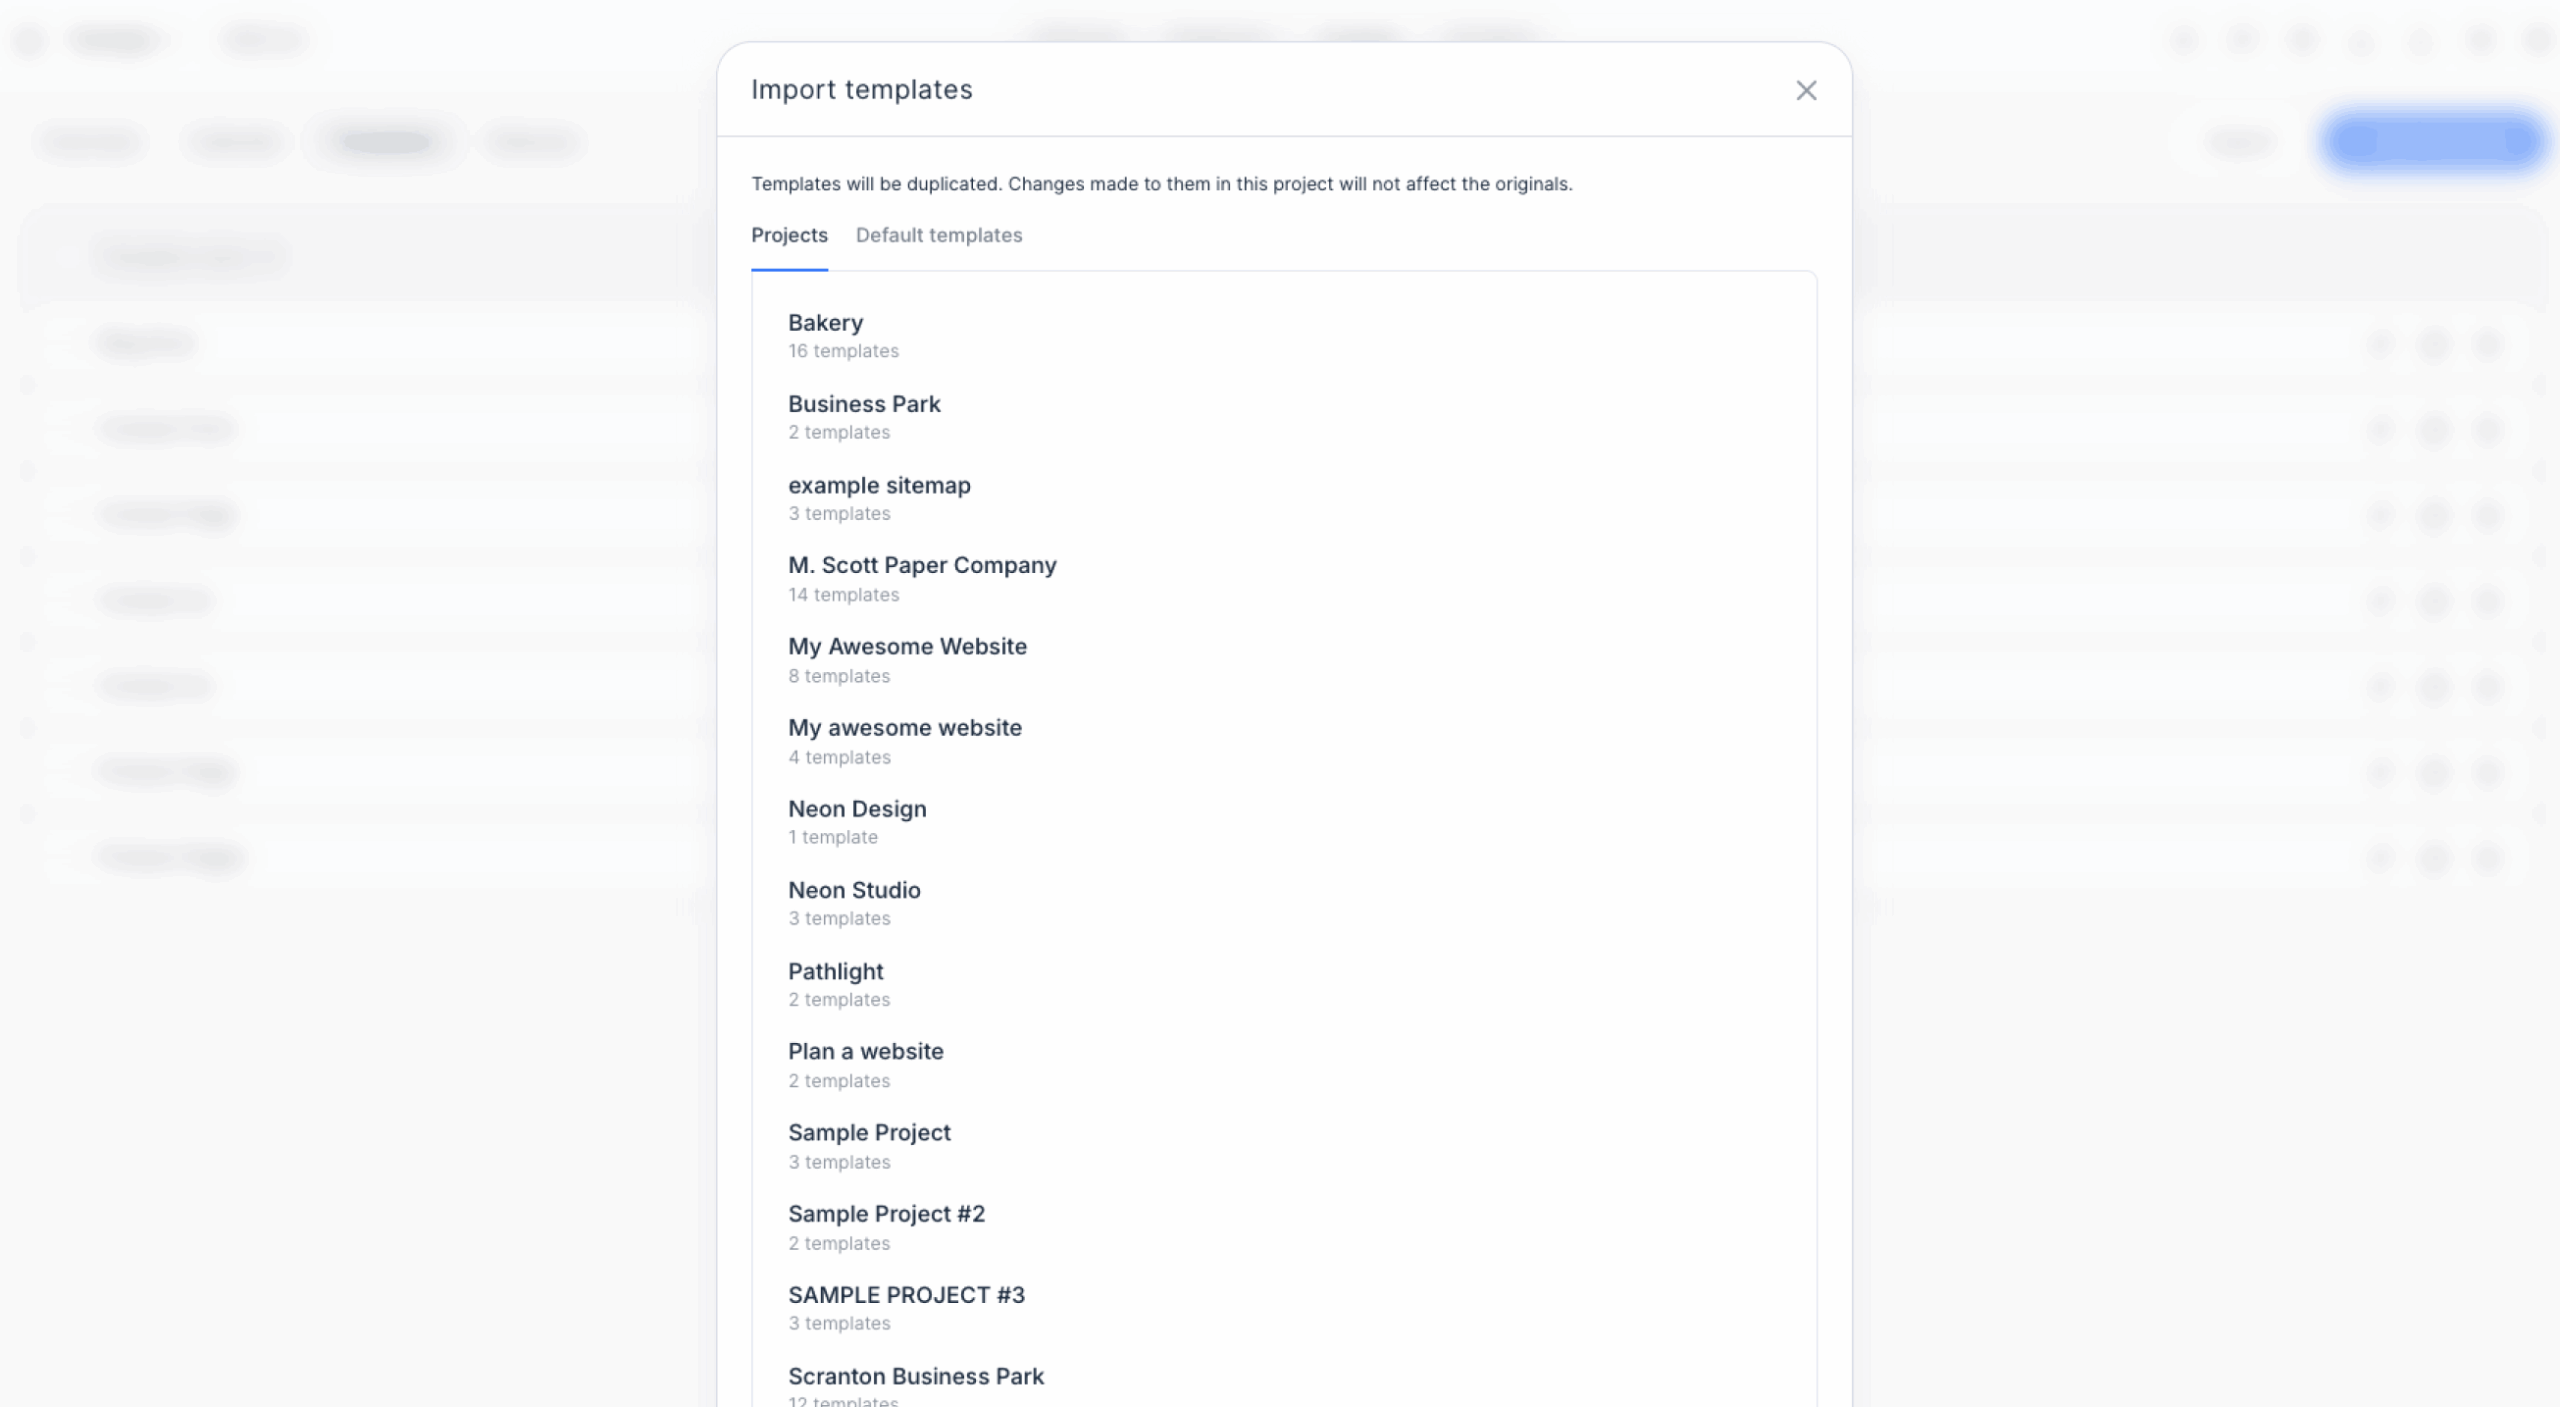
Import templates from another project
- Select Import.
- In the Import Templates window, select Projects.
- Select a project in the left column.
- In the right column, select the checkboxes beside the templates you want to import.
- Select the Import button showing the number of selected templates, such as Import 4 templates.
The duplicated templates appear on the Templates page for the current project.
Import default templates
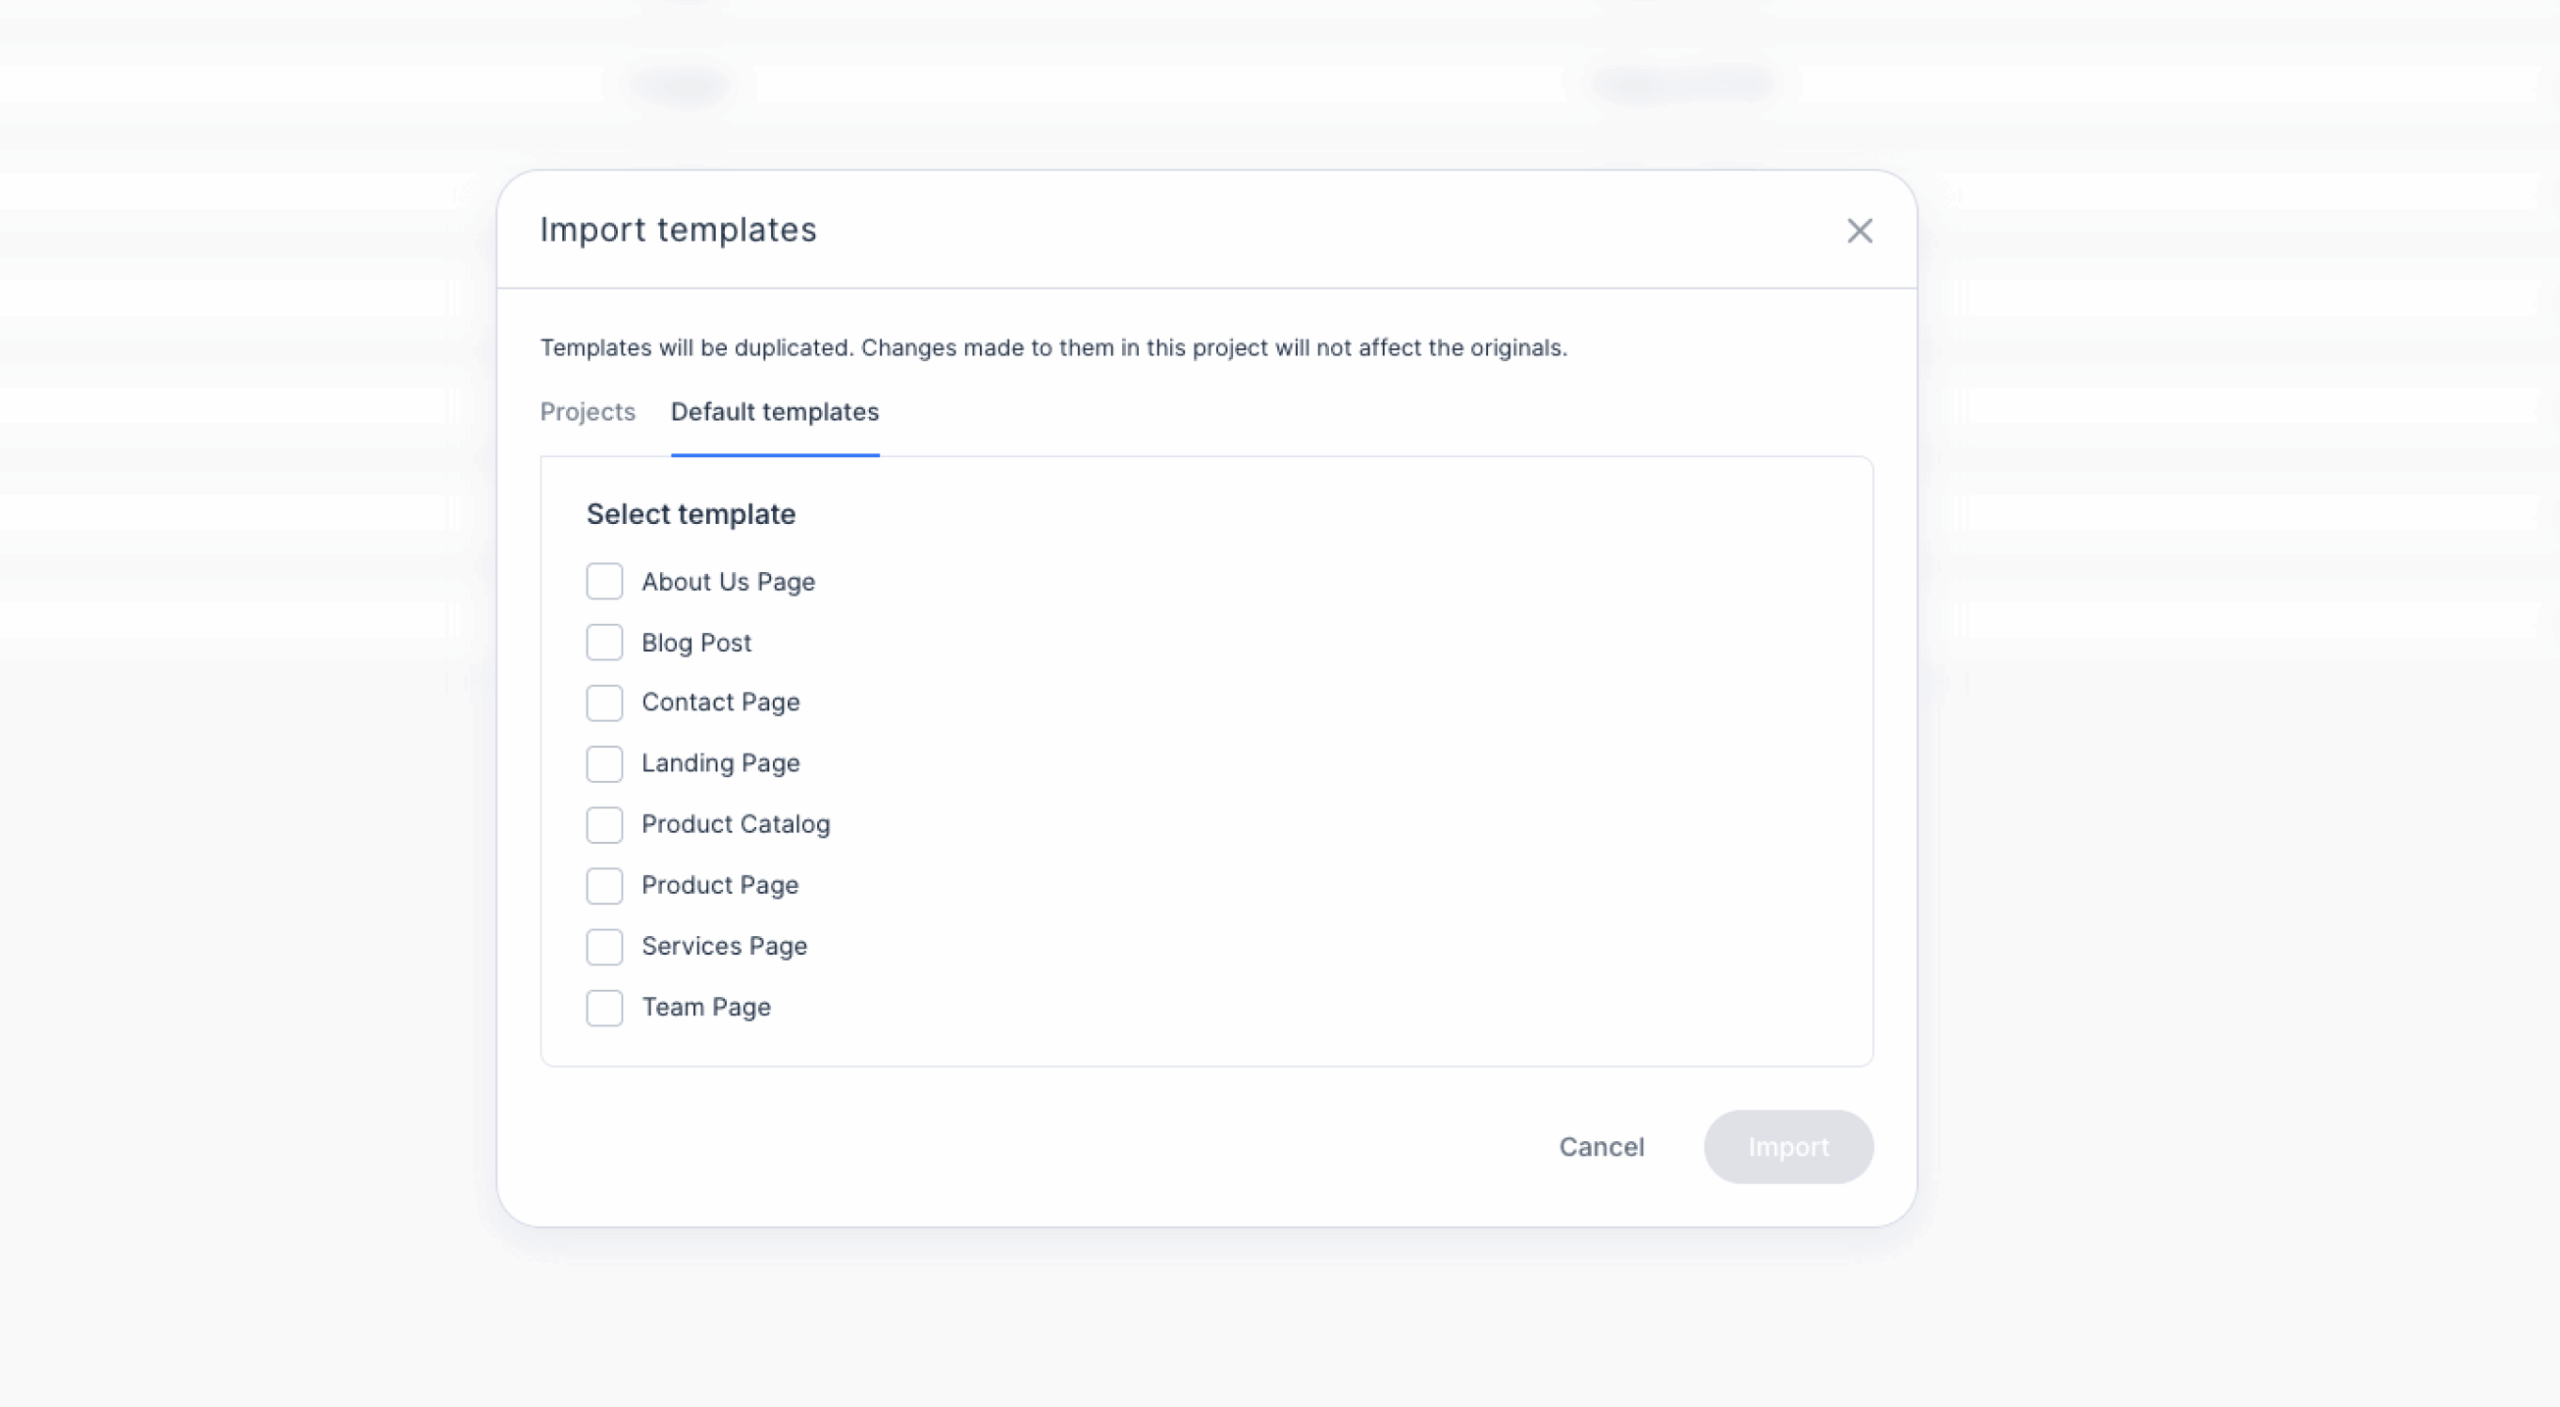
- Select Import.
- In the Import Templates window, select Default Templates.
- Select the checkboxes beside the default templates you want to add.
- Select the Import button showing the number of selected templates.
The imported templates appear on the Templates page and can be managed like other project templates.
Manage existing templates
Edit a template
Select Edit in the template row to open it in the Template Editor.
For instructions on editing its content blocks and guidance, see Building custom templates.
Clone a template
Select Clone to create a copy of an existing template.
Delete a template
Warning: Deleting a template is permanent. Content already added to pages using that template remains on those pages, but the template association and its structural restrictions are removed. The existing content becomes freely editable.
To delete one template:
- Select Delete in the template row.
- In the Delete template window, review the template name.
- Select Delete.
The template disappears from the Templates page.
Delete multiple templates
- Select the checkboxes beside the templates you want to delete.
- In the bottom action bar, review the selected-template count. You can also use Select All or Deselect to change the selection.
- Select Delete.
- In the Delete template window, review the list of selected templates and the number of pages using them.
- Select Delete.
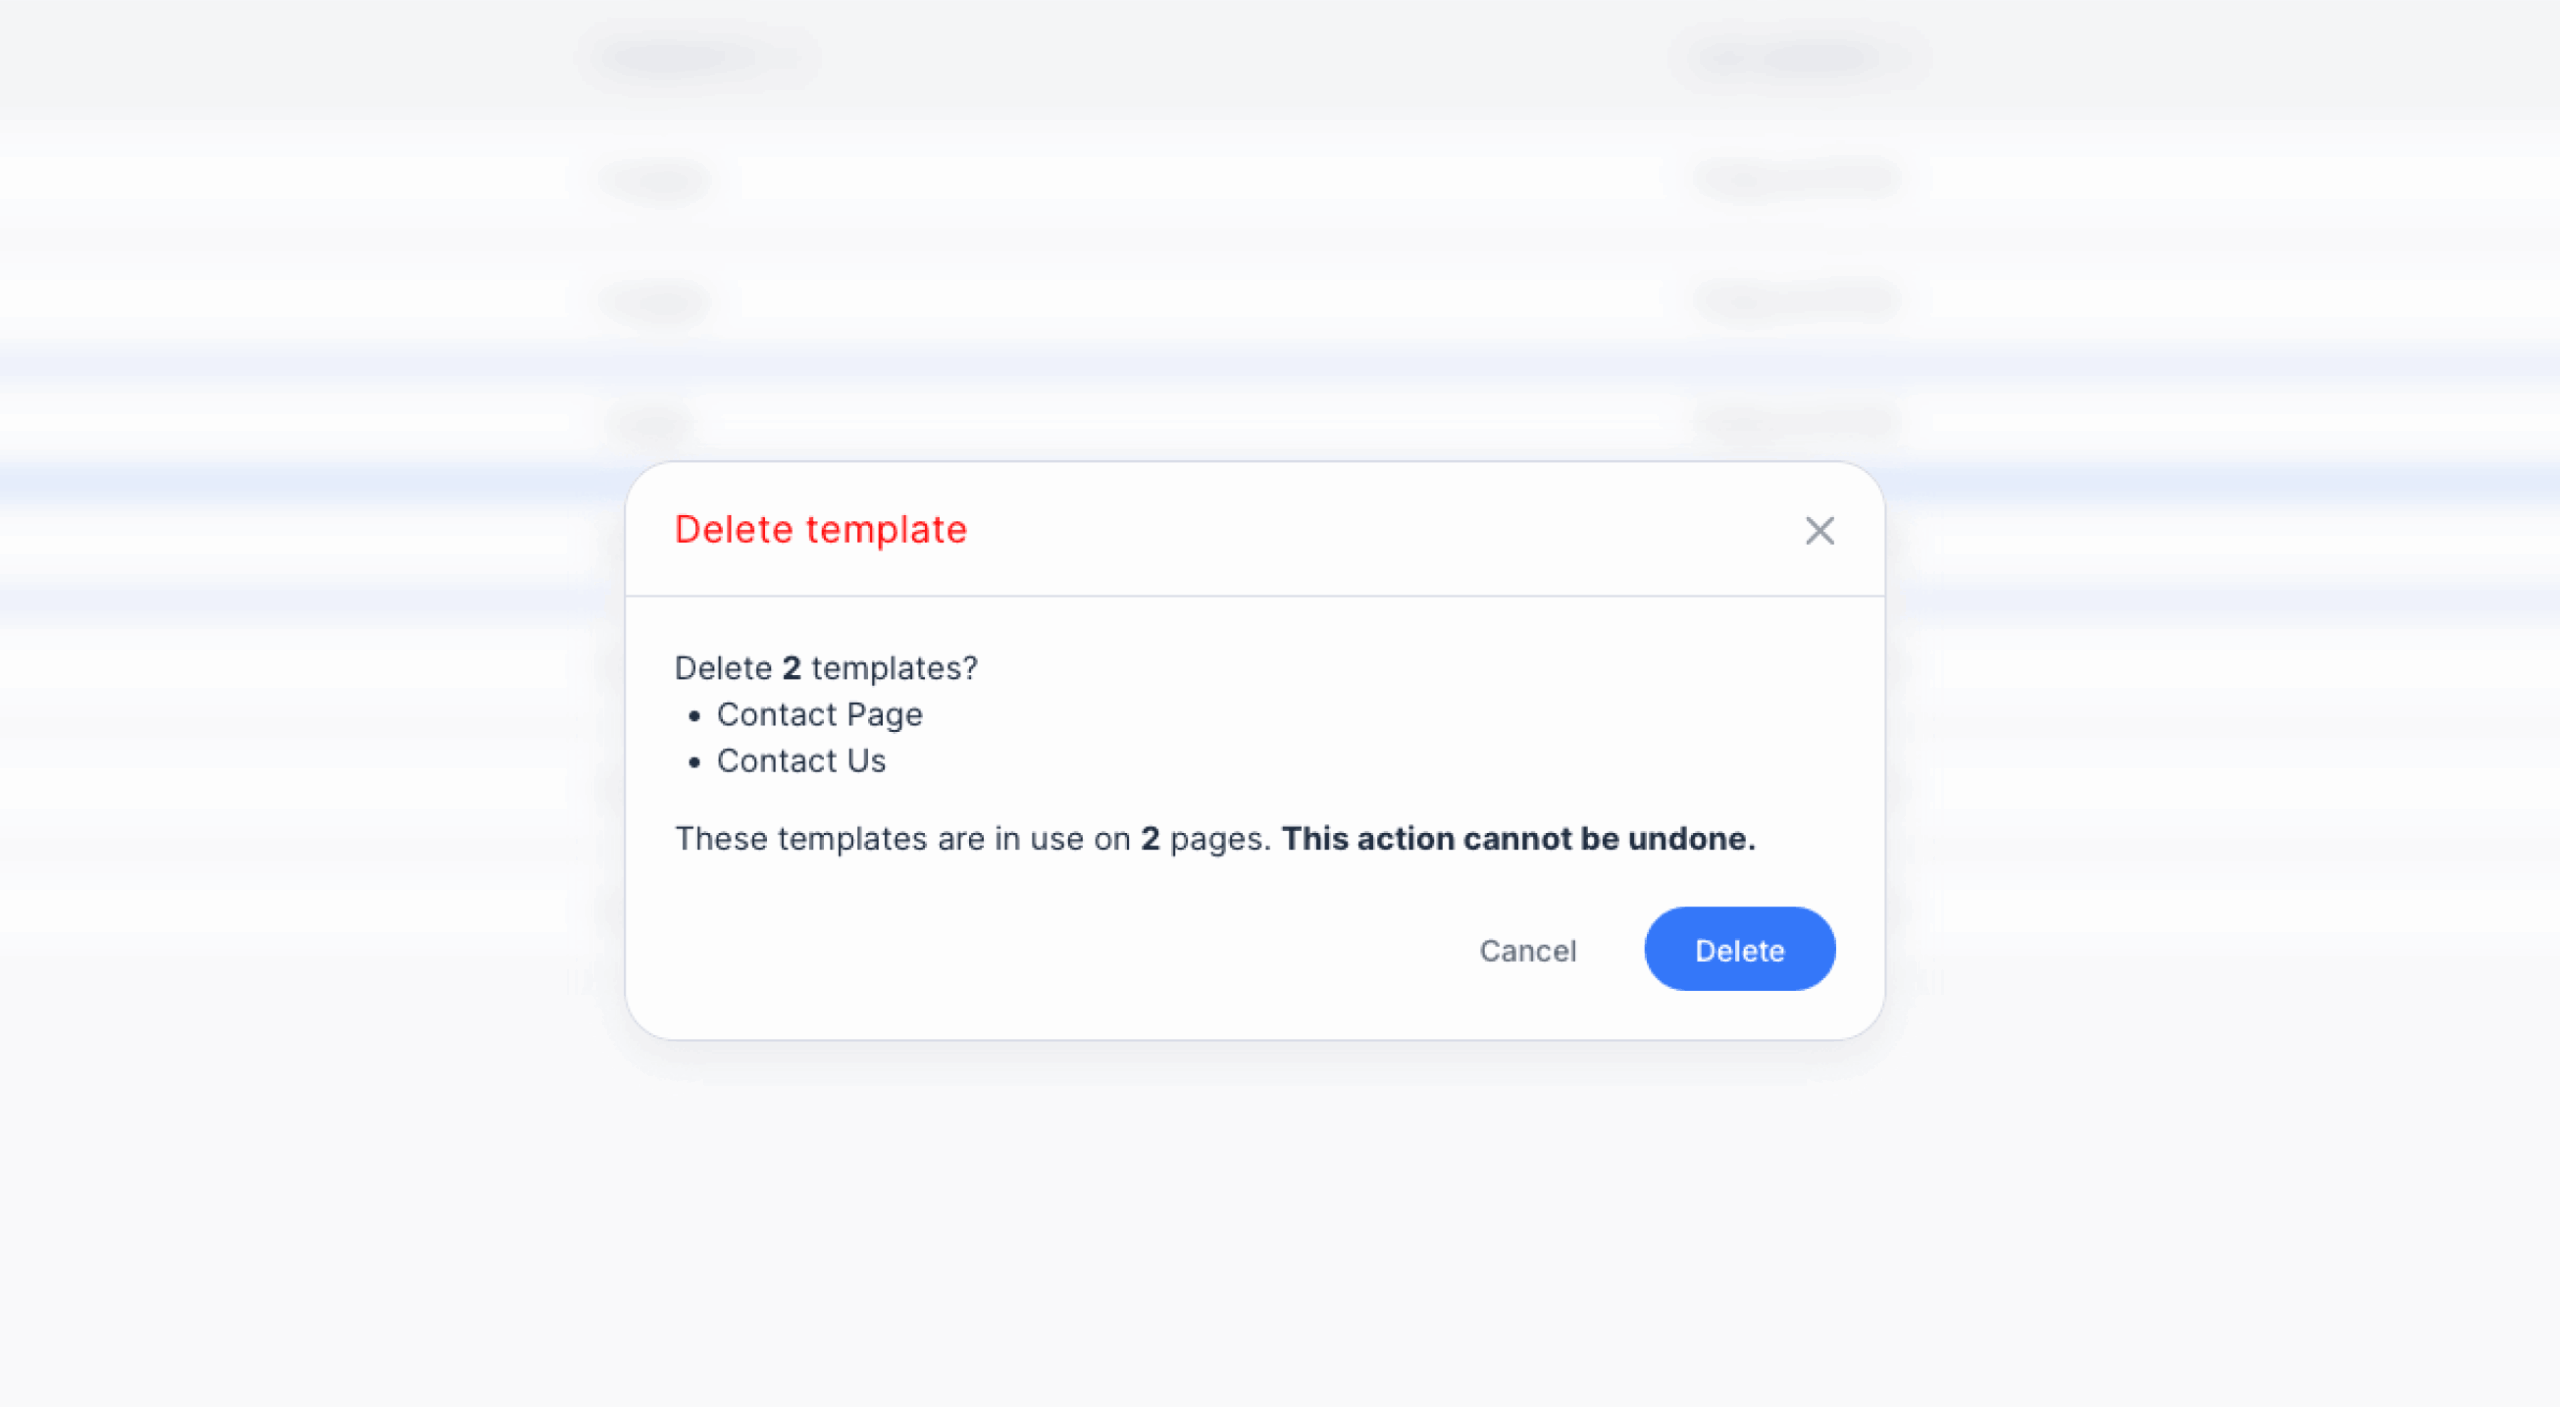
The selected templates disappear from the Templates page. This action cannot be undone, but content already added to pages using those templates remains available and becomes freely editable.
To apply a template to one or more pages, see Assigning templates to pages.