Add and customize table blocks

Slickplan allows you to insert and manage tables directly within your content pages to help organize information visually. This article explains how to add a table block, modify rows and columns, and merge cells.
Add a table block
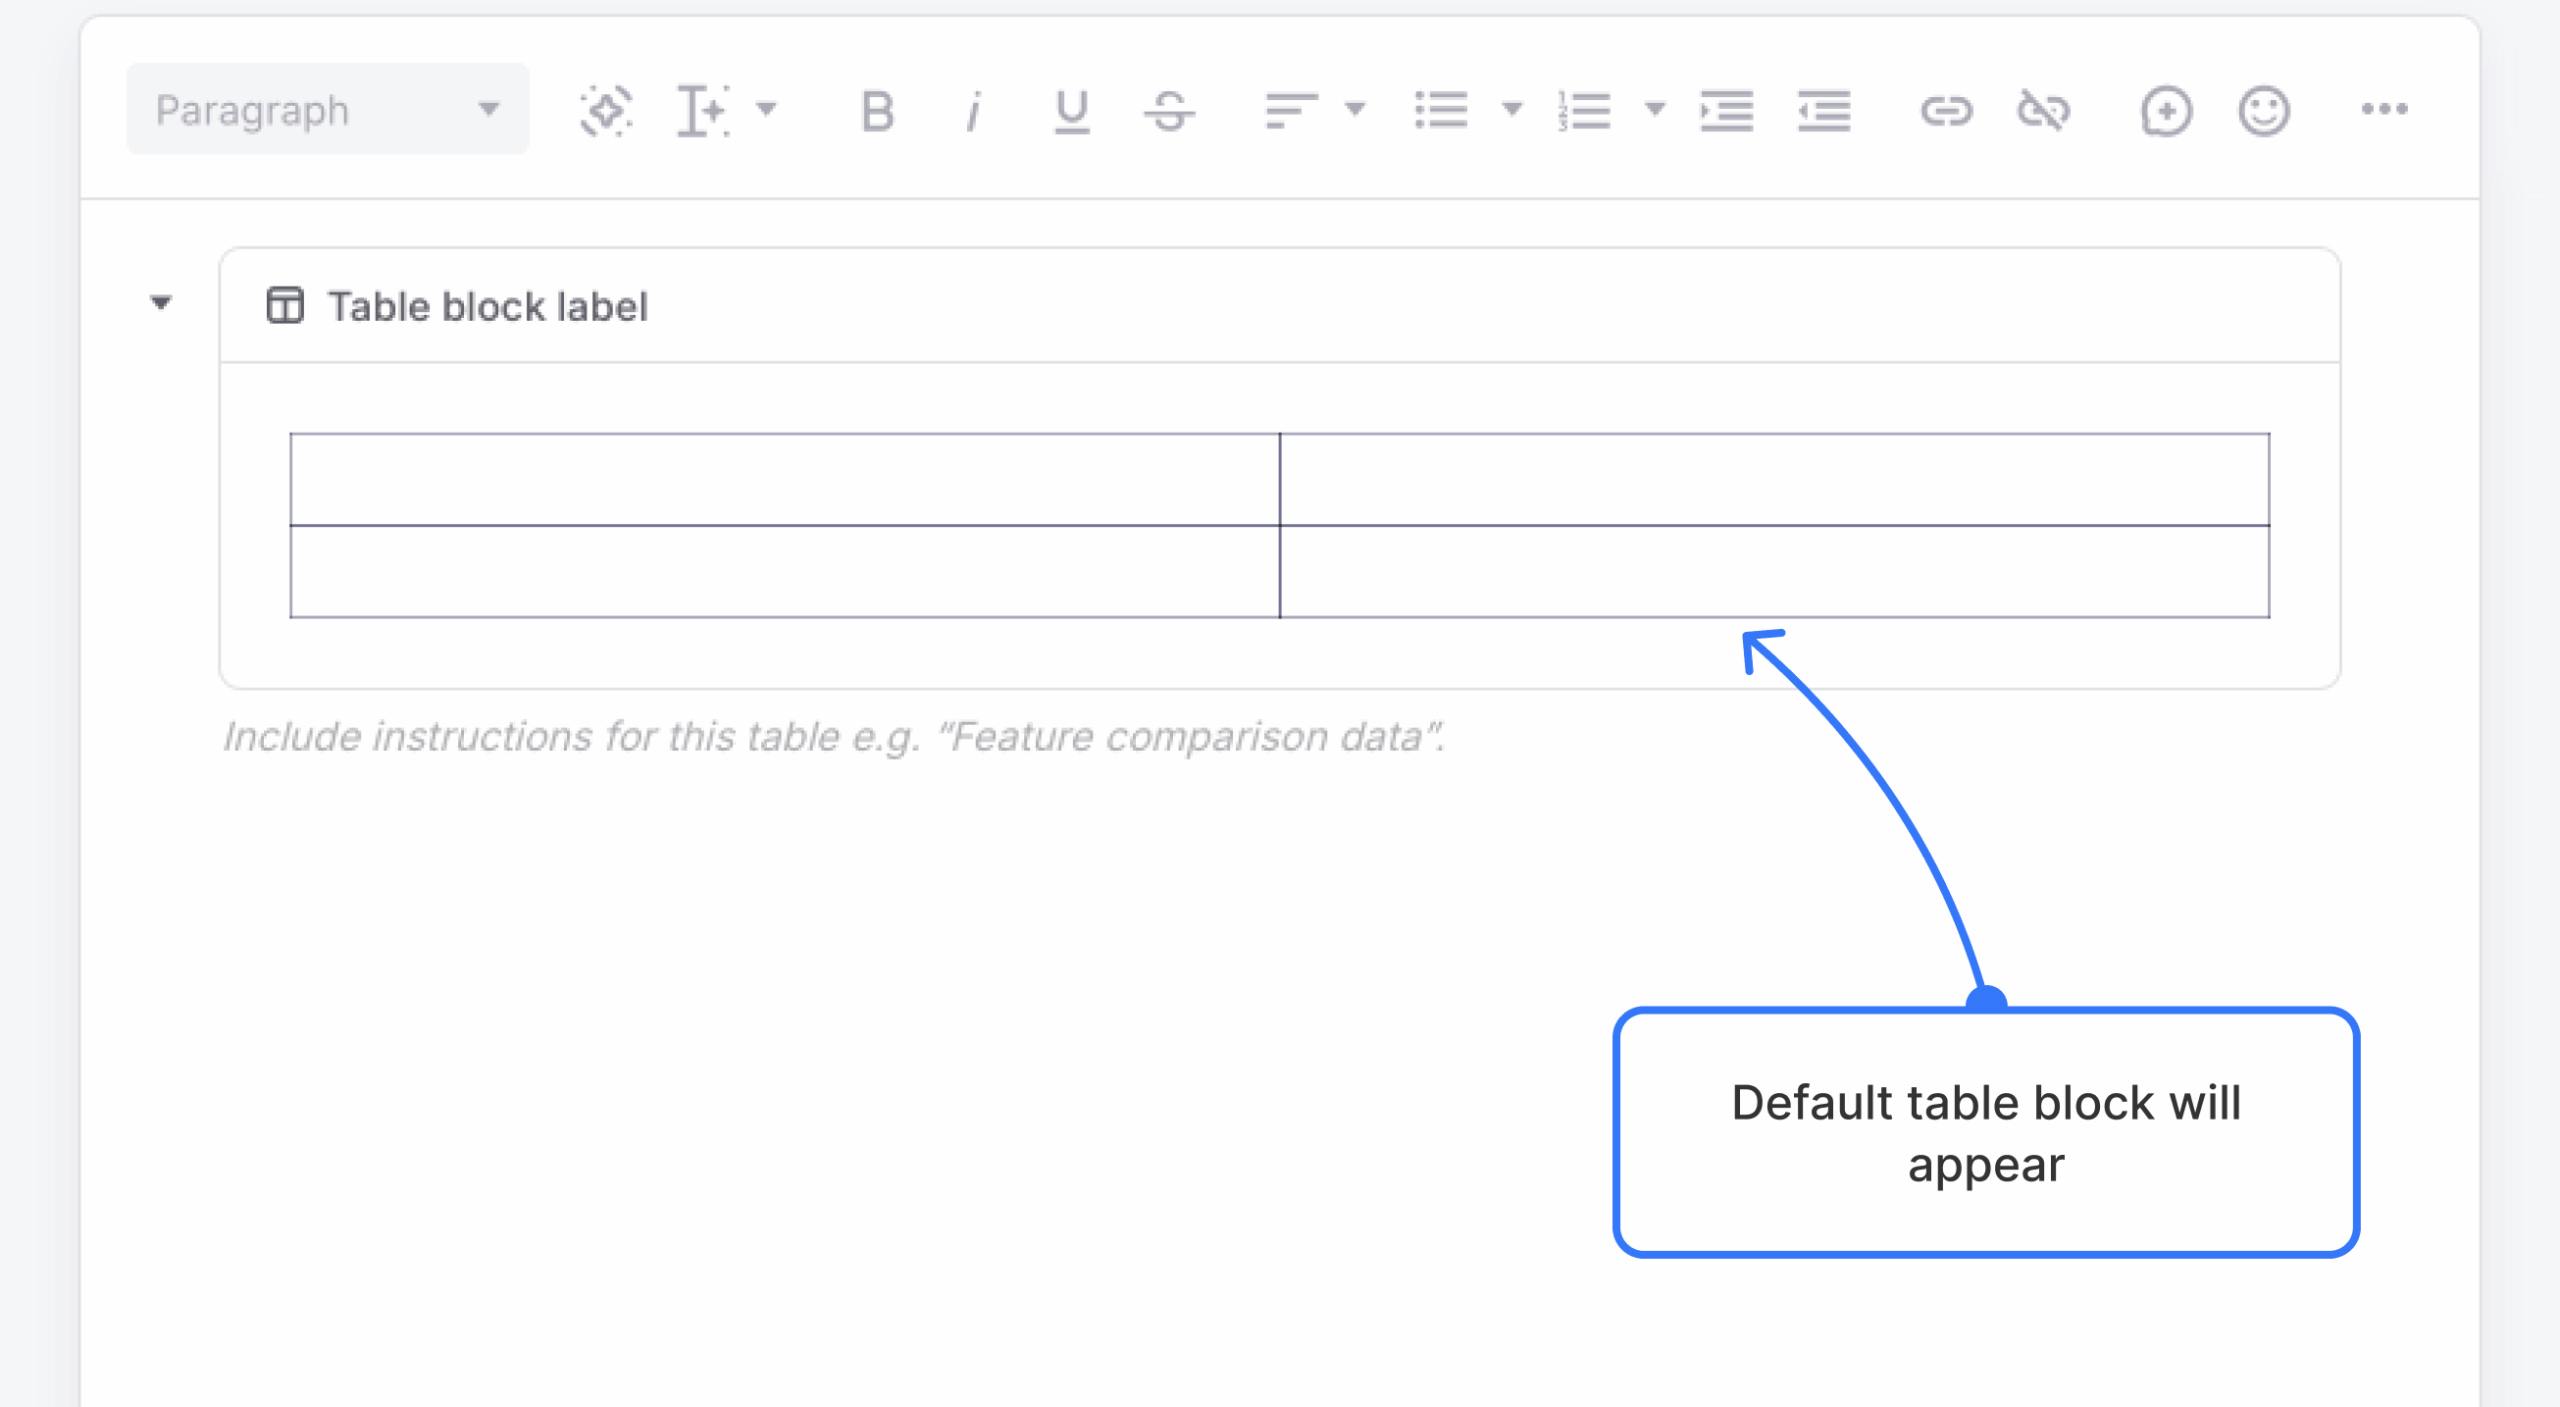
In the content editor, drag a table block from the left panel into your preferred spot on the page.
![]()
The table will appear with 2 rows and 2 columns by default.
Modify rows and columns
To make quick changes directly in the editor:
Hover your cursor over any table cell.
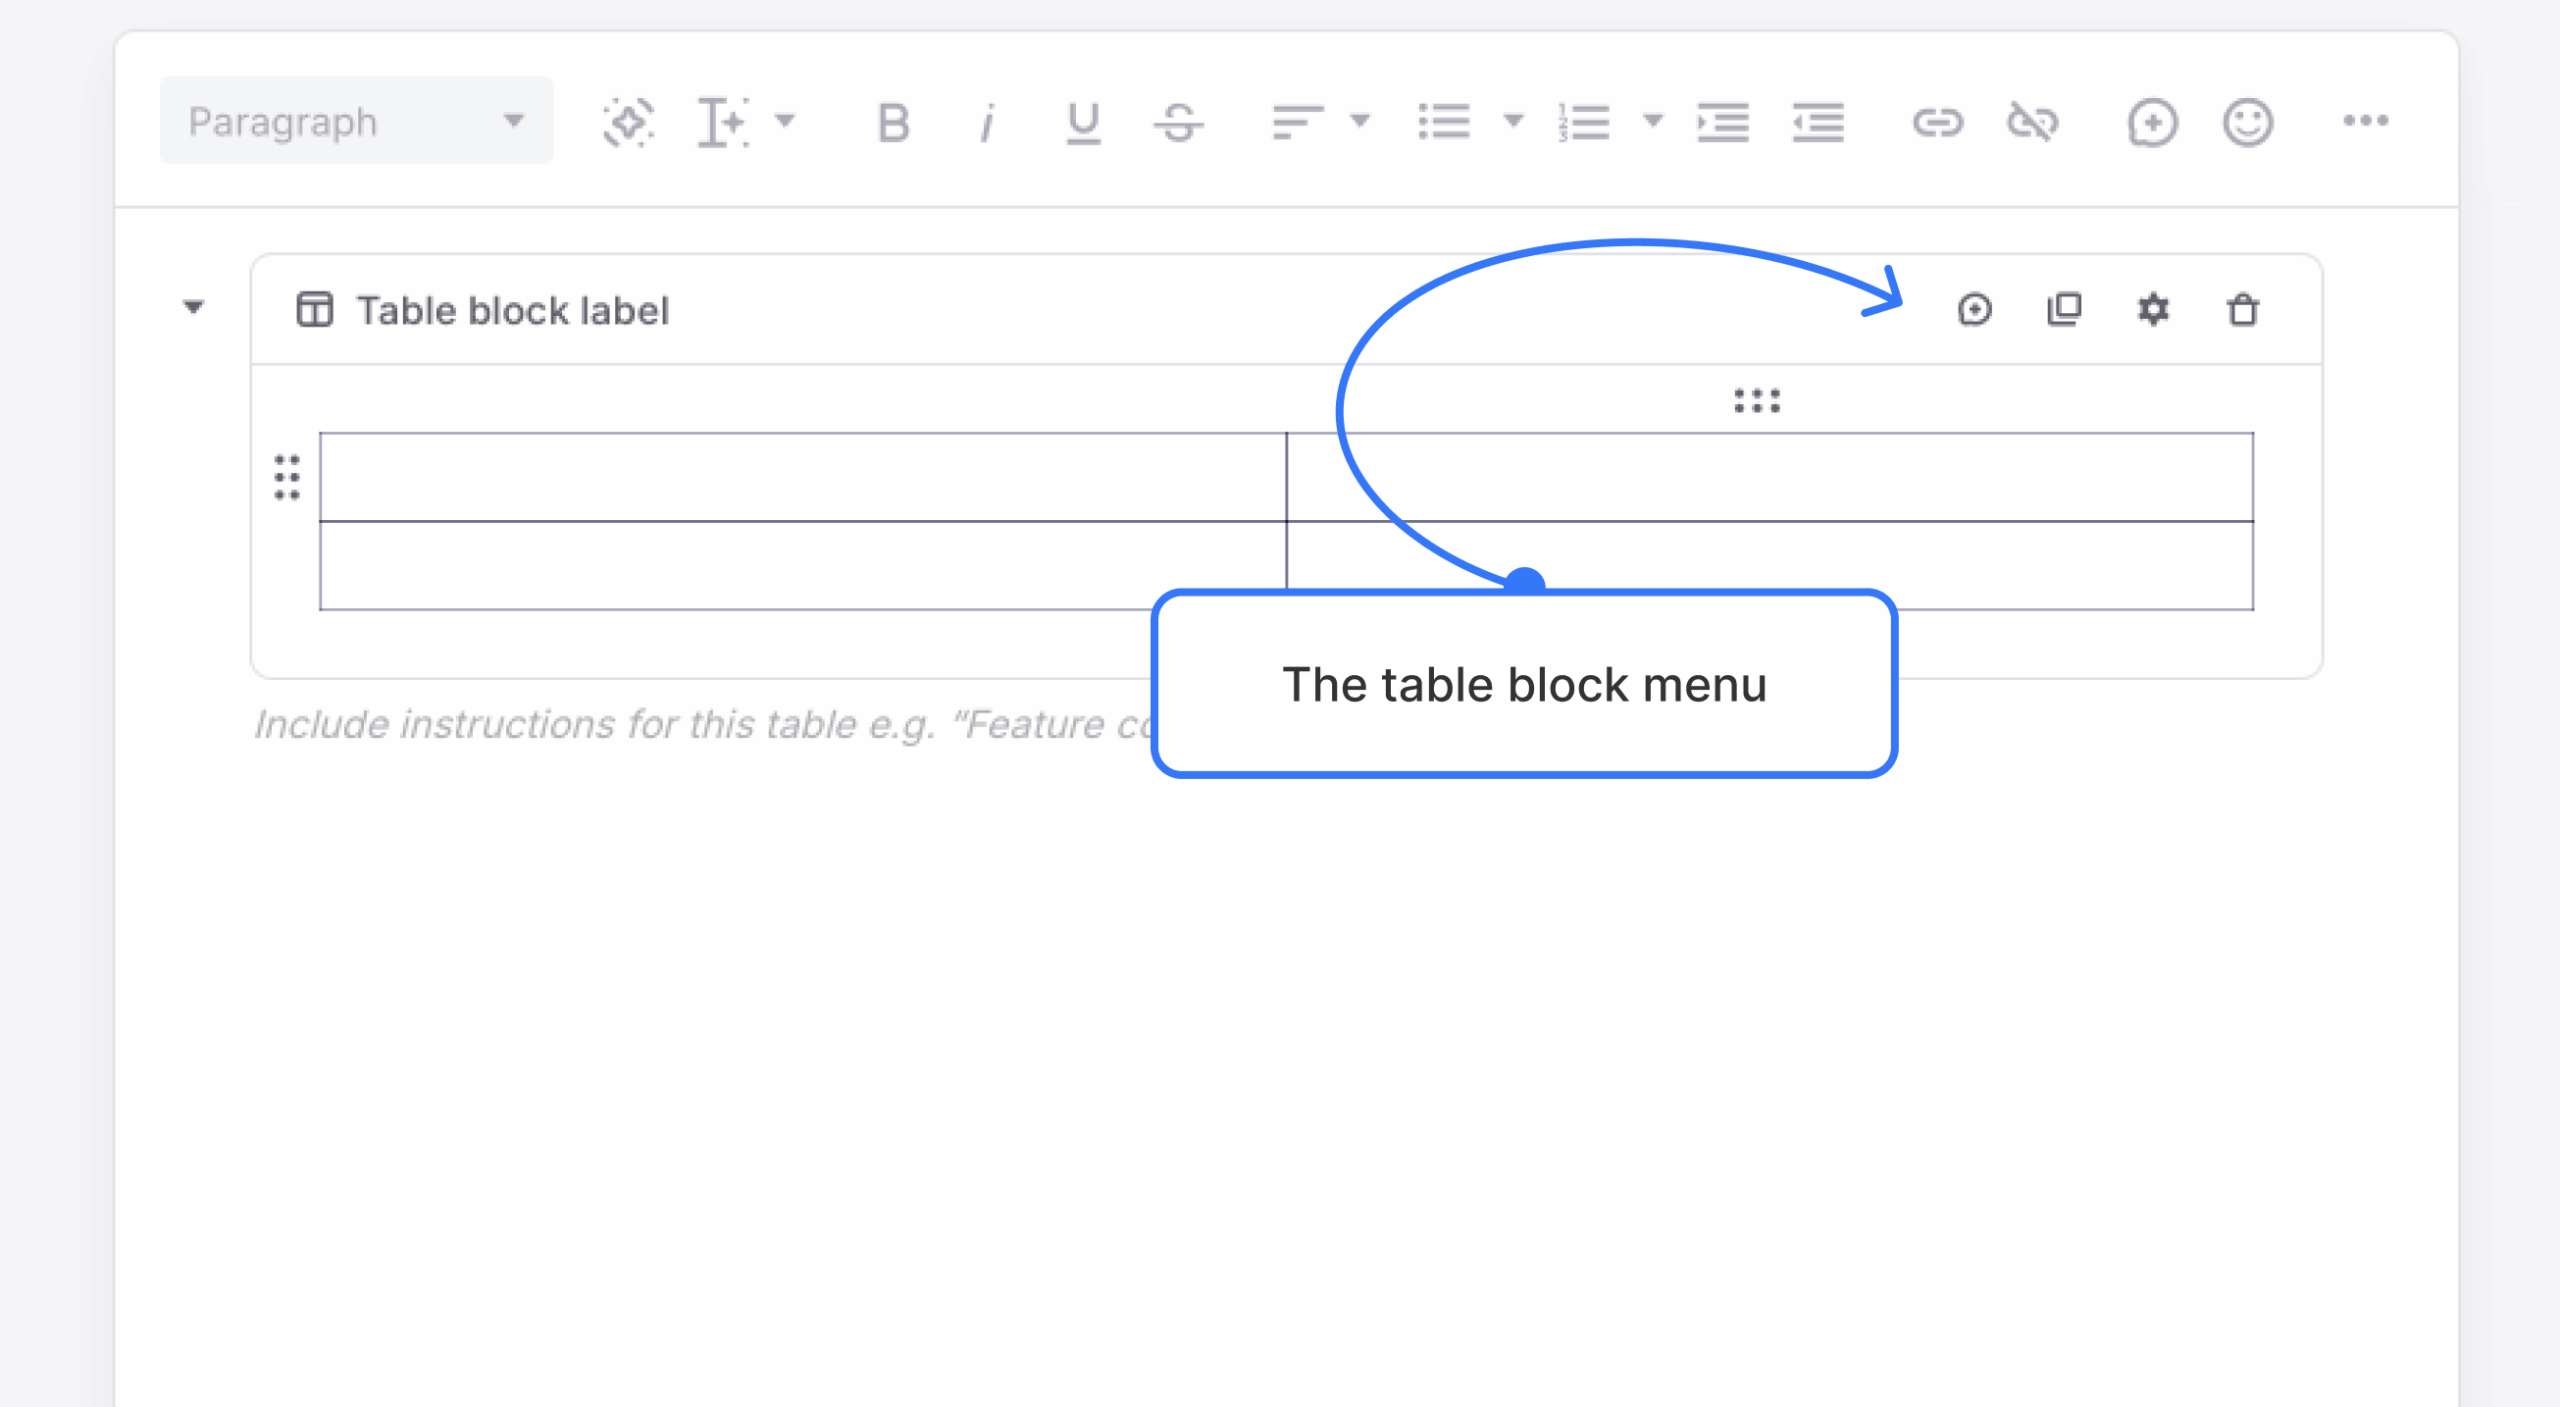
Menu icons will appear above the column and next to the row for the selected cell.
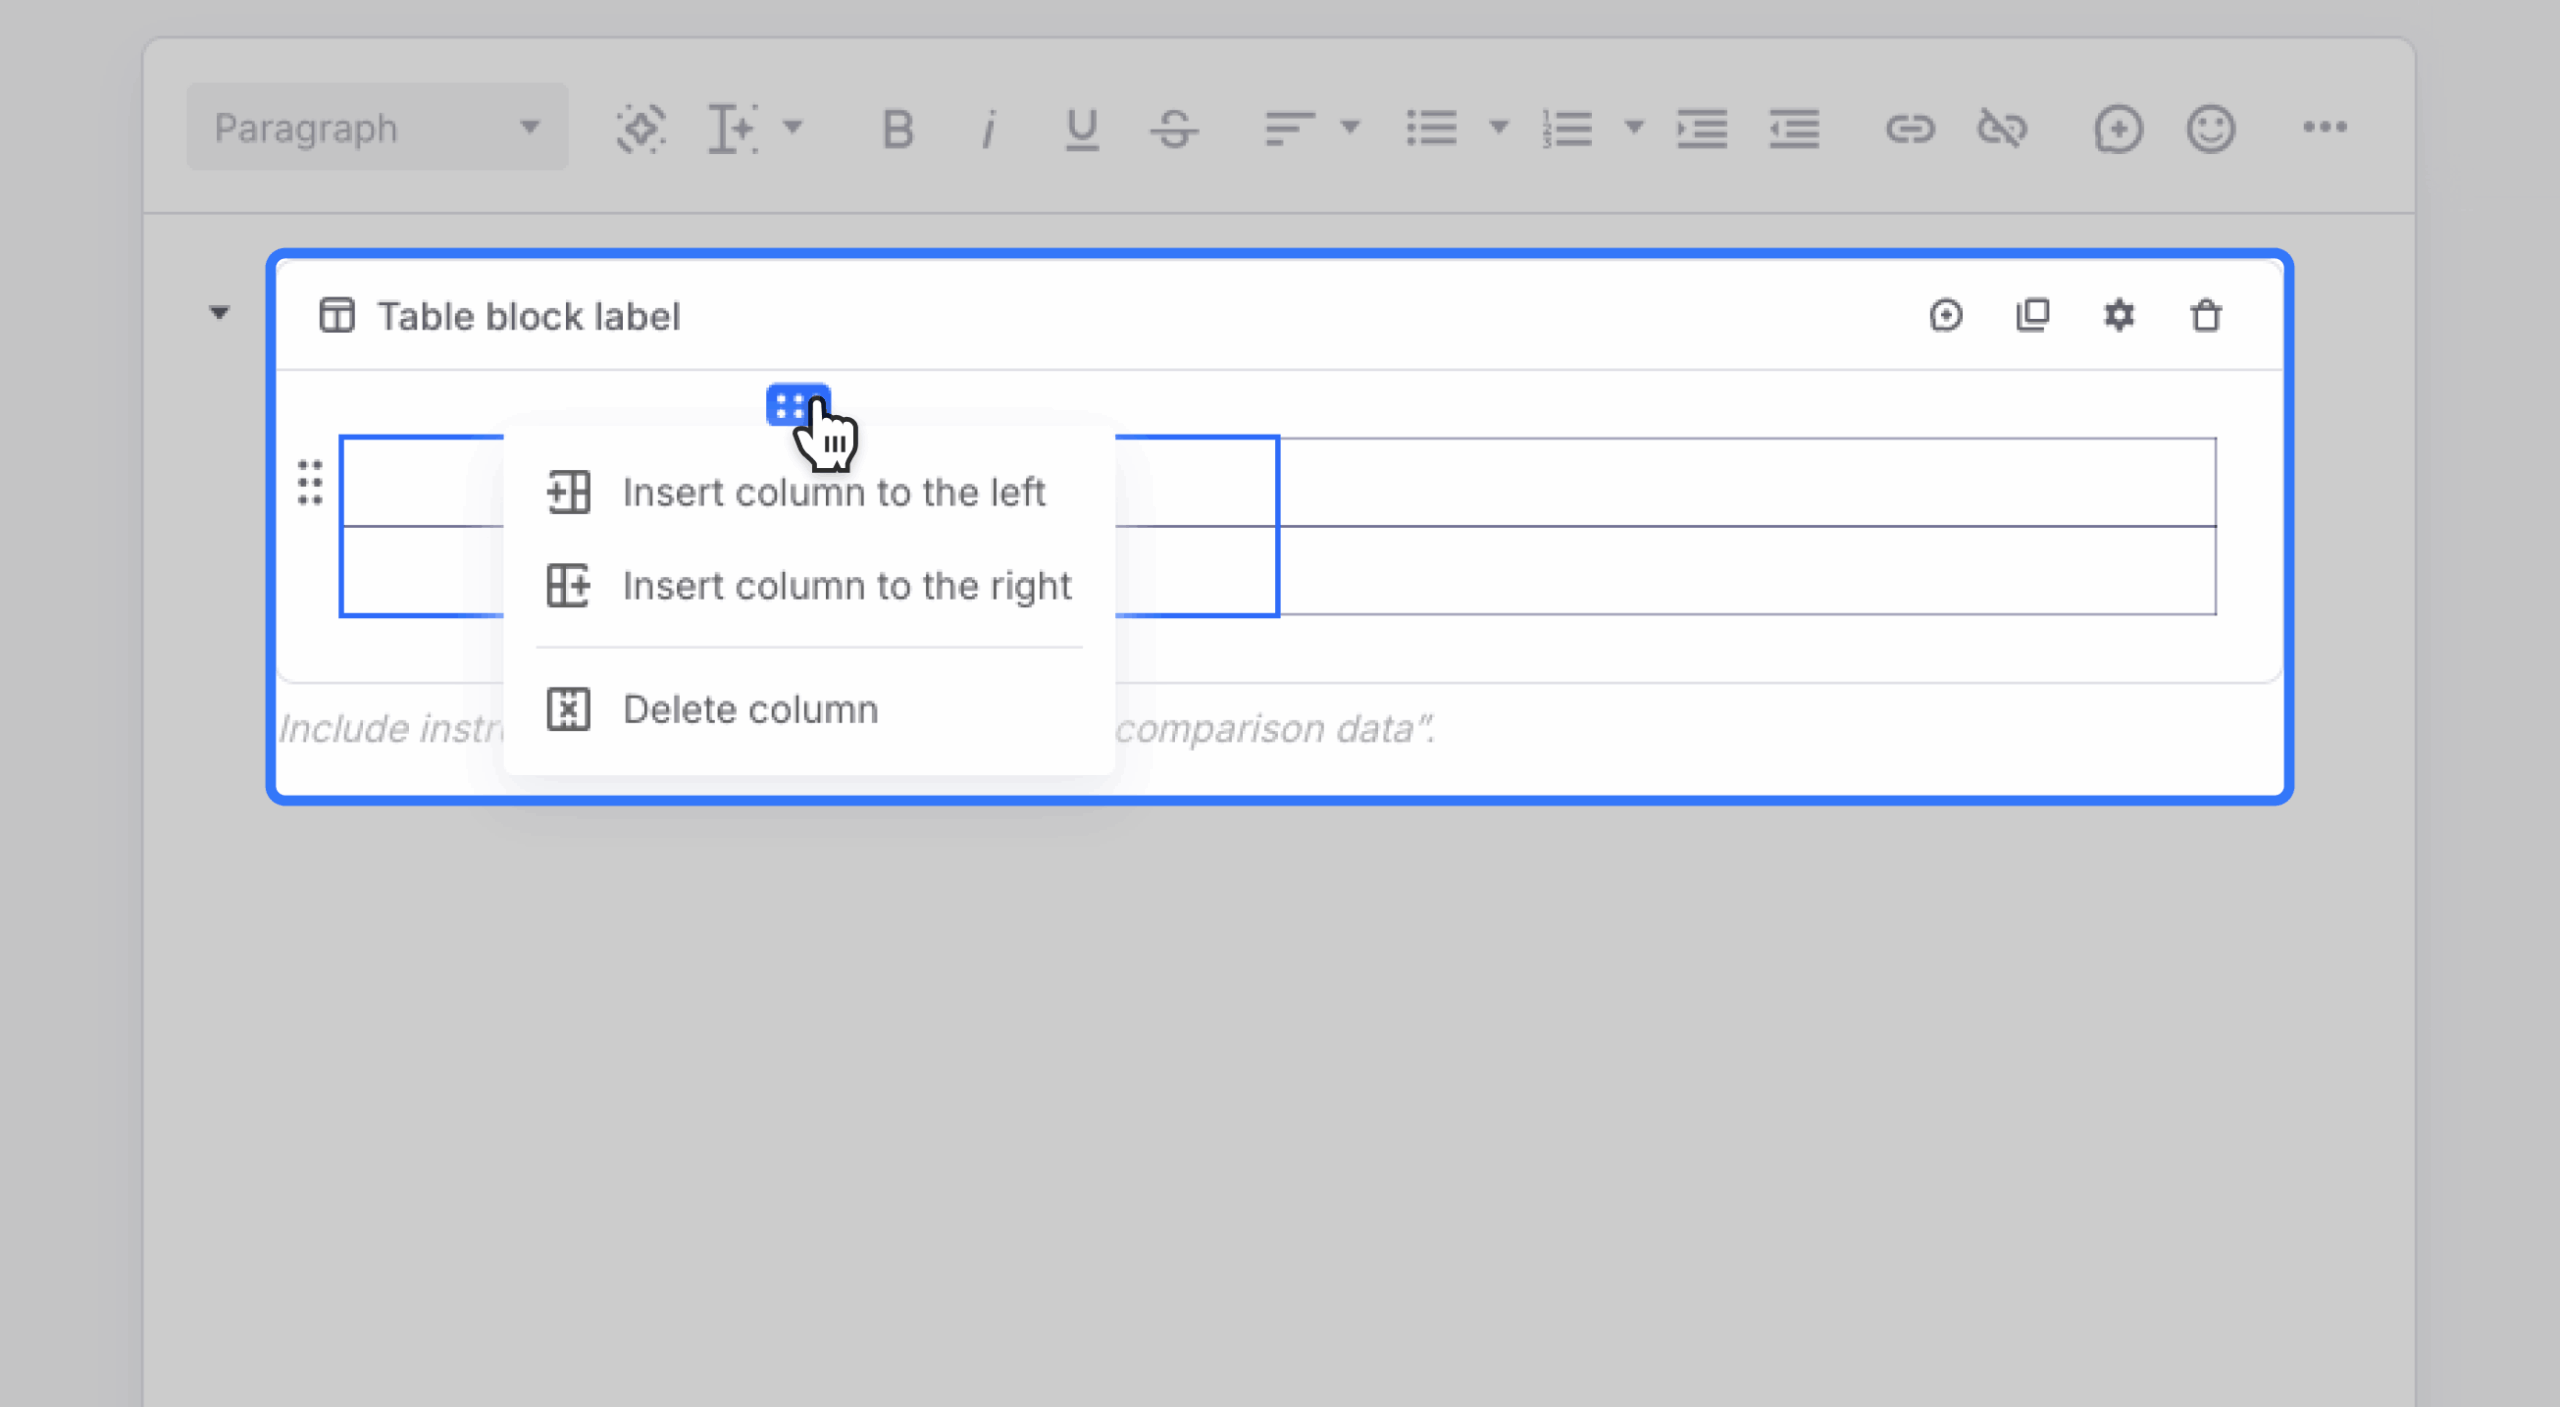
Click the column menu (above the cell) to open the tooltip with:
- Insert column to the left
- Insert column to the right
- Delete column
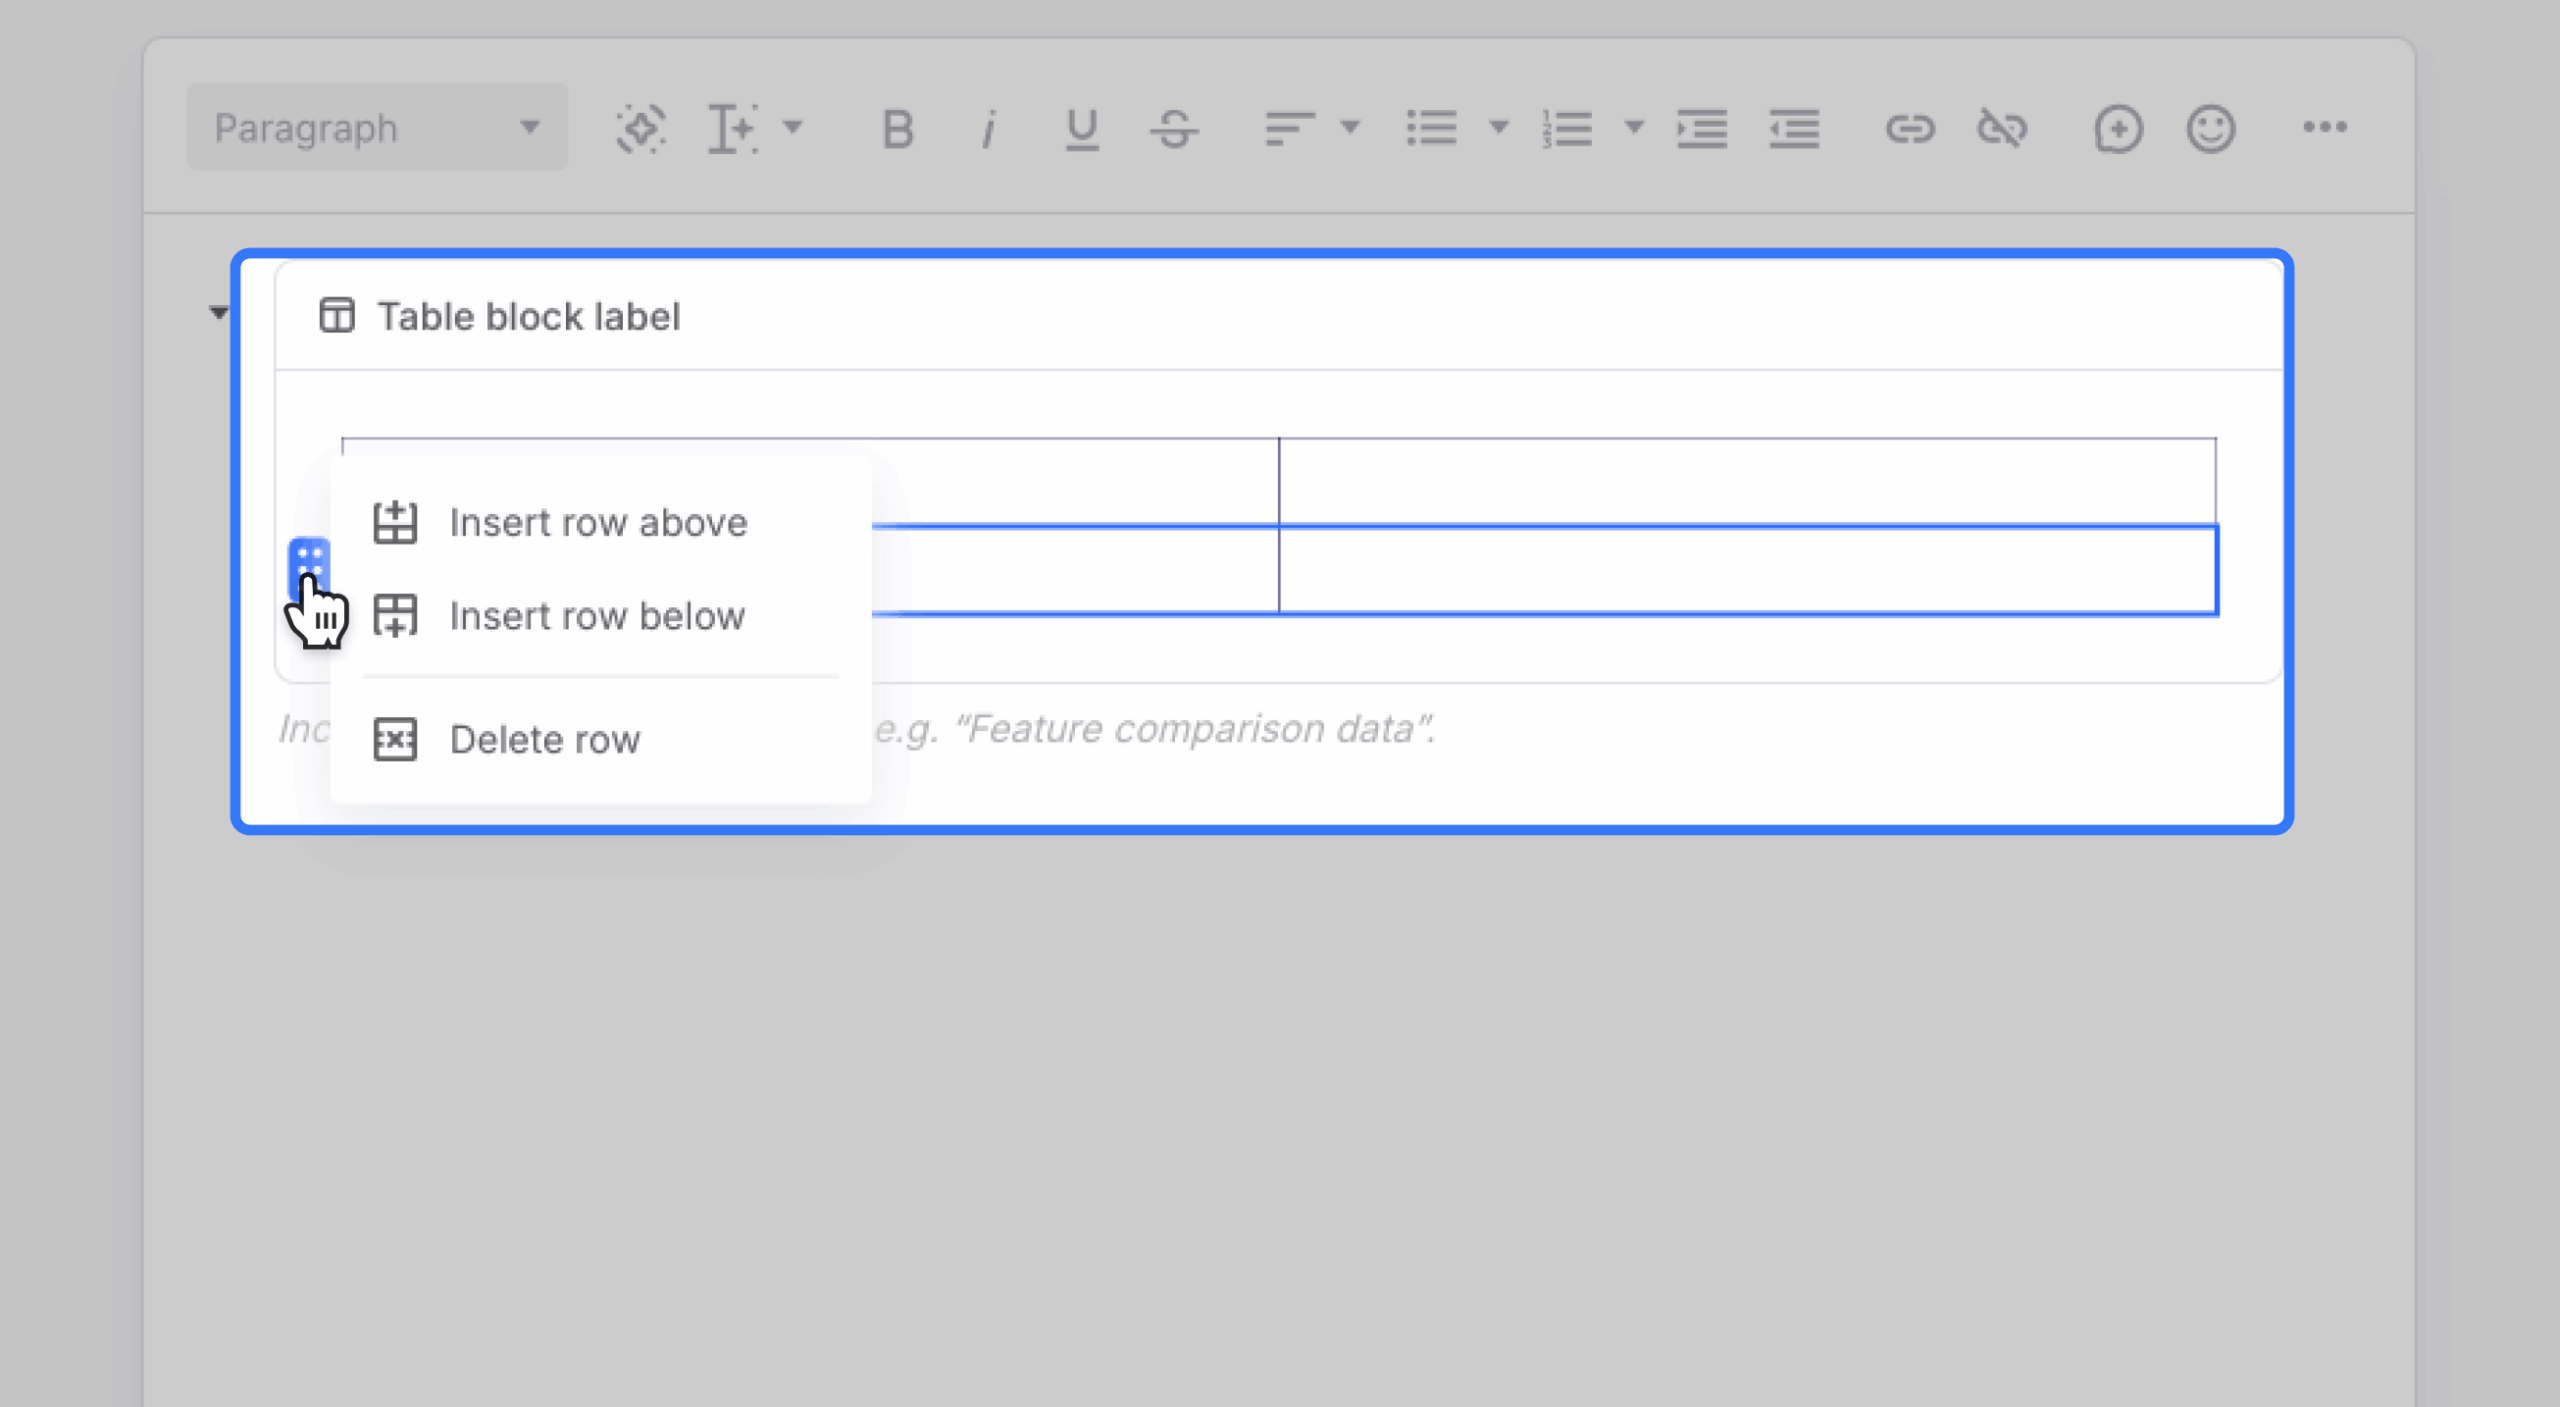
Click the row menu (beside the cell) to access:
- Insert row above
- Insert row below
- Delete row
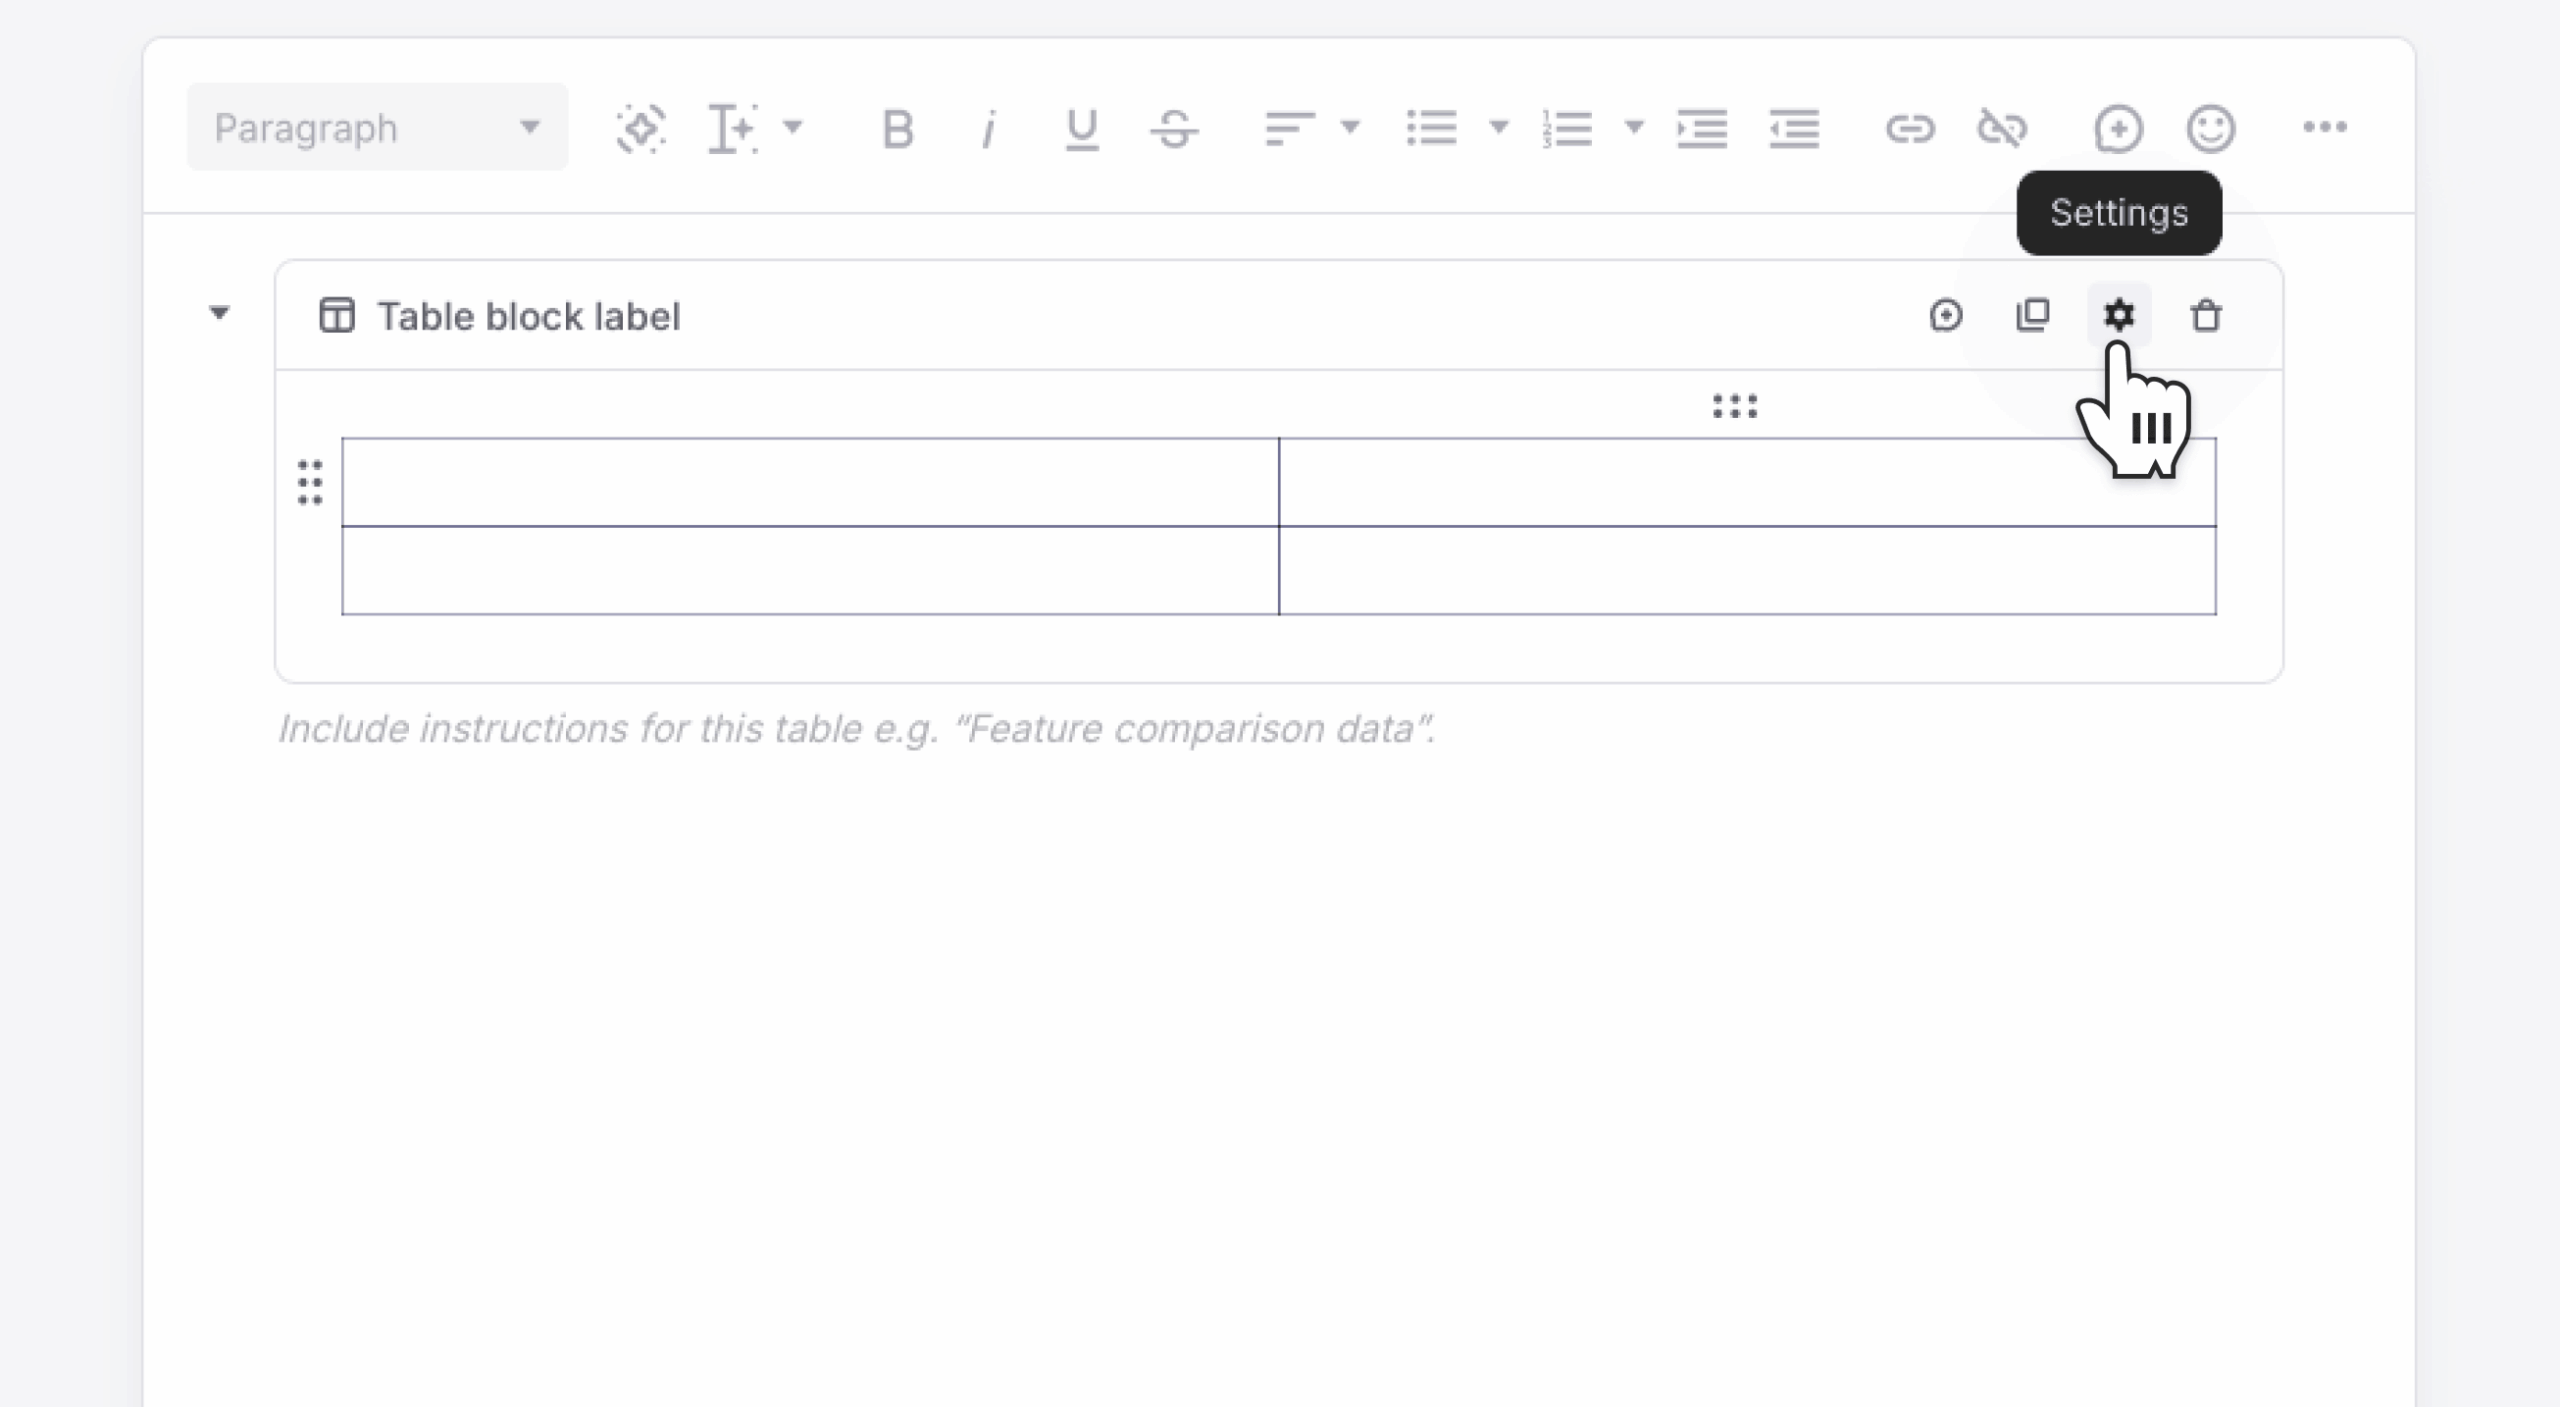
Adjust table settings
You can also manage table structure in settings:
Click the settings icon in the upper right corner of the table block.
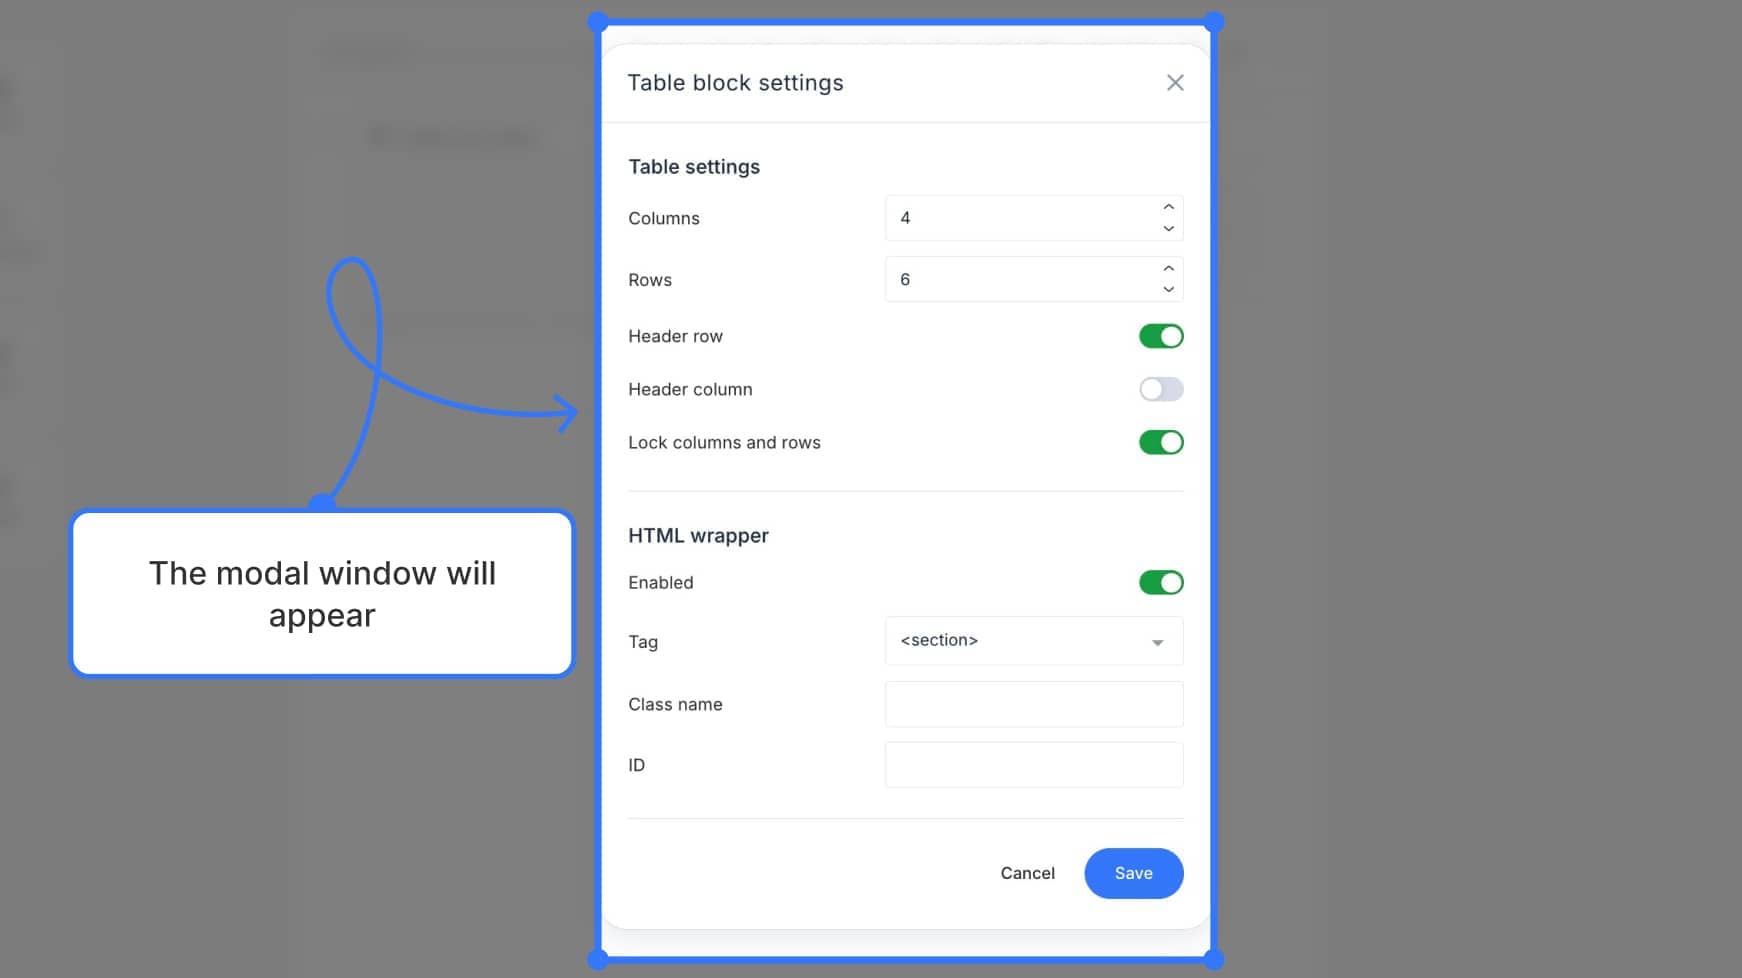
Use the settings modal to:
- Set the number of columns and rows
- Enable a header row
- Enable a header column
- Lock the table to prevent editing
These options offer more control when you need to make broader layout changes.
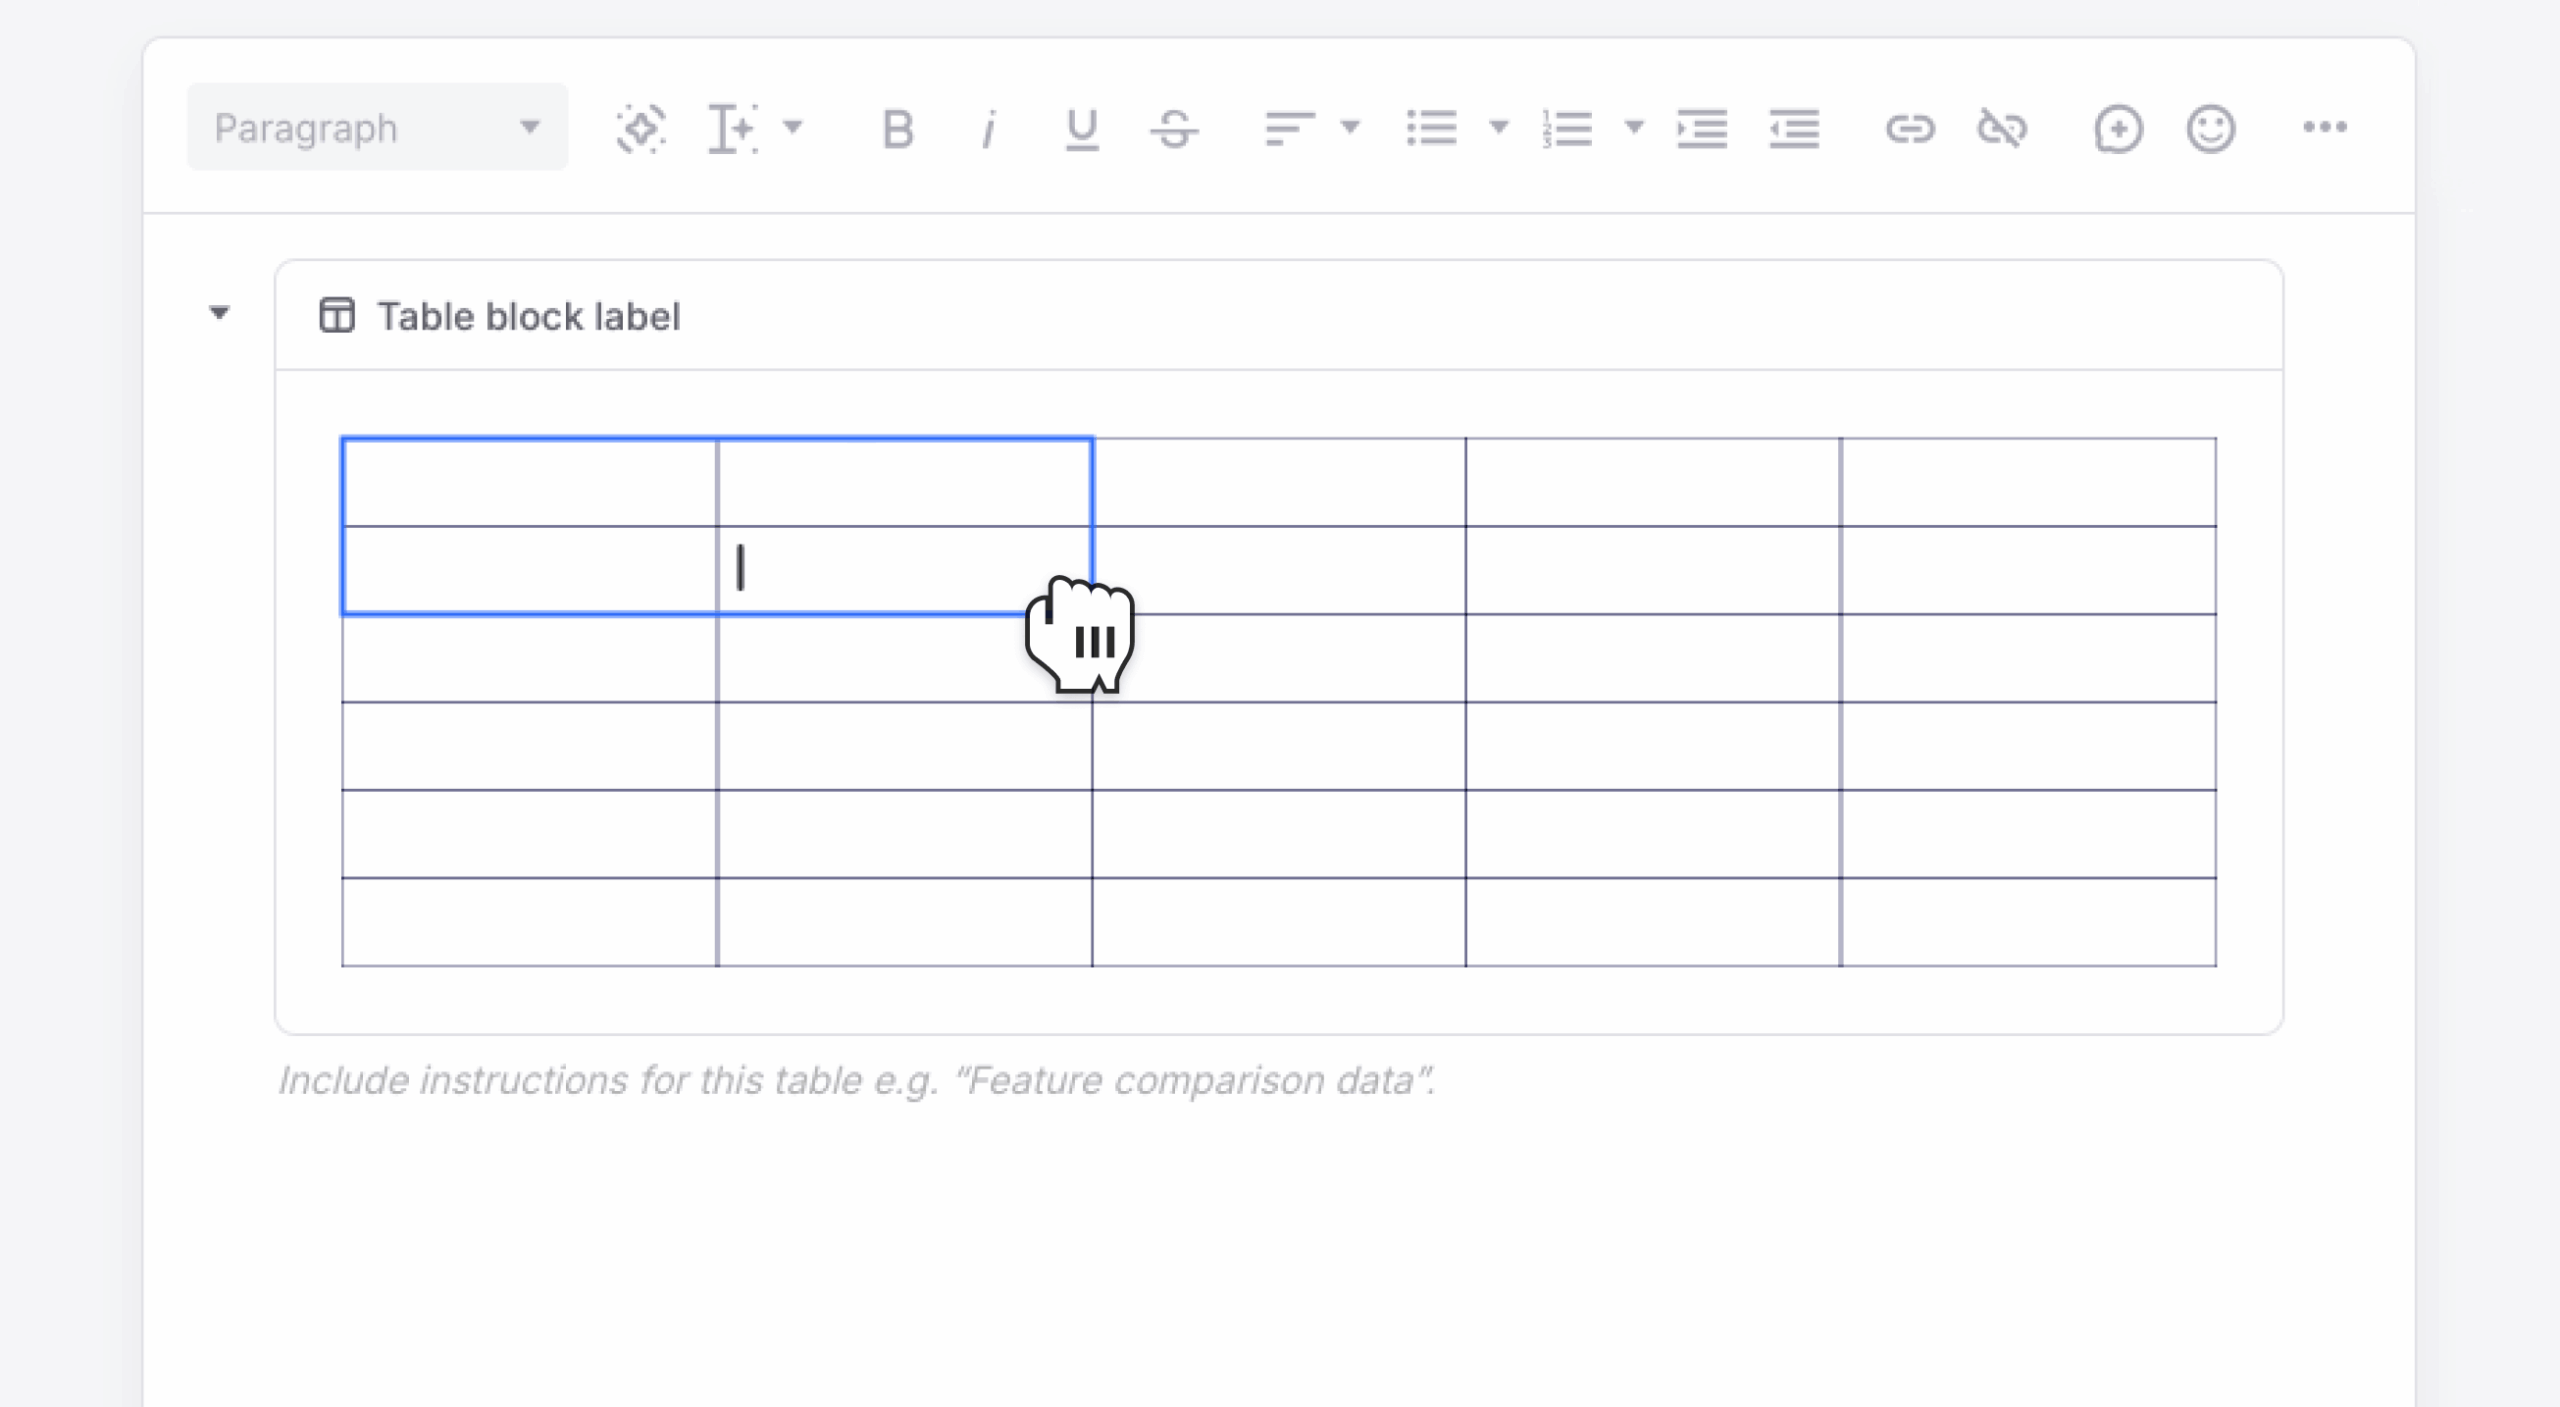
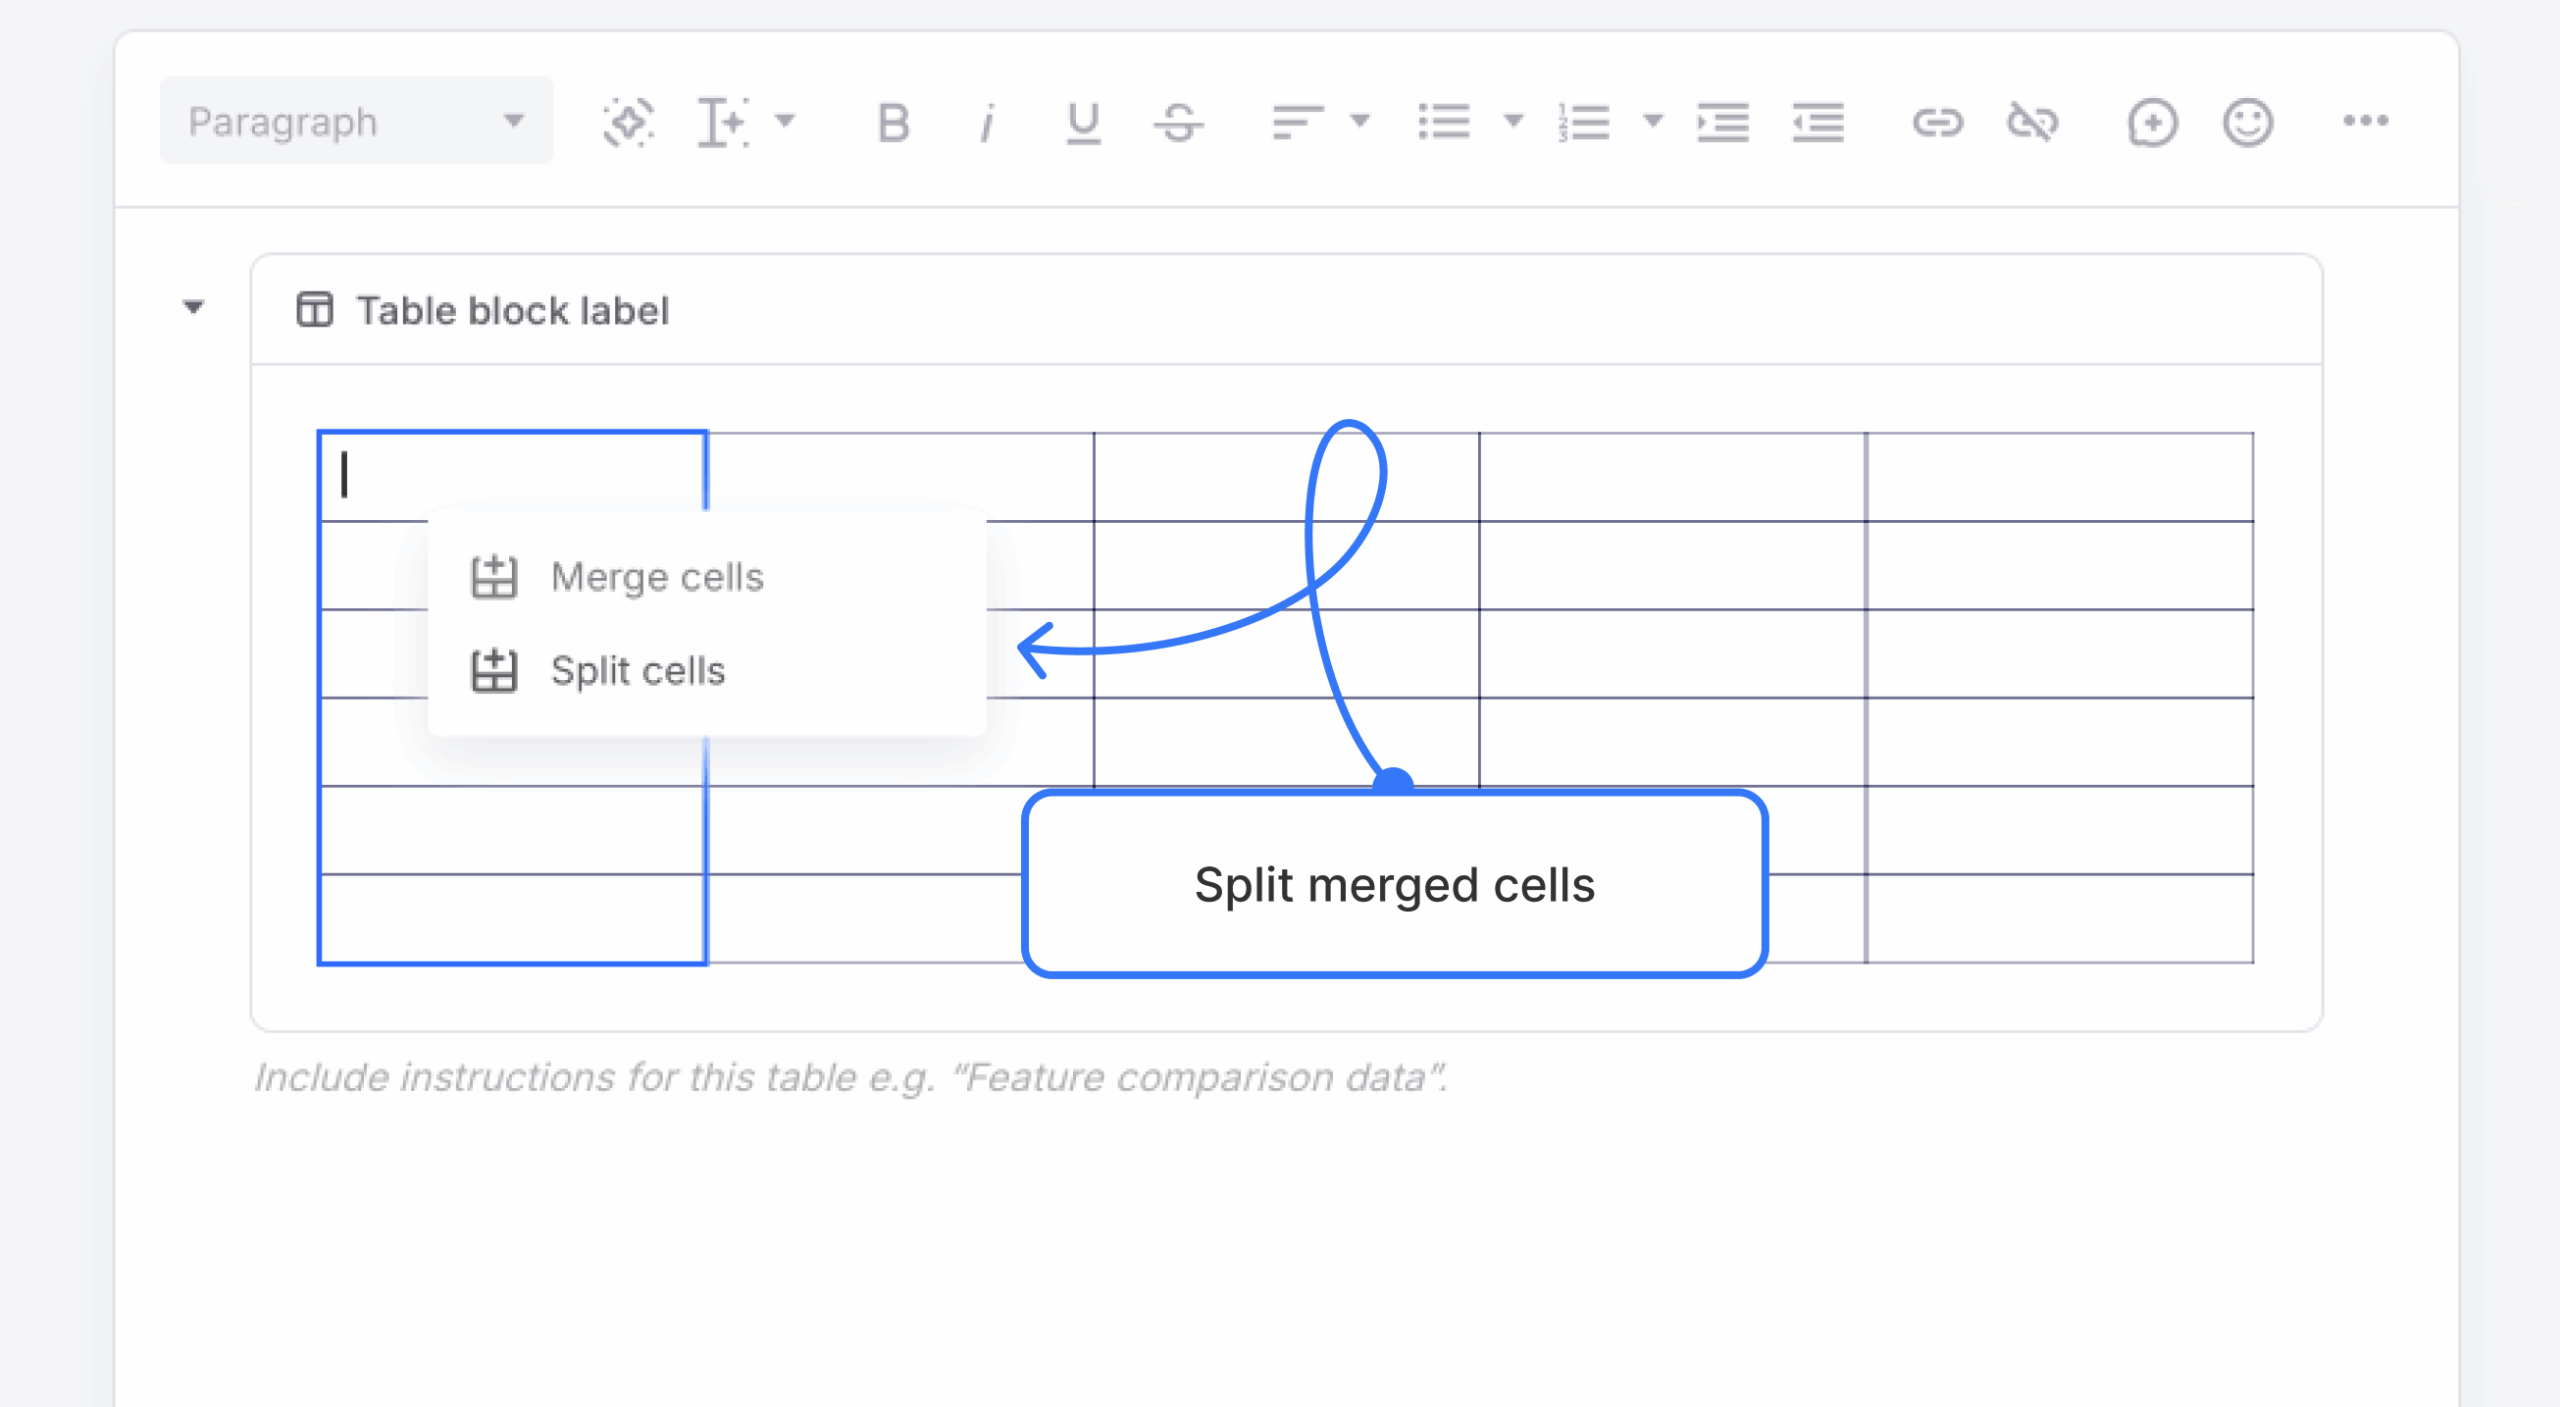
Merge or split table cells
To combine cells within a table block, select two or more adjacent cells in the same row or the same column.
Once selected, a contextual menu will appear with a Merge cells option.
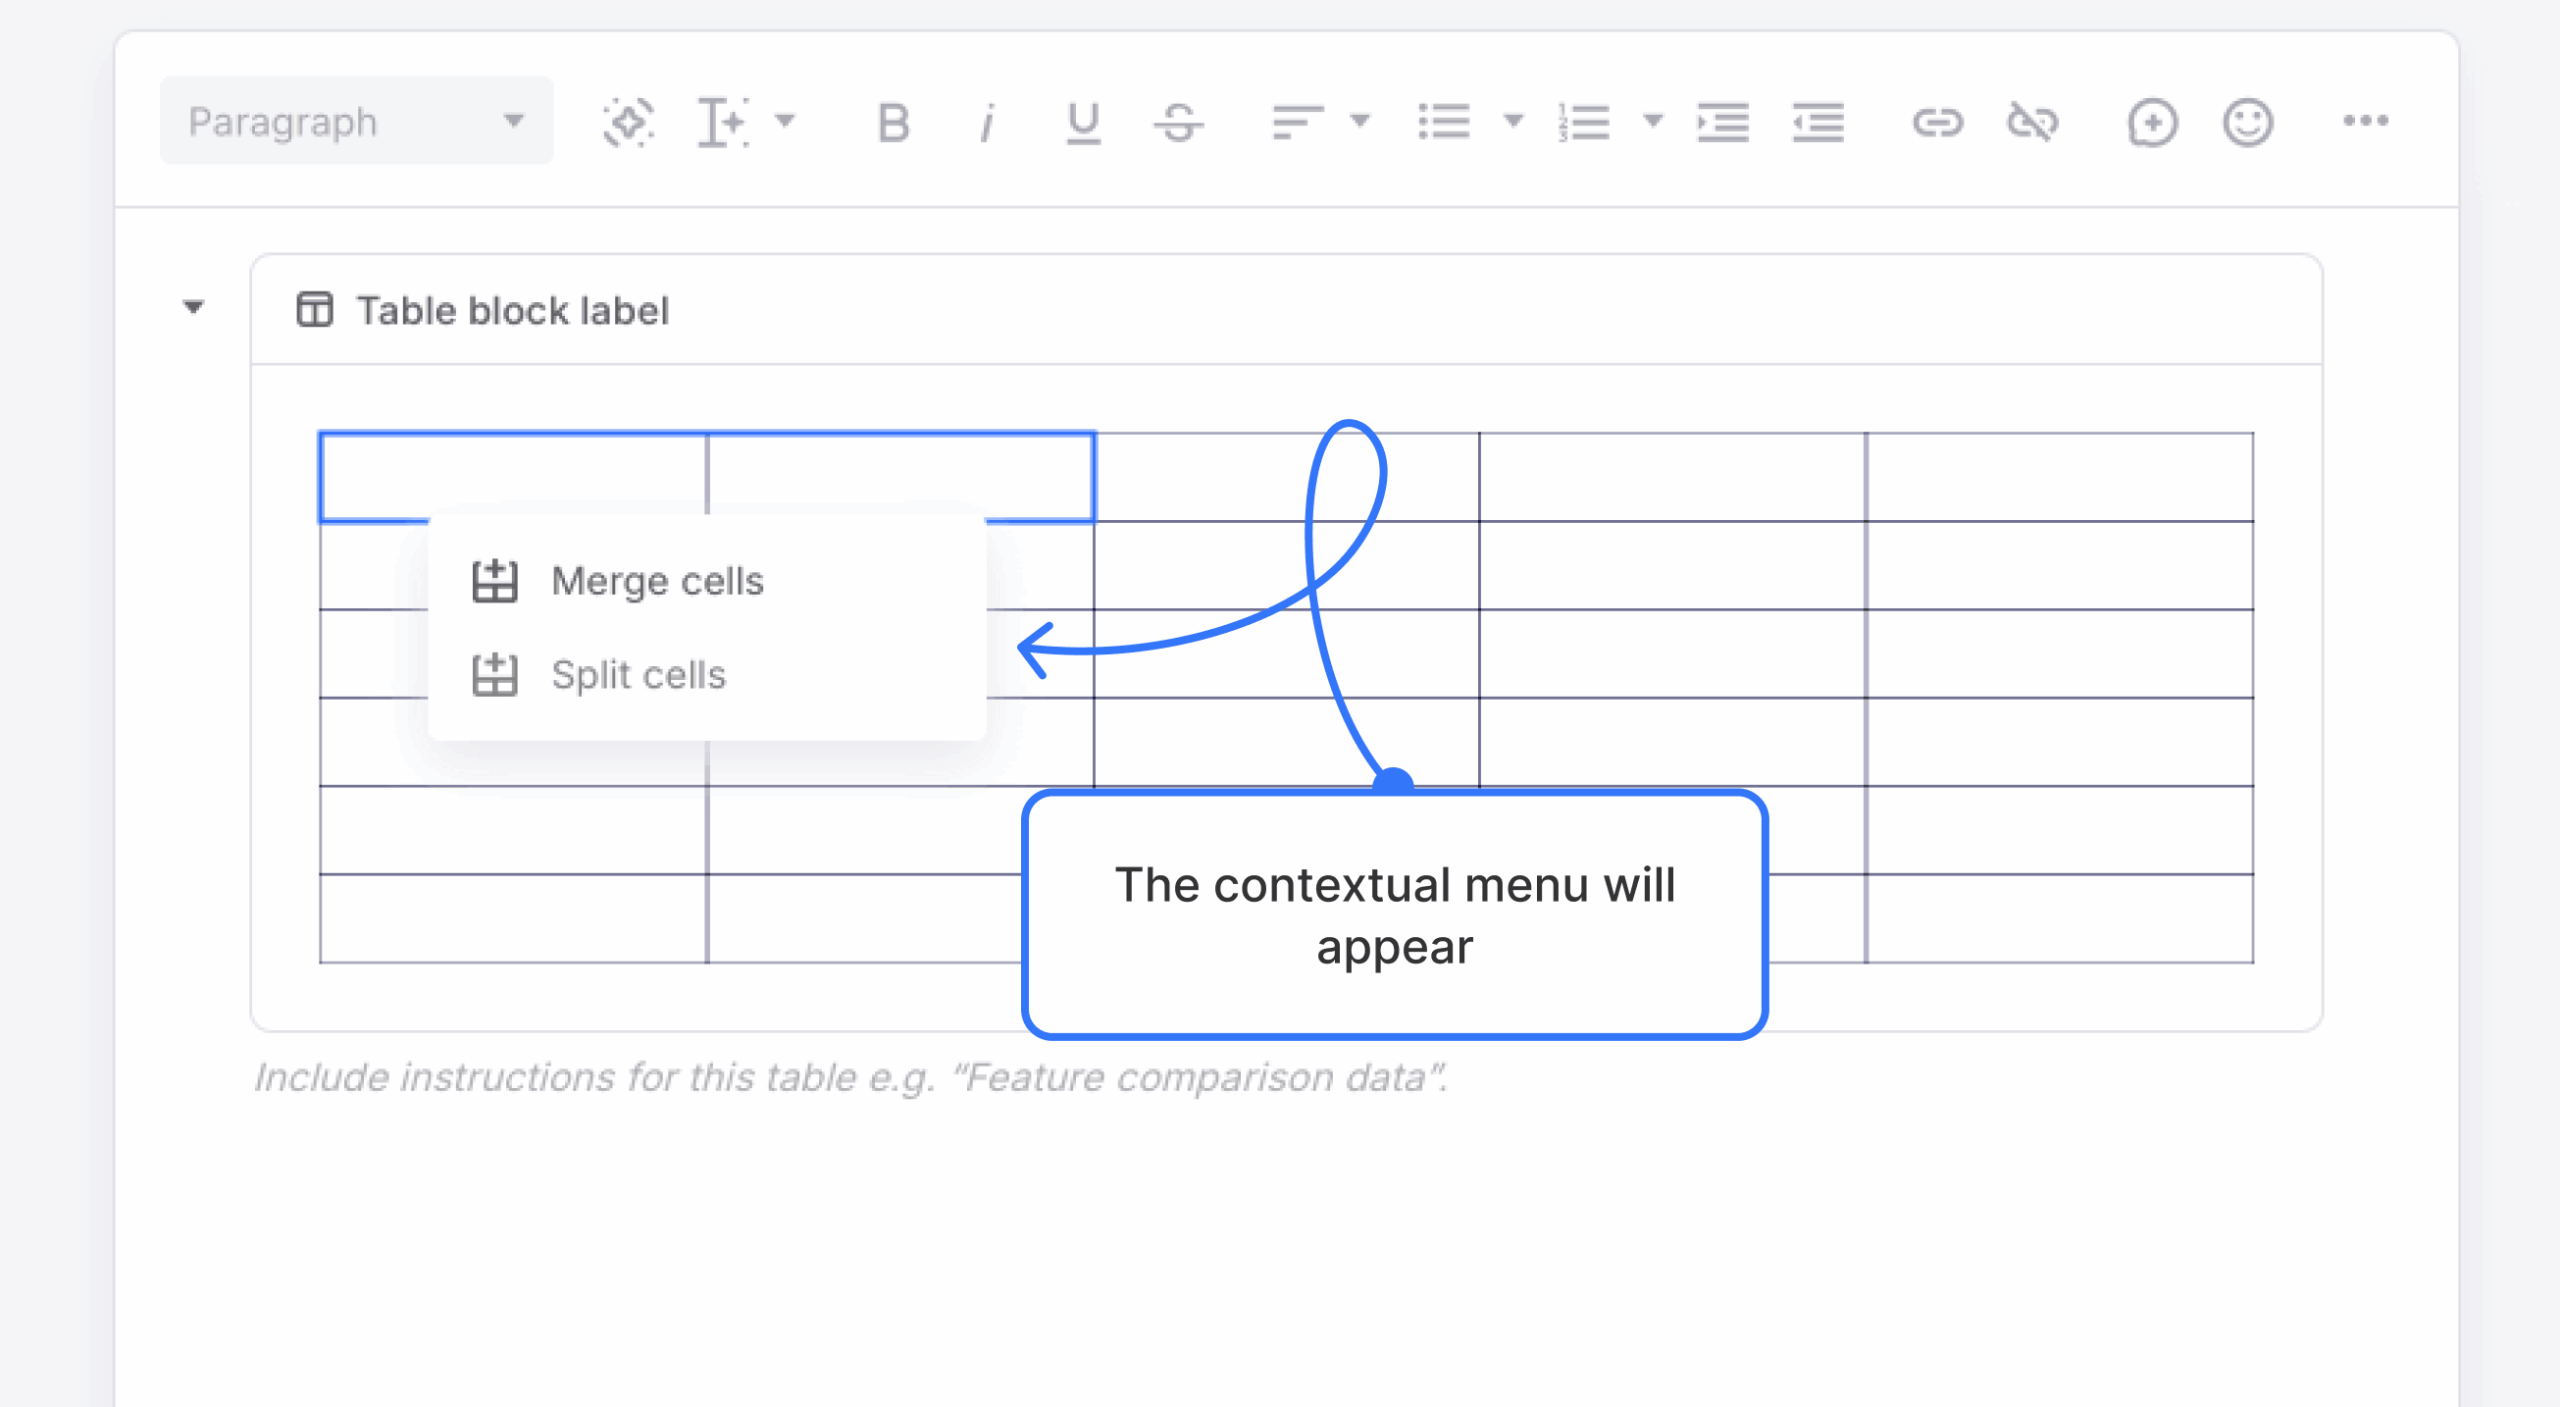
Click Merge cells to turn the selected group into a single, combined cell.
To undo a merge, click the merged cell to reopen the menu, then select Split cells.
Note : You can only merge cells within one row or one column at a time — not across both.
That’s it! Adding and customizing table blocks is a great way to keep your content structured, clean, and easy to scan.