Set and manage page due dates
Set due dates to schedule page content and track whether work is upcoming, late or done. You can manage due dates in Page Editor, Content Overview and Content Calendar.
Before you begin
Availability: Content Planner is available on Pro plans and above. Free accounts and Basic plans do not include Content Planner.
Owners, administrators and project managers can manage content, including due dates, on any page in a project. Contributors and writers can manage content only on pages assigned to them. For more information, see User roles and permissions in Slickplan.
Each language version has its own content, due dates, statuses and assignees. When you switch languages, Content Planner displays the values for that language version. Due dates do not carry over between language versions. See Working with multilingual content for language setup and content management.
Set or change a due date
Contributors and writers can use these procedures only for pages assigned to them.
From Page Editor
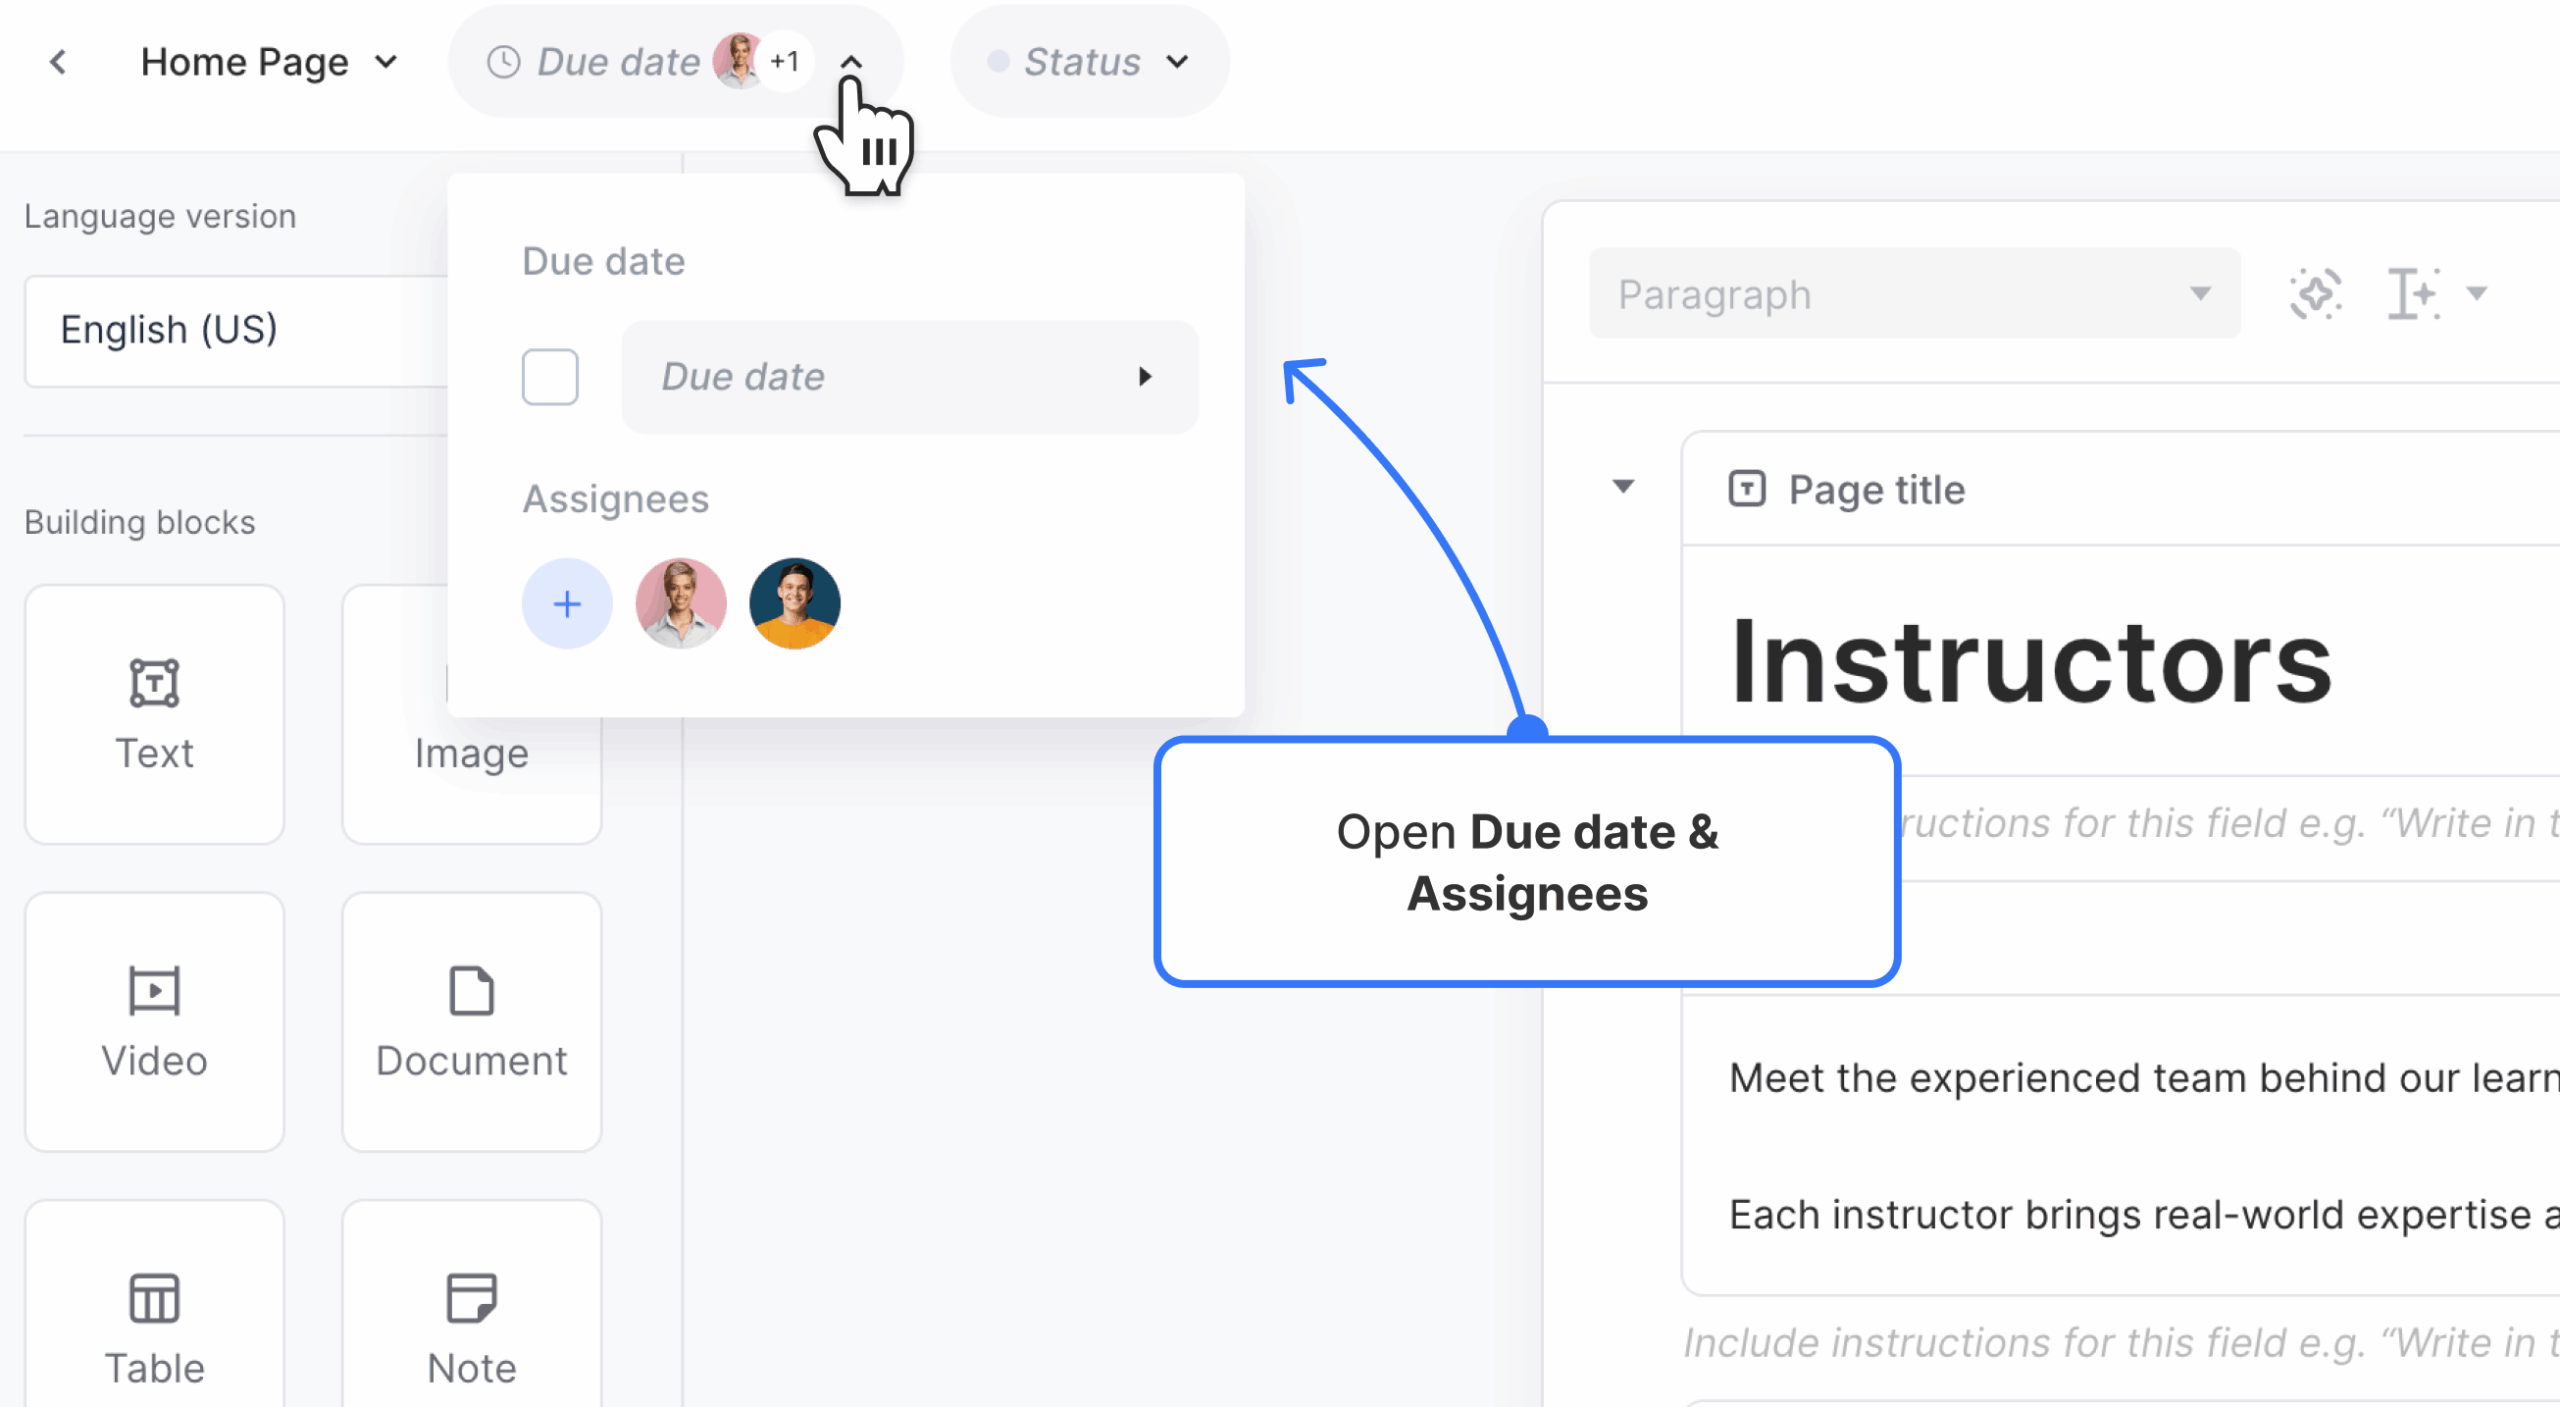
- Open the page you want to update in Page Editor.
- Select the due-date and assignee control next to the page name.
- Select the Due date field to open the calendar.
- Select a date.
The change saves automatically, and the control displays the page’s current due-date state.
Important: The checkbox next to Due date marks the due date Done. Select the date field when you want to set or change the date without completing it.
From Content Overview
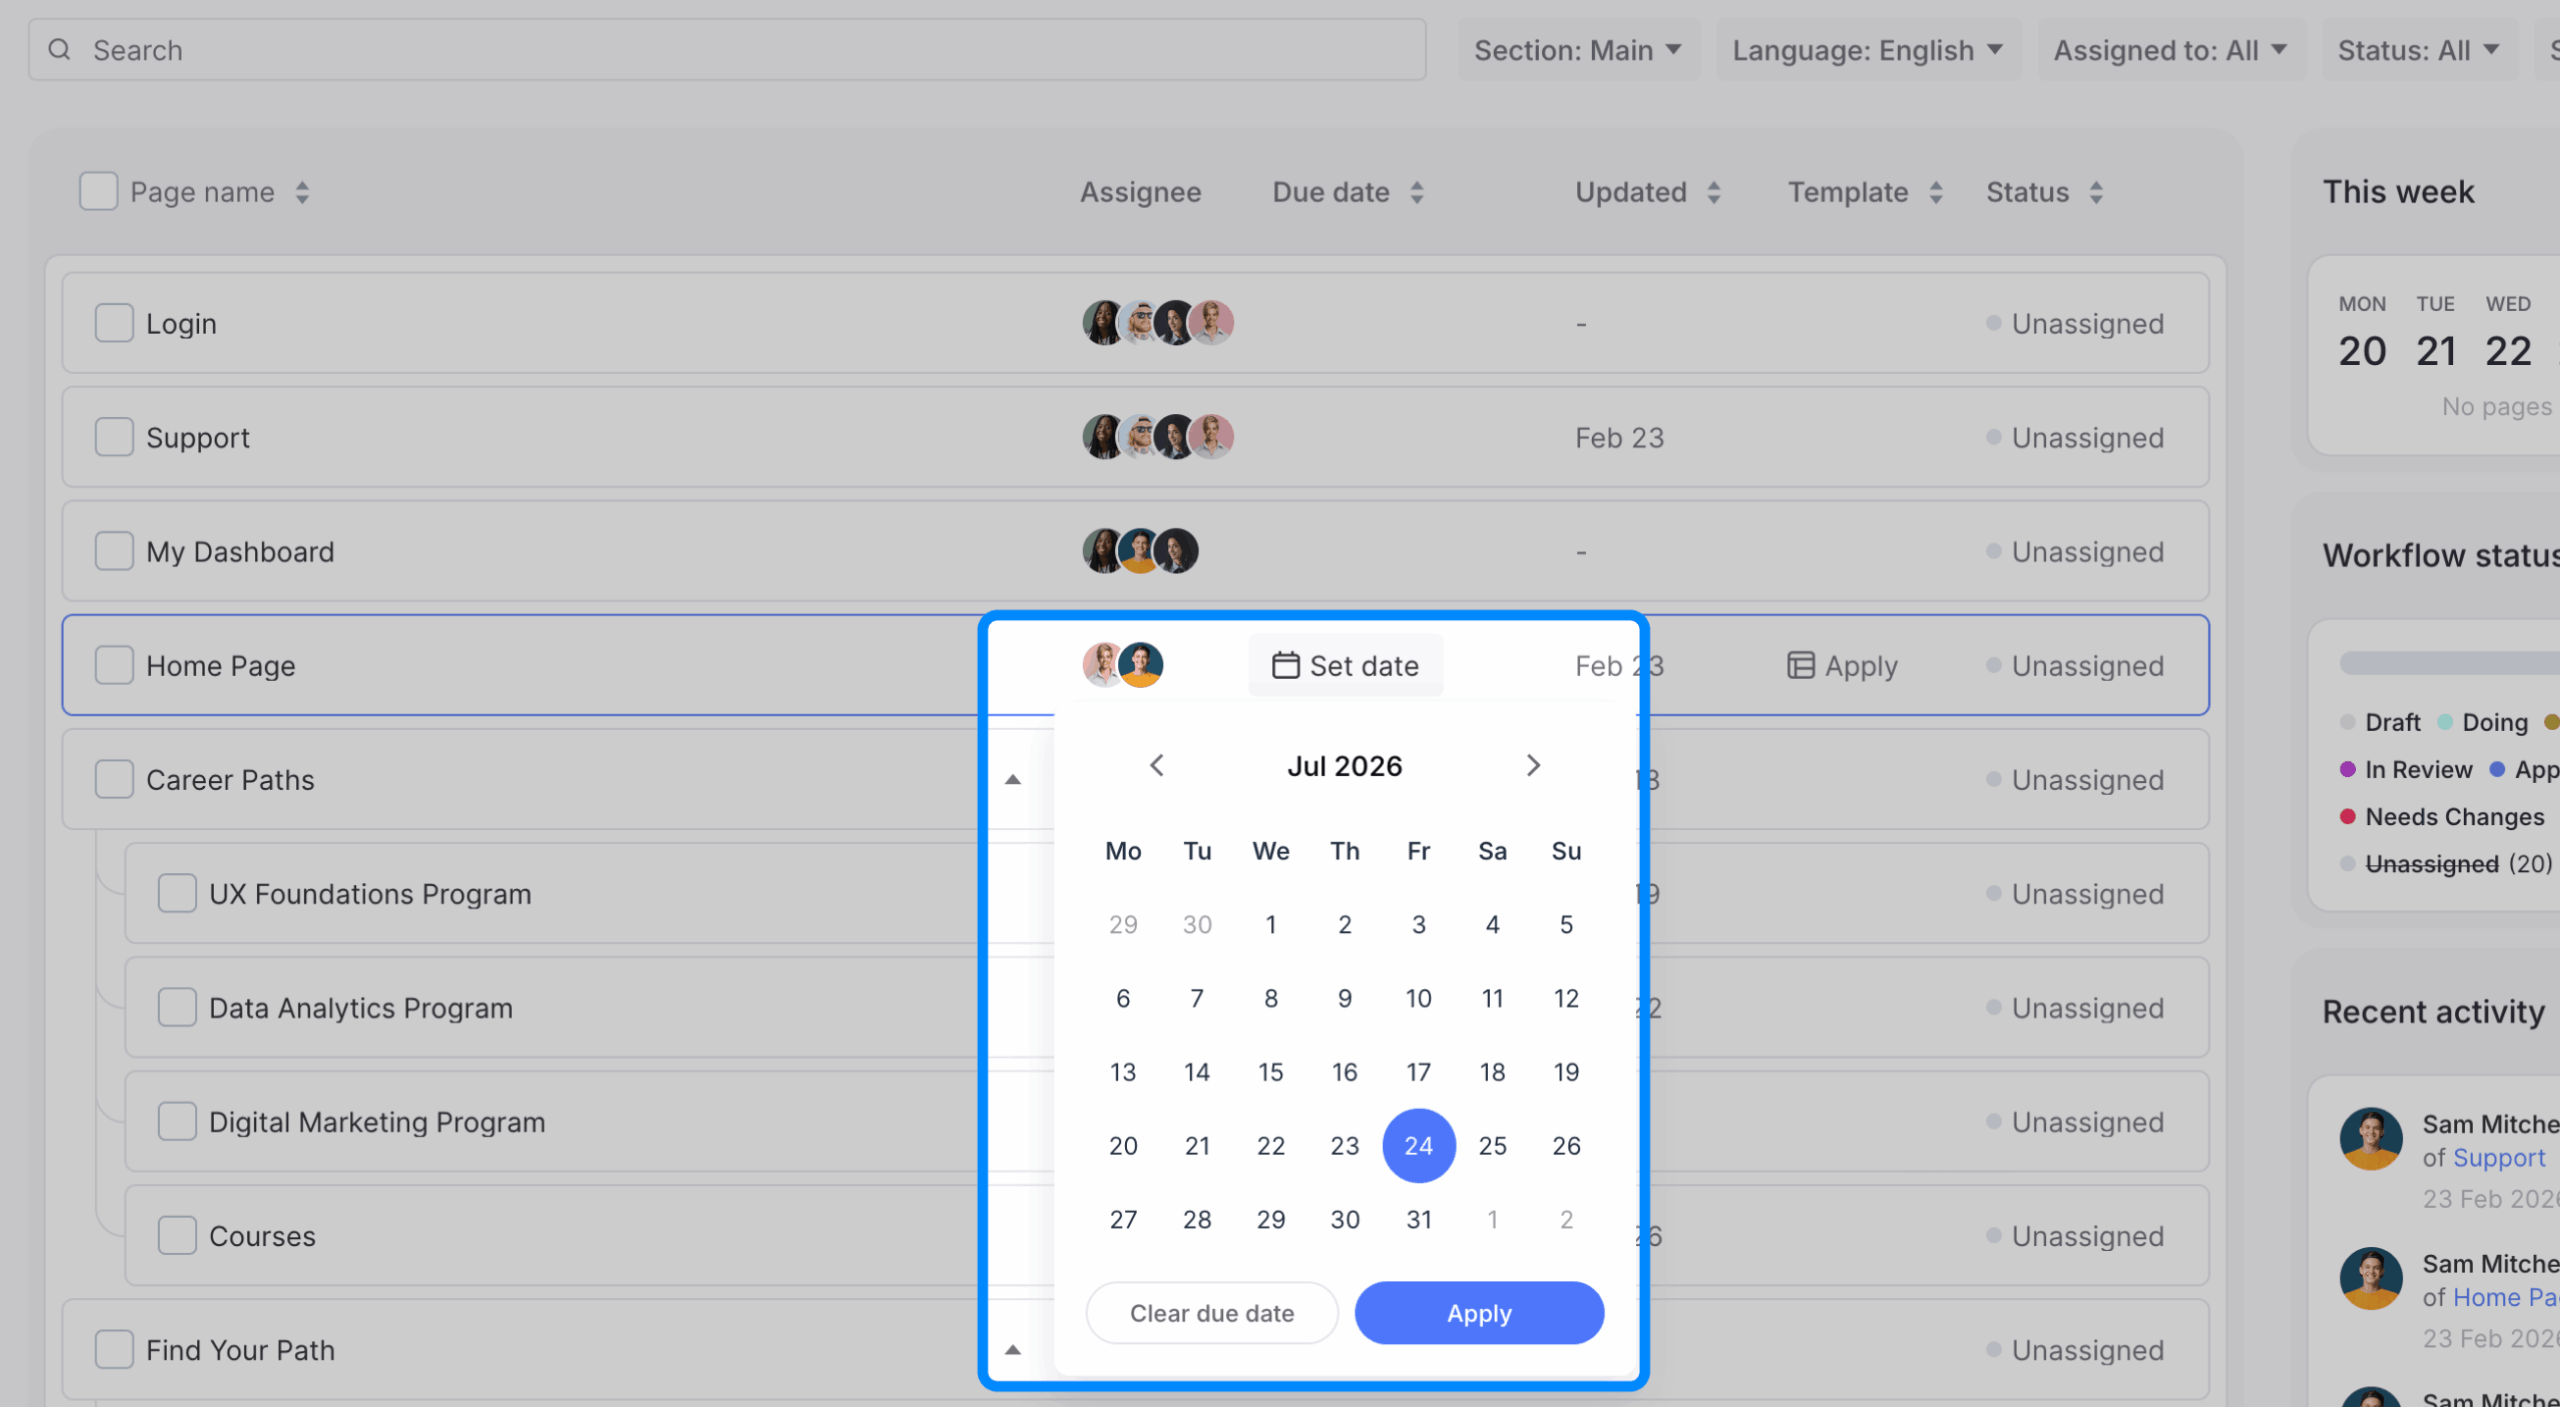
- Open Content Planner. Content Overview opens by default.
- Find the page in the page list.
- Select Set Date if the page has no due date, or select its current date.
- Select the new date.
- Select Apply.
The selected date appears in the Due Date column.
From Content Calendar
Only pages with due dates appear in Content Calendar. To change an existing date:
- Select the Calendar tab.
- Select the page in the calendar grid.
- Select its current due date.
- Select the new date.
The change saves automatically. See Using the Content Calendar for information about calendar views, filters, and other controls.
Update due dates for multiple pages
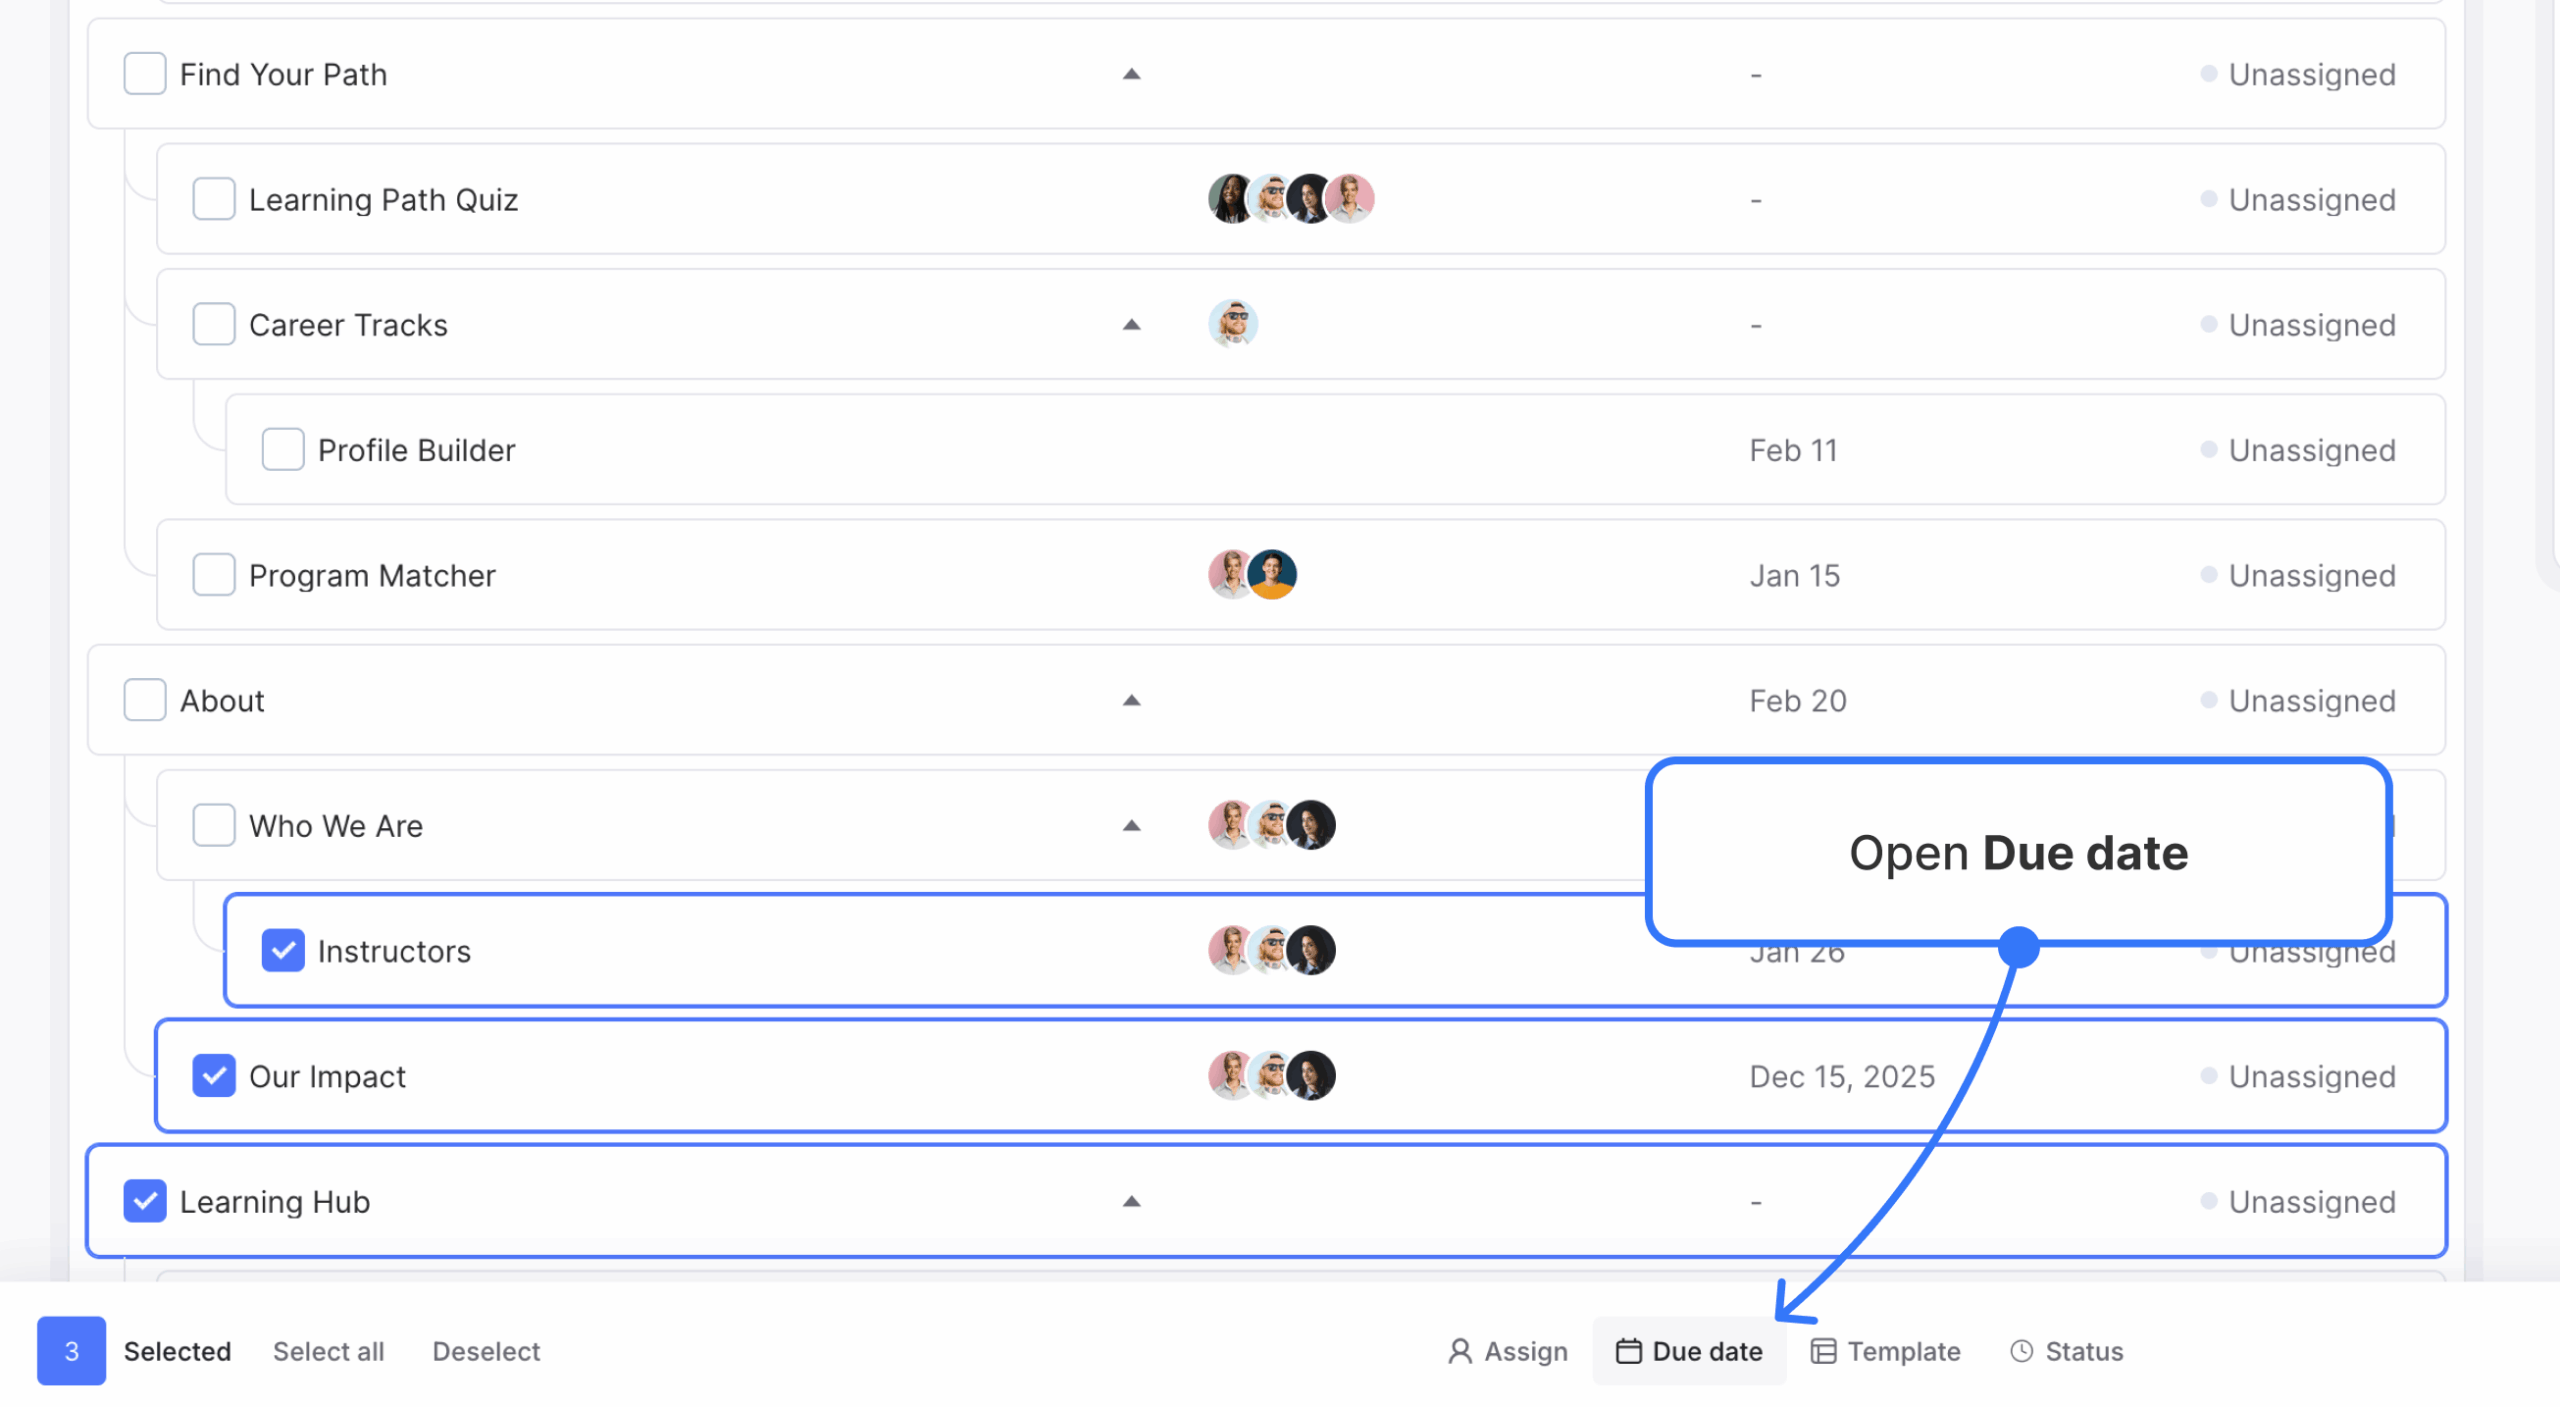
- In Content Overview, select the checkboxes next to the pages you want to update.
- Select Due Date in the bottom drawer.
- Select the new date.
- Select Apply.
The new date replaces the existing due date on every selected page. Selecting pages with different dates does not change them until you apply a new date.
Move a due date in Content Calendar
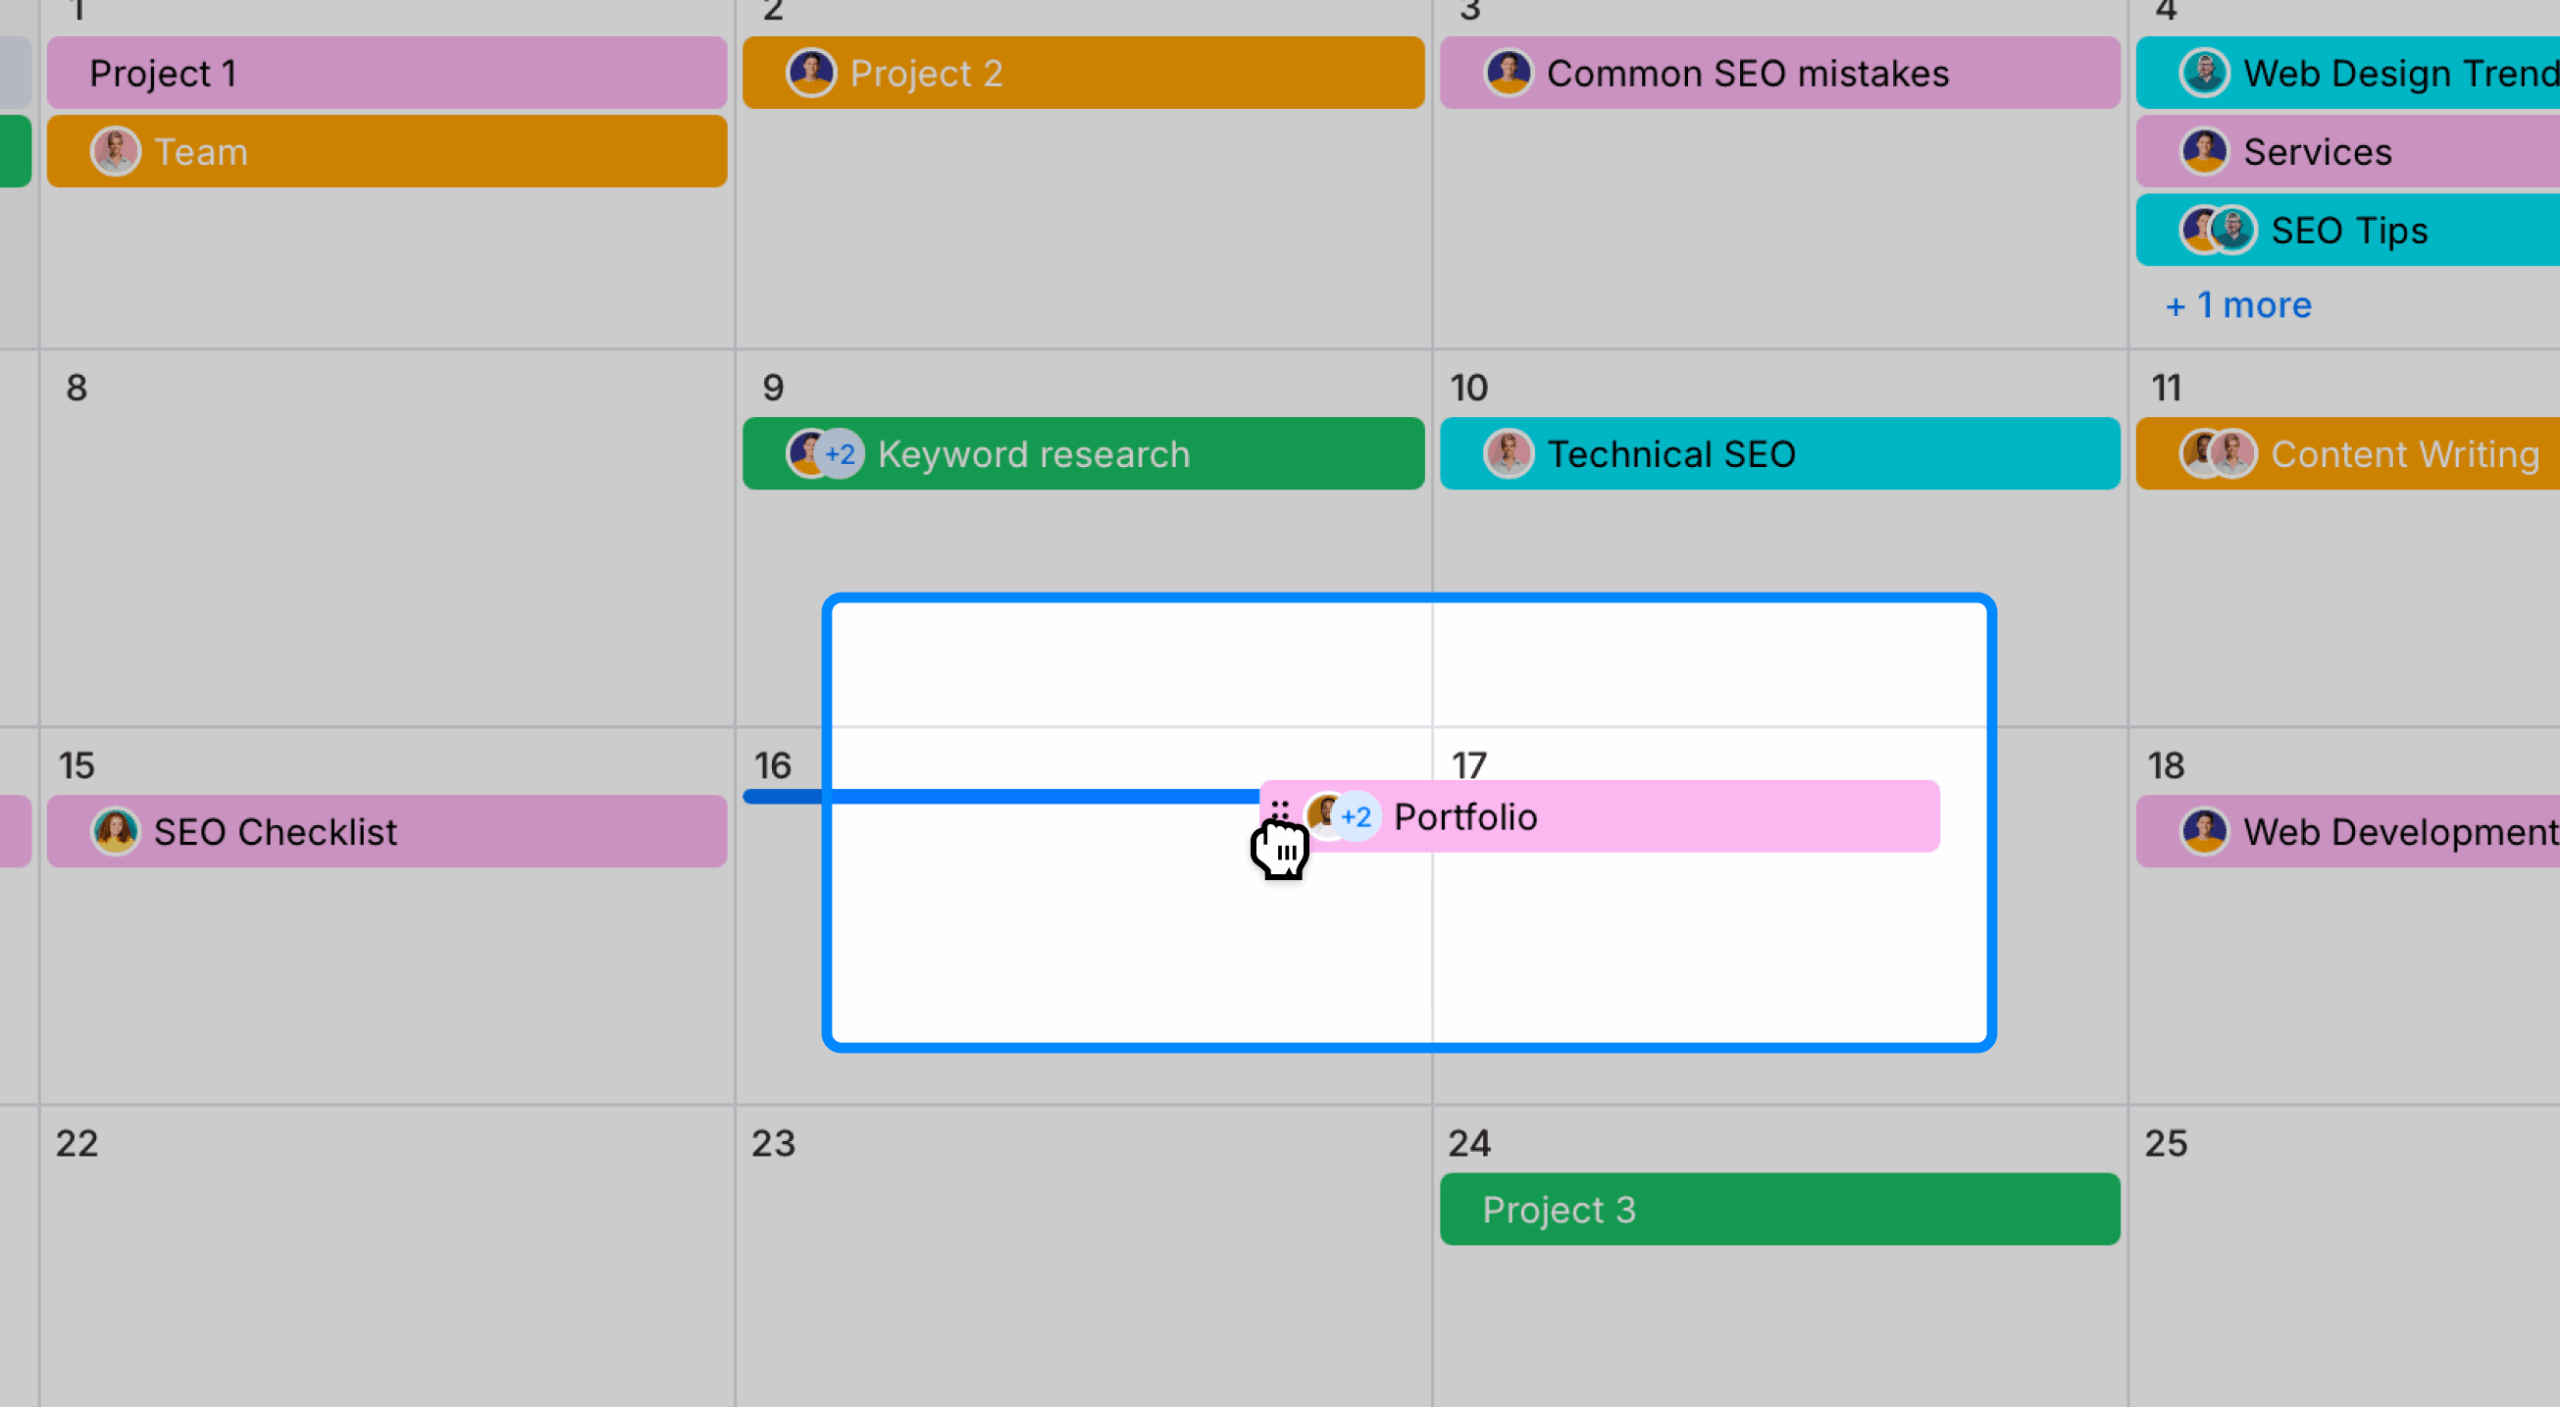
- Open Content Calendar in month or week view.
- Drag the page to another visible date.
- Release the page on the new date.
The change saves automatically. You can move a page to a date in the previous or next month when that date is visible in the calendar grid. The page appears in the corresponding month when you navigate to it.
Clear a due date
From Content Overview
To clear the due date for one page:
- Select the page’s current date.
- Select Clear Due Date.
The due date is removed immediately, and the modal closes.
To clear due dates for multiple pages:
- Select the checkboxes next to the pages in Content Overview.
- Select Due Date in the bottom drawer.
- Select Clear due date.
The due dates are removed from all selected pages.
From Content Calendar
- Select the page in the calendar grid.
- Select its current due date.
- Select Clear due date.
The change saves automatically, and the page disappears from Content Calendar immediately.
Mark a due date complete
From Page Editor
- Select the due-date and assignee control next to the page name.
- Select the checkbox next to Due date.
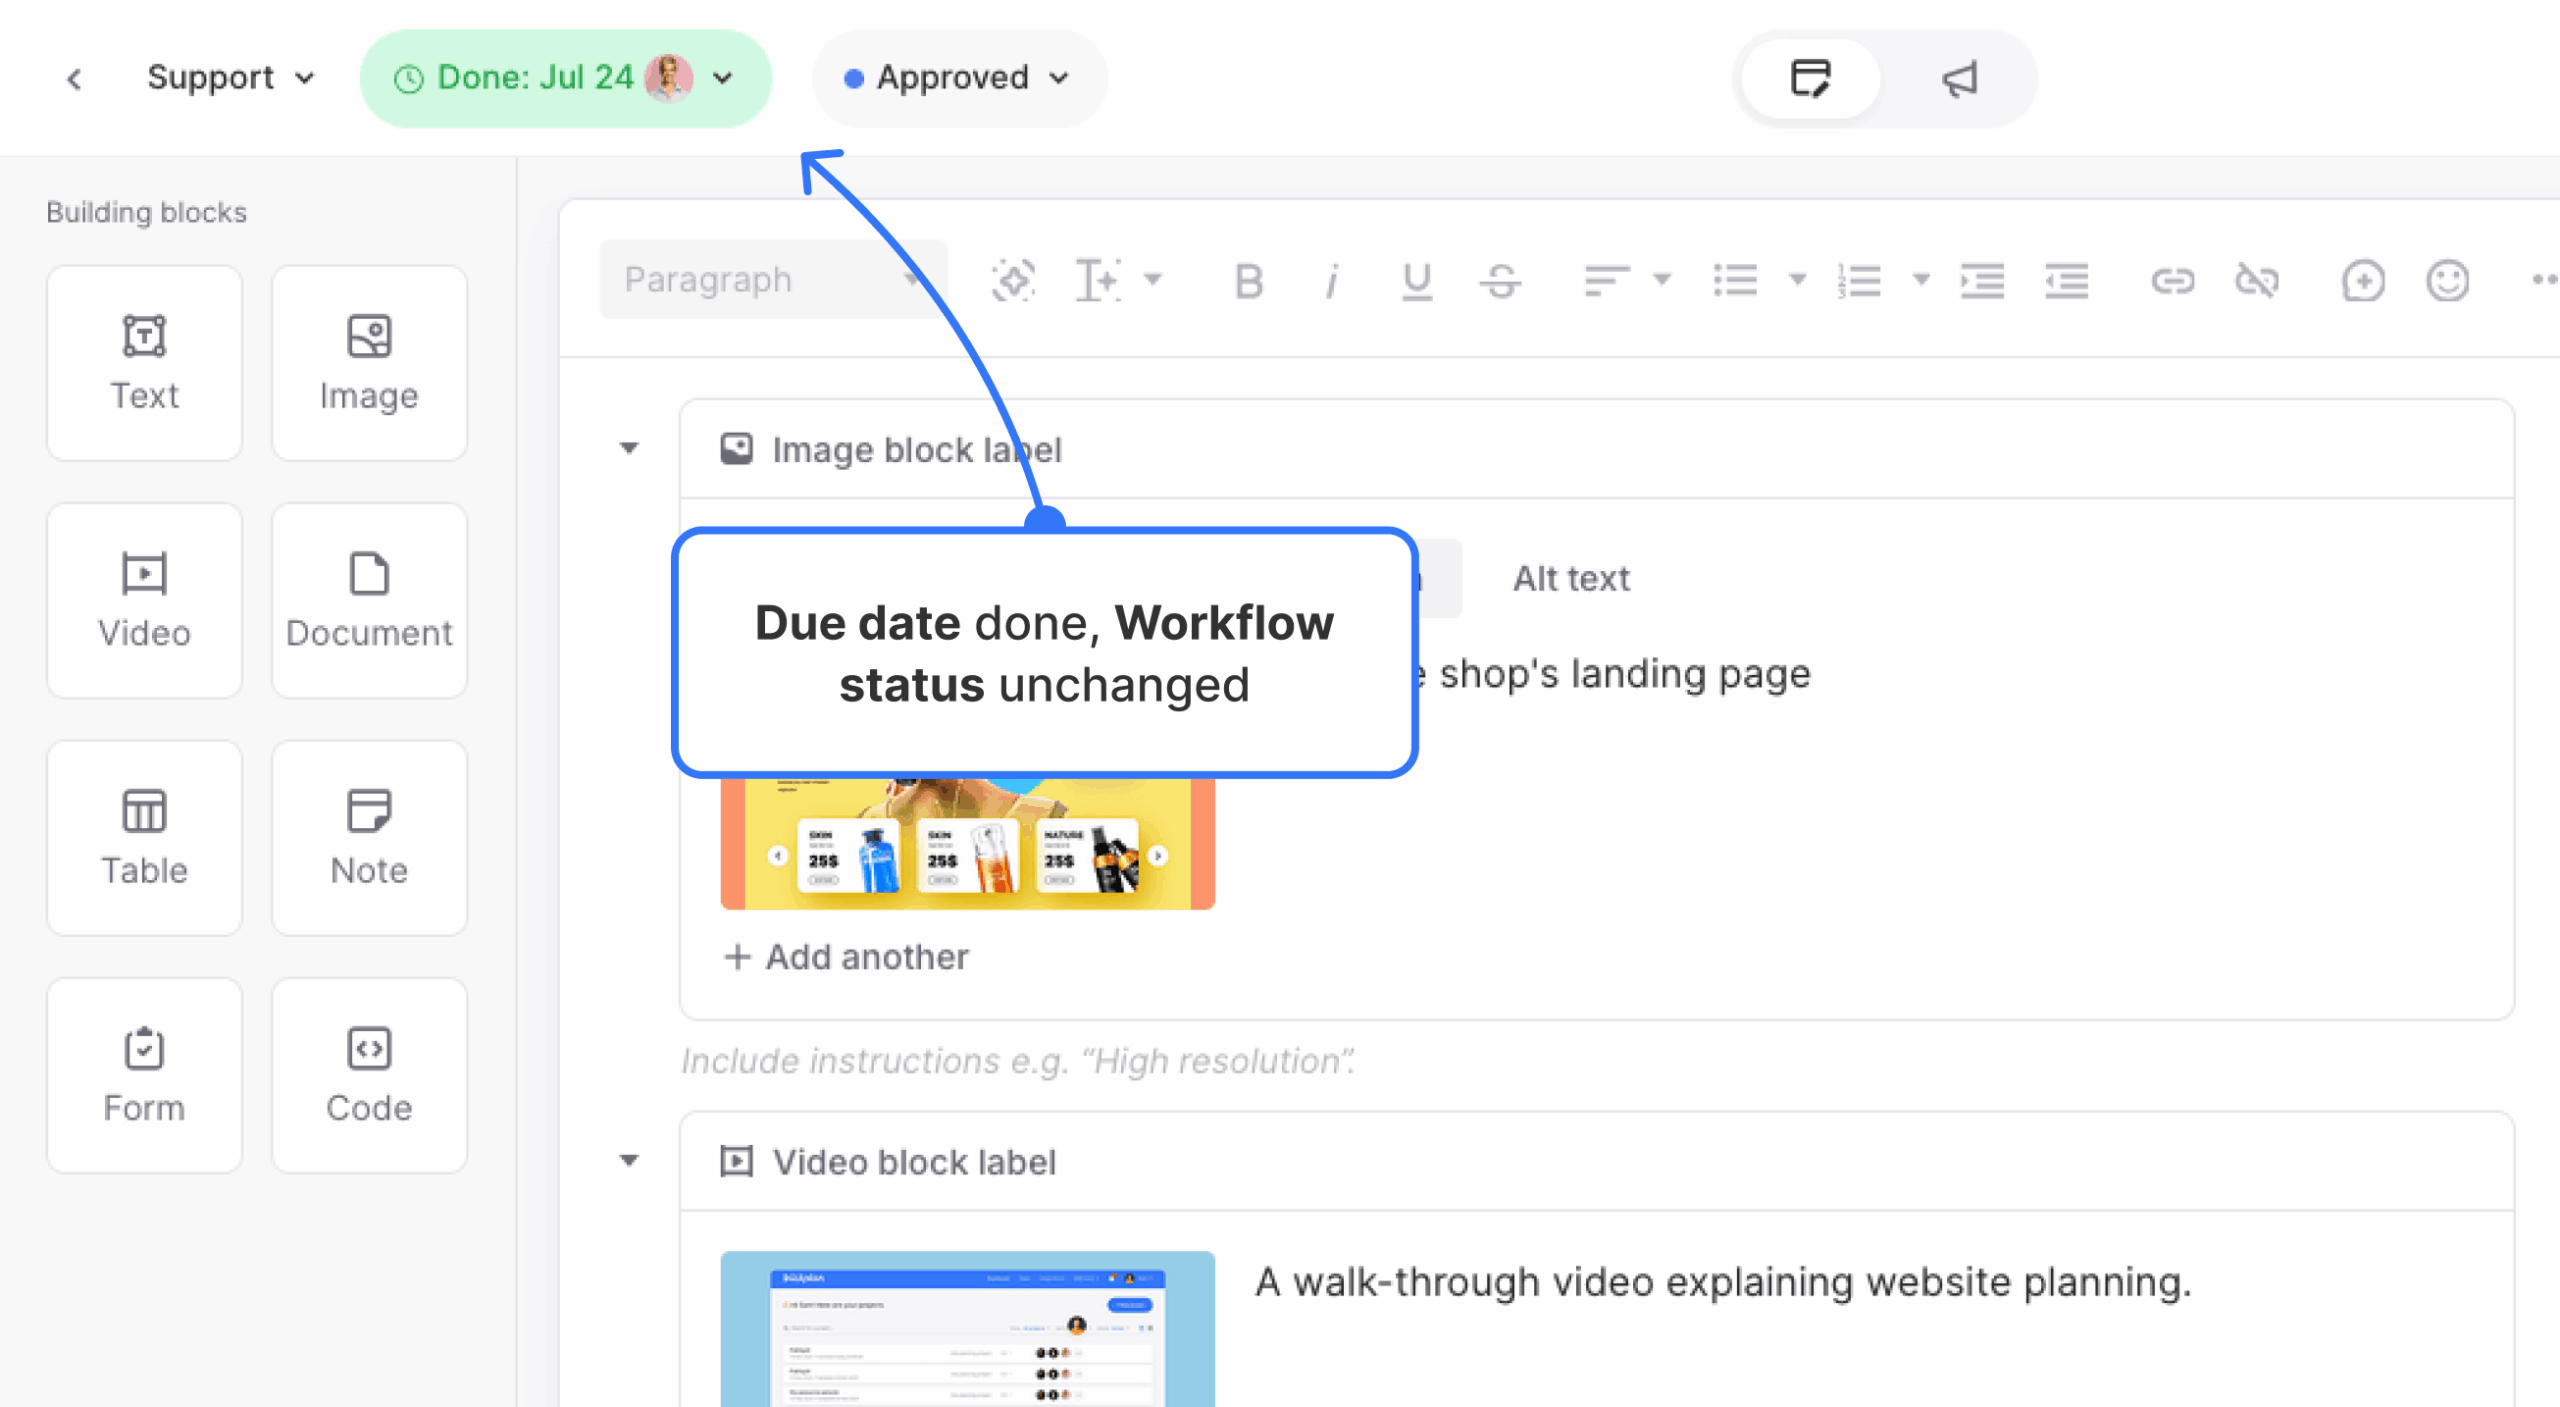
The change saves automatically. The due date is marked Done, and the control changes to light green.
From Content Calendar
- Select the page in the calendar grid.
- Use the due-date completion control in the page details.
The change saves automatically.
Due-date completion and page workflow status are independent:
- Marking a due date Done does not change the page’s workflow status.
- Changing a page’s workflow status to Complete does not mark its due date Done.
- A Complete workflow status can block page editing while the due date remains active.
A page can therefore be complete for scheduling purposes while still waiting for review or another workflow-status update.
Understand due-date states
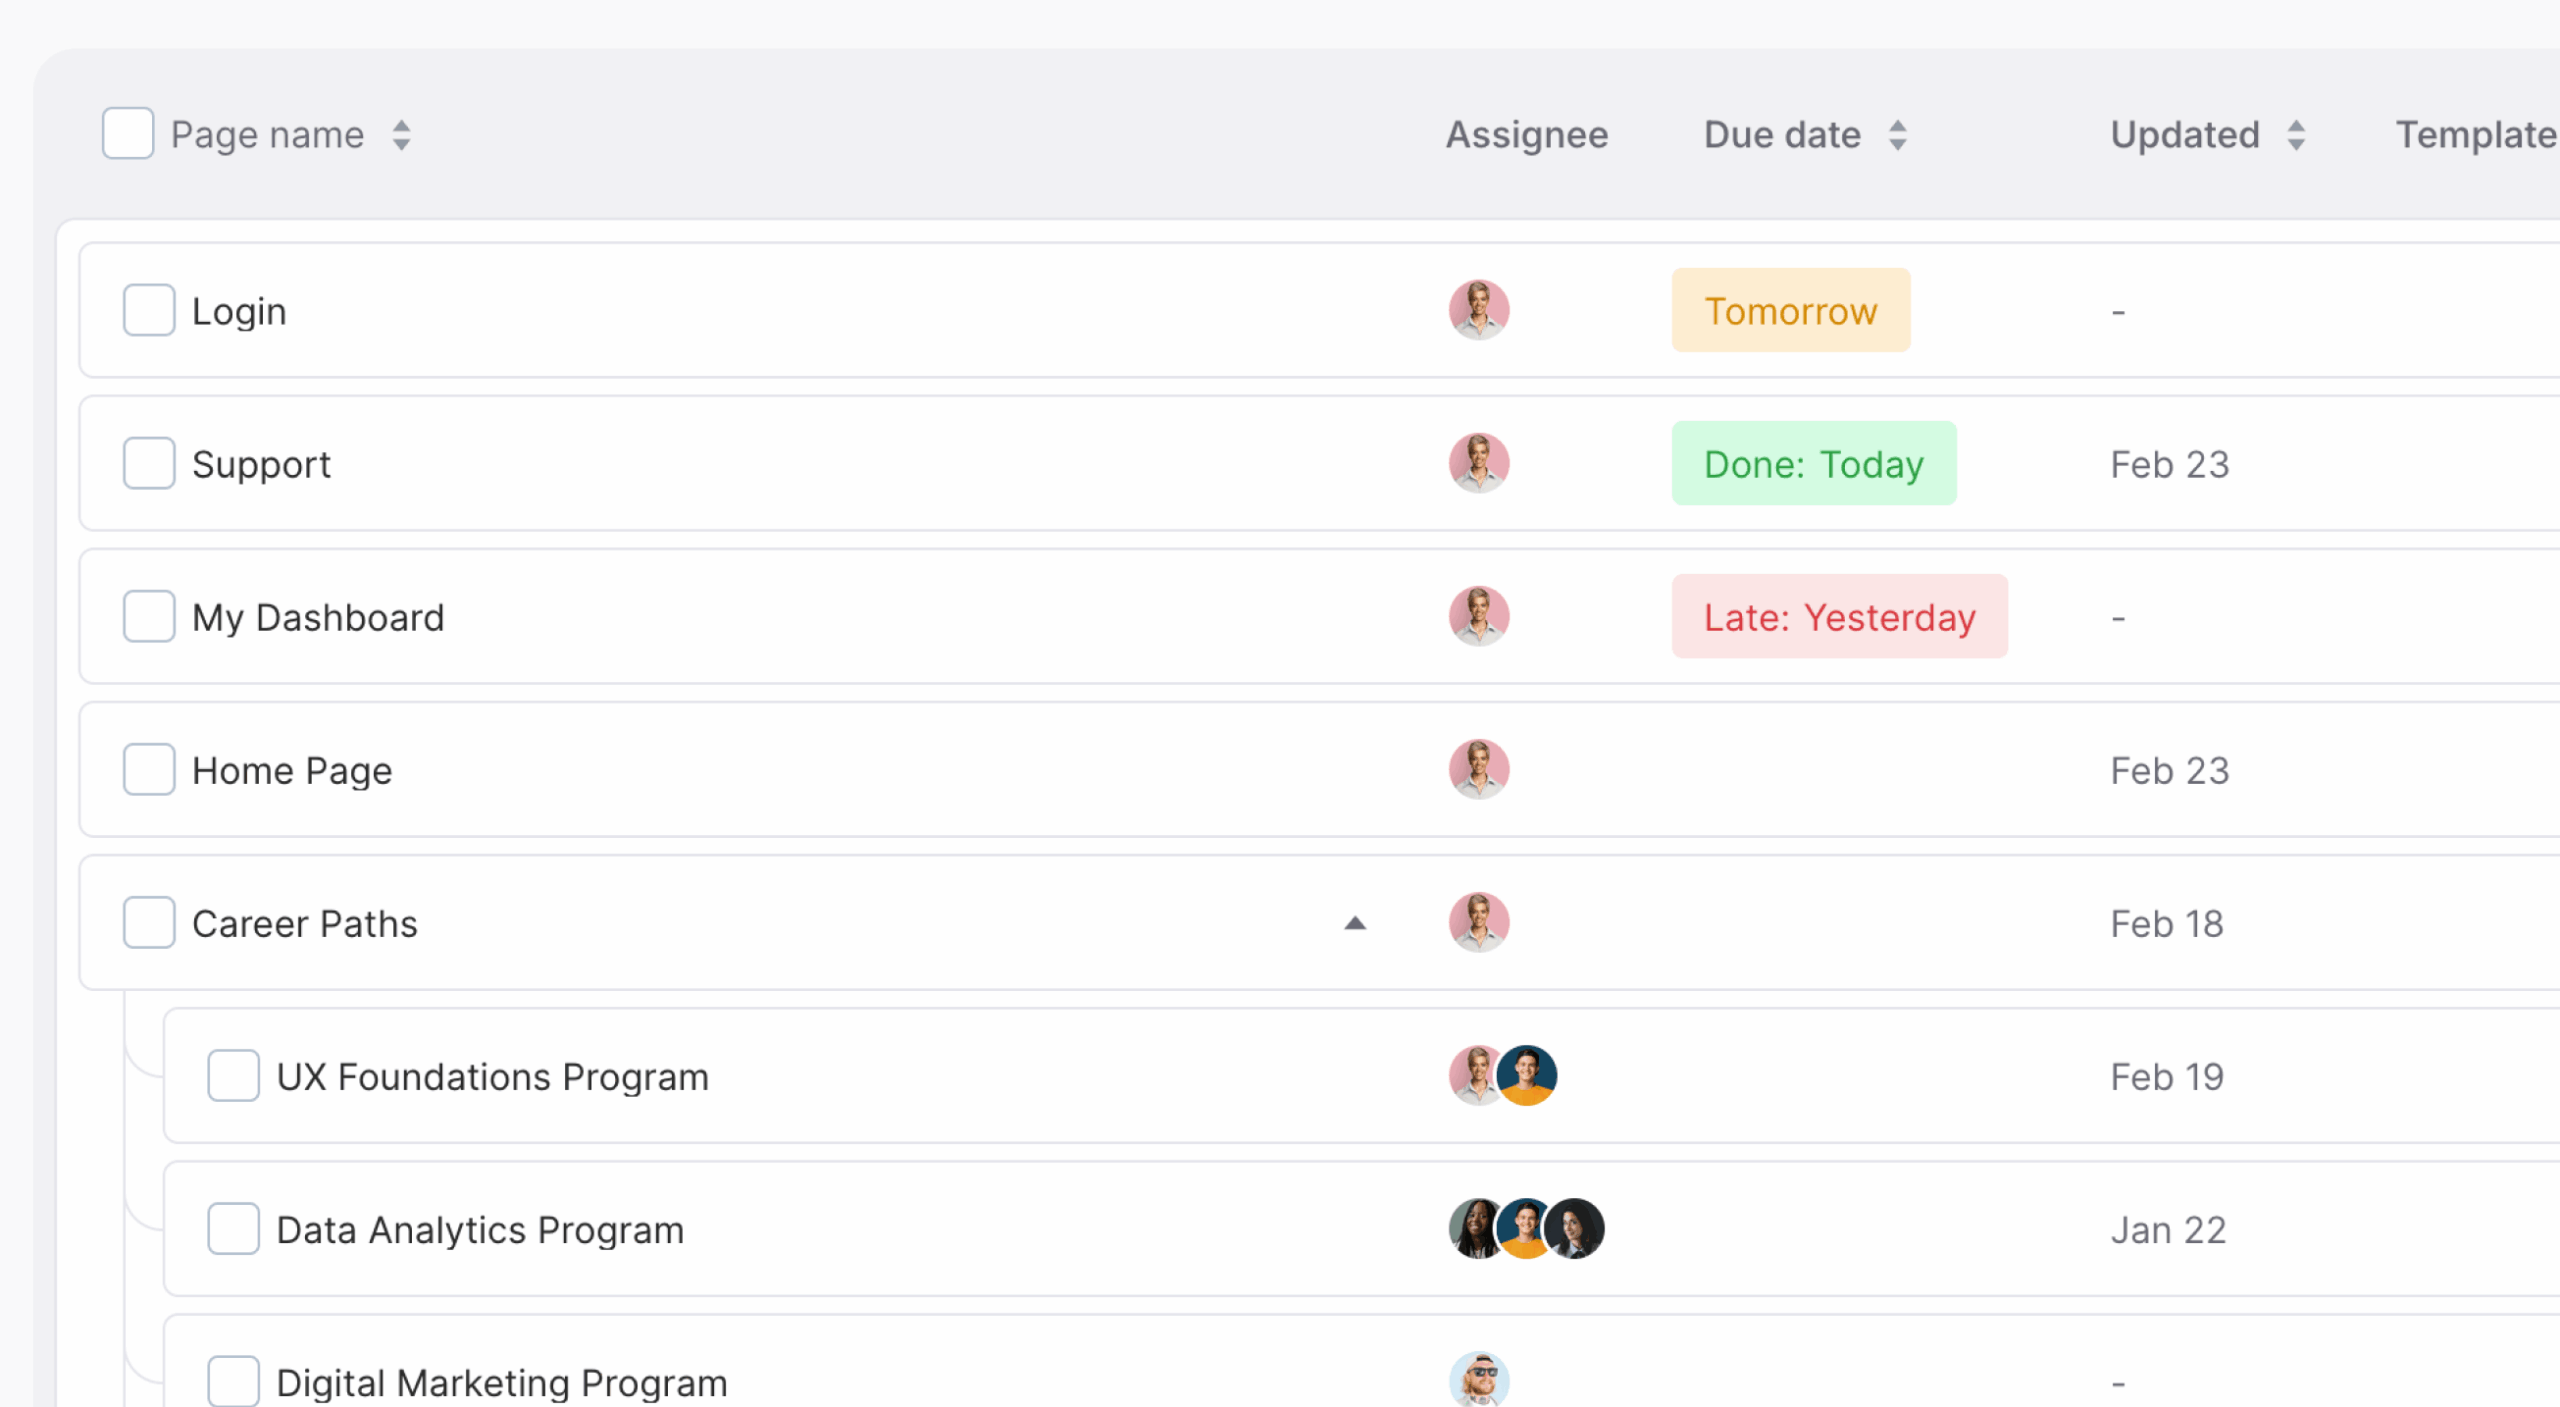
Content Overview uses the date’s appearance and wording to show its current state:
- Upcoming: Dates outside the due-soon range use the standard date presentation.
- Due soon: Dates due today or within the next three calendar days appear in orange without a text prefix.
- Late: Past-due dates appear in a light-red rectangle with red text and a Late: prefix, such as Late: Jul 9.
- Done: Completed due dates appear in green with a Done: prefix, such as Done: Jun 29.
Completed due dates remain visible. The Done state overrides the late state, even when the original due date has passed.