How do I change page status?
Page status can be changed in a few ways, easily with just a few clicks.
The first way to change the page status is directly from the page properties panel:
- Open the page properties panel and under Page Options select an existing status, or add a new one: How do I add a new workflow status?

- Changes will save automatically and after selecting the status, a colored label will appear on the page.

The second way allows you to change the status of a single, or multiple pages at once:
- Open the content dashboard.
Here, you will see pages with dots in different colors. Each color represents a status color previously assigned by the user.
The screenshot below shows 4 types of page status currently created by an assignee: Complete, Draft, Needs Further Revisions, and In Review. Numbers in the brackets are the numbers of pages with the selected status.

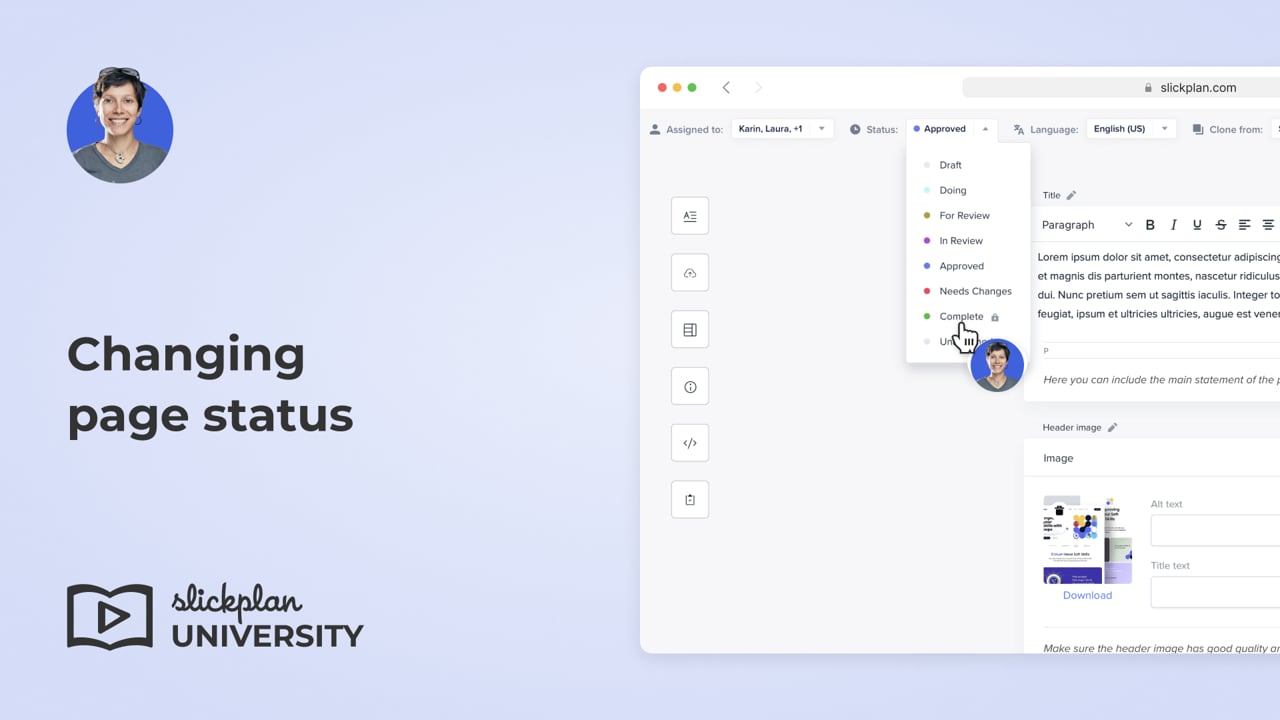
- To change/assign the status to a single page, select and open a page from the list.
- Open the Workflow Status dropdown and select a status.

Another way allows you to assign statuses to multiple pages.
- On the content dashboard, select the pages to which you want to assign statuses.
- On the bottom bar, click on Status and select a status from the list, then confirm with the Done button.
