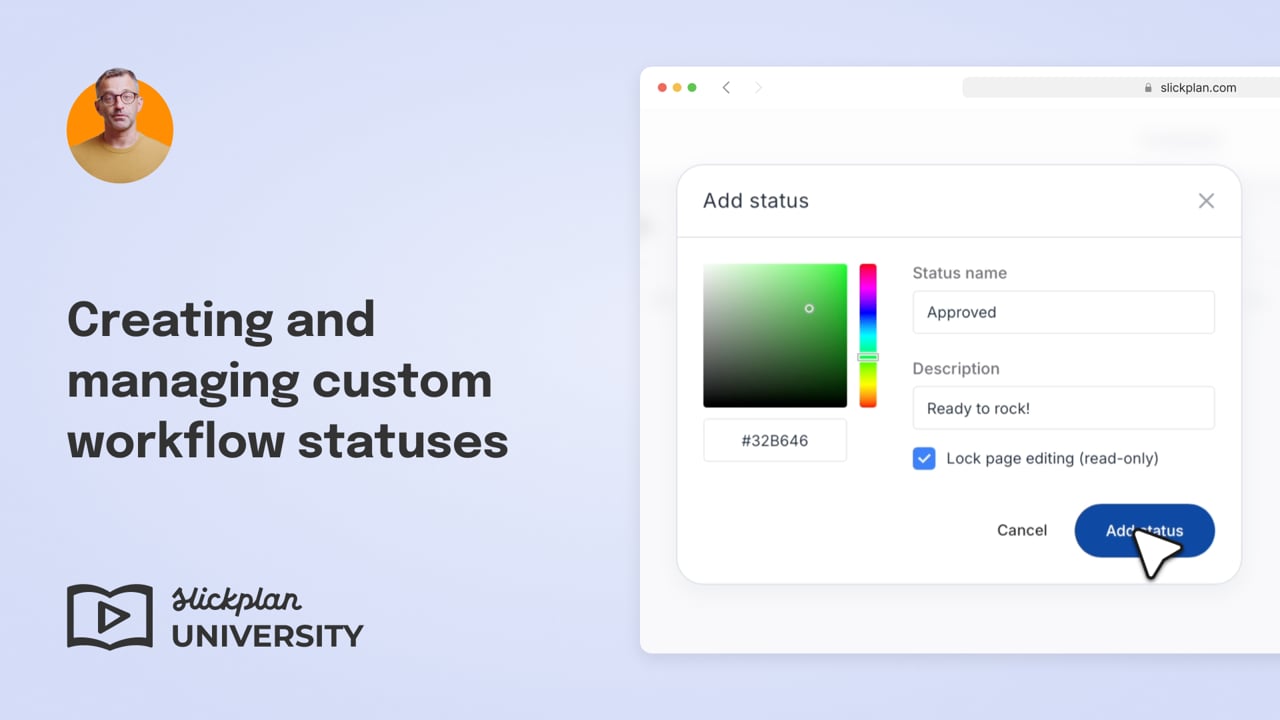
Creating and managing custom workflow statuses
Custom statuses help you align Slickplan’s workflow with your team’s specific content process. Adding statuses like Needs Further Revisions or Awaiting Approval makes it easy to track progress and keep everyone on the same page.
💡 Tip: Custom statuses are shared across your entire project and are available in both the Sitemap Builder and Content Planner.
How to create a new status
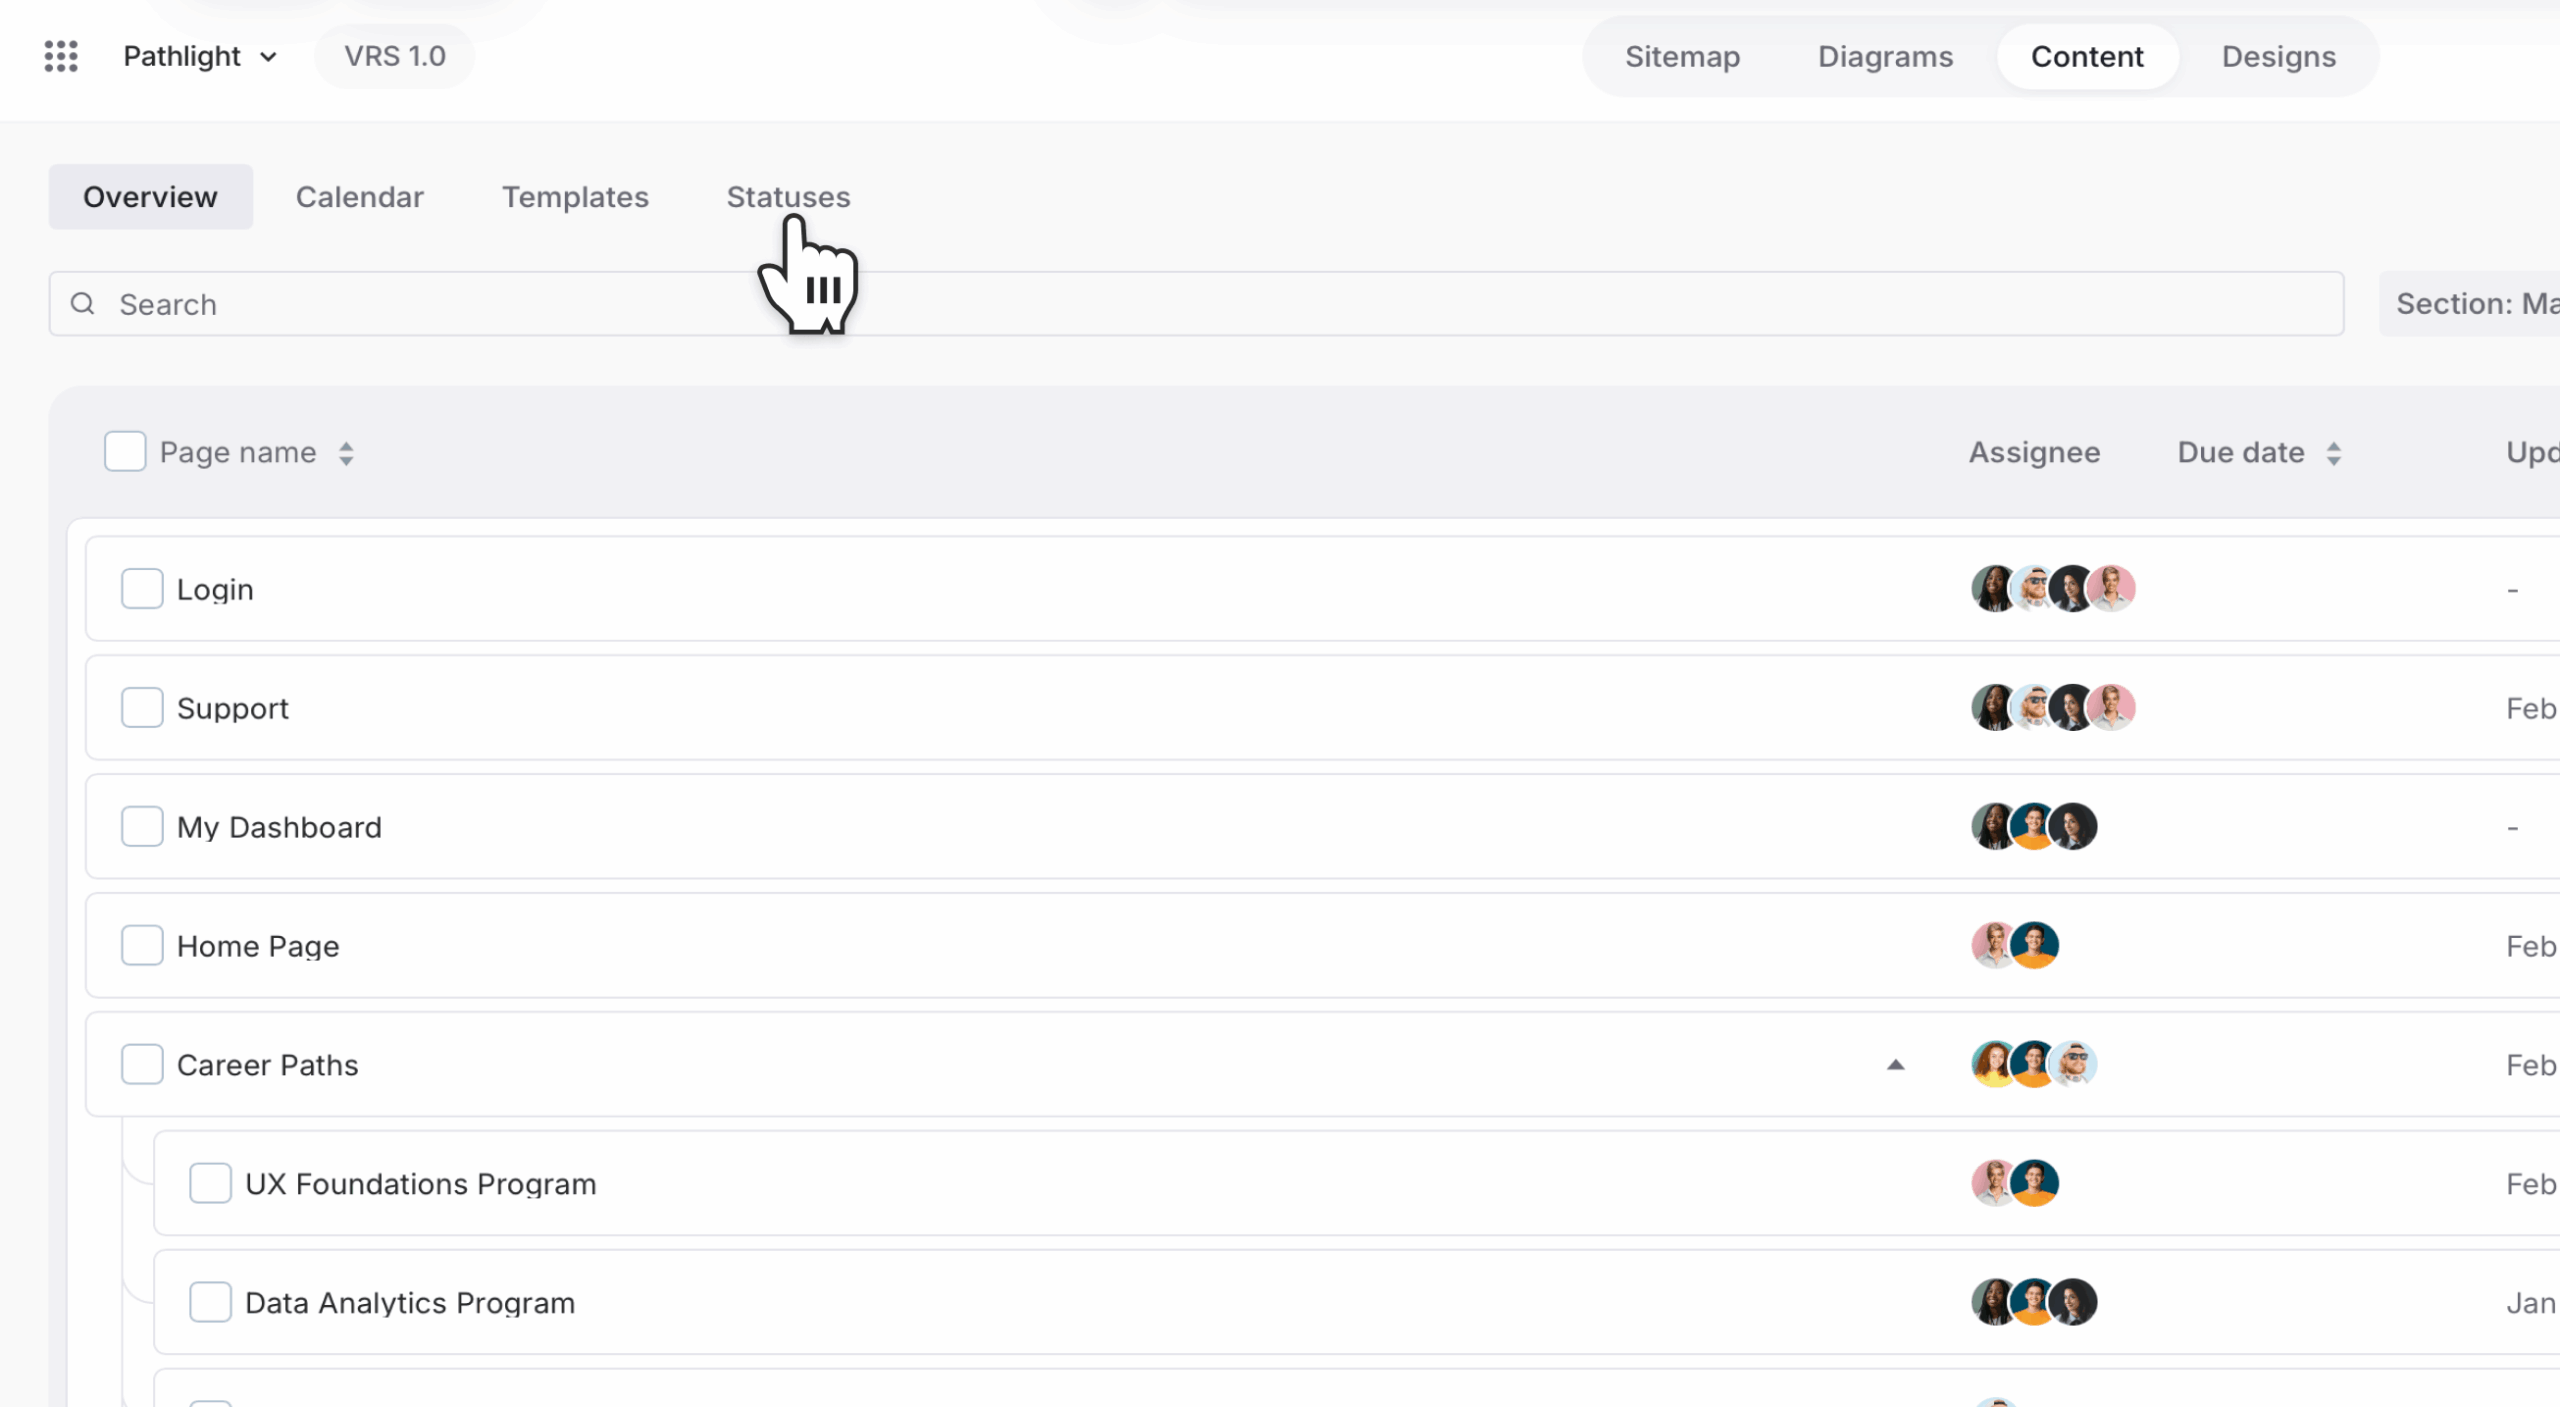
Start from the Content Dashboard, then look for the submenu just below the main navigation bar. Click Workflow Status (third link from the left).
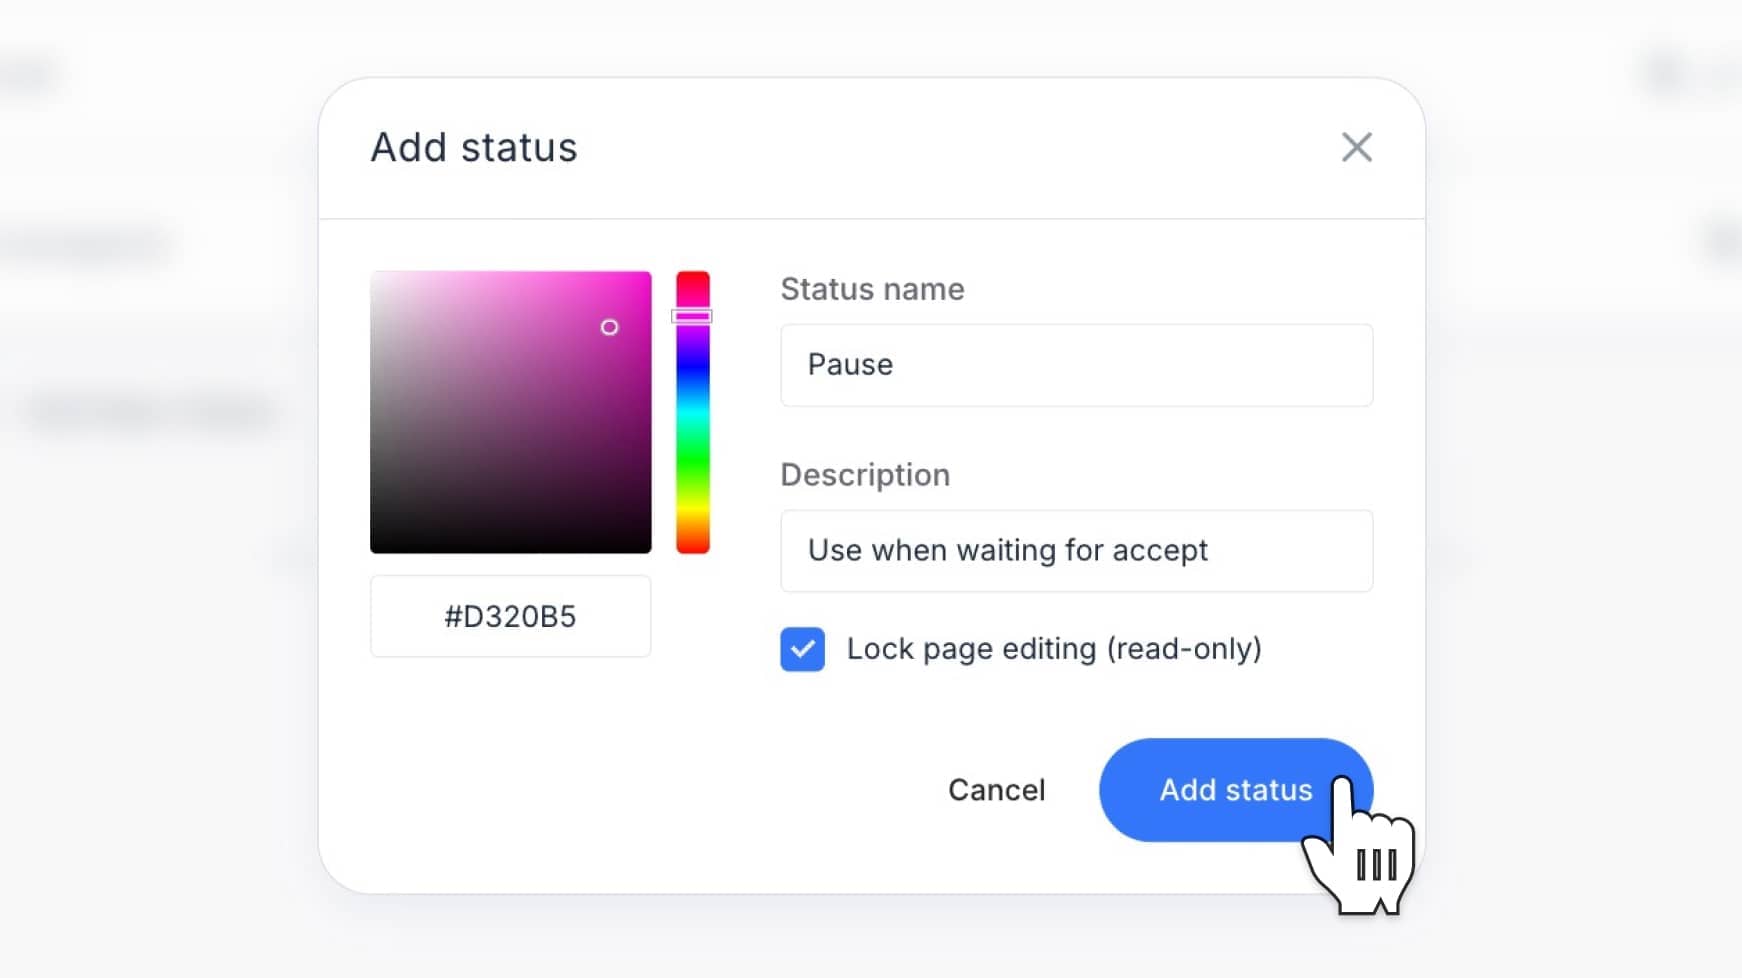
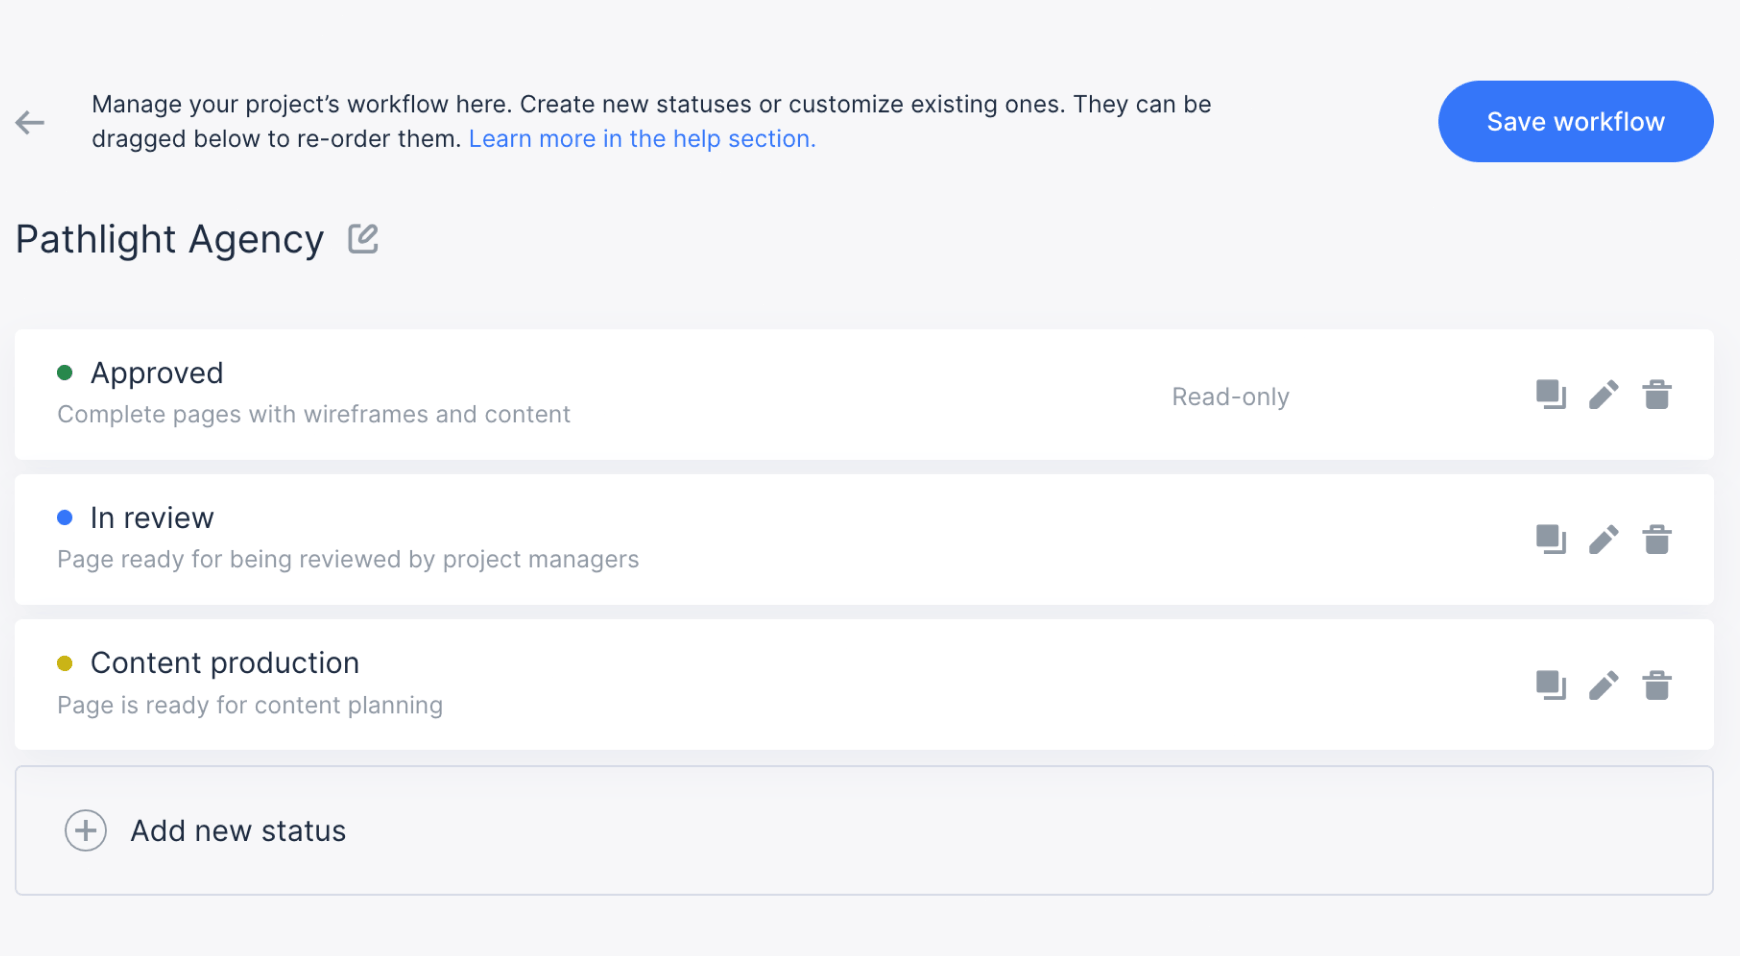
On the Workflow Status page, click the + Add status button in the top right corner.

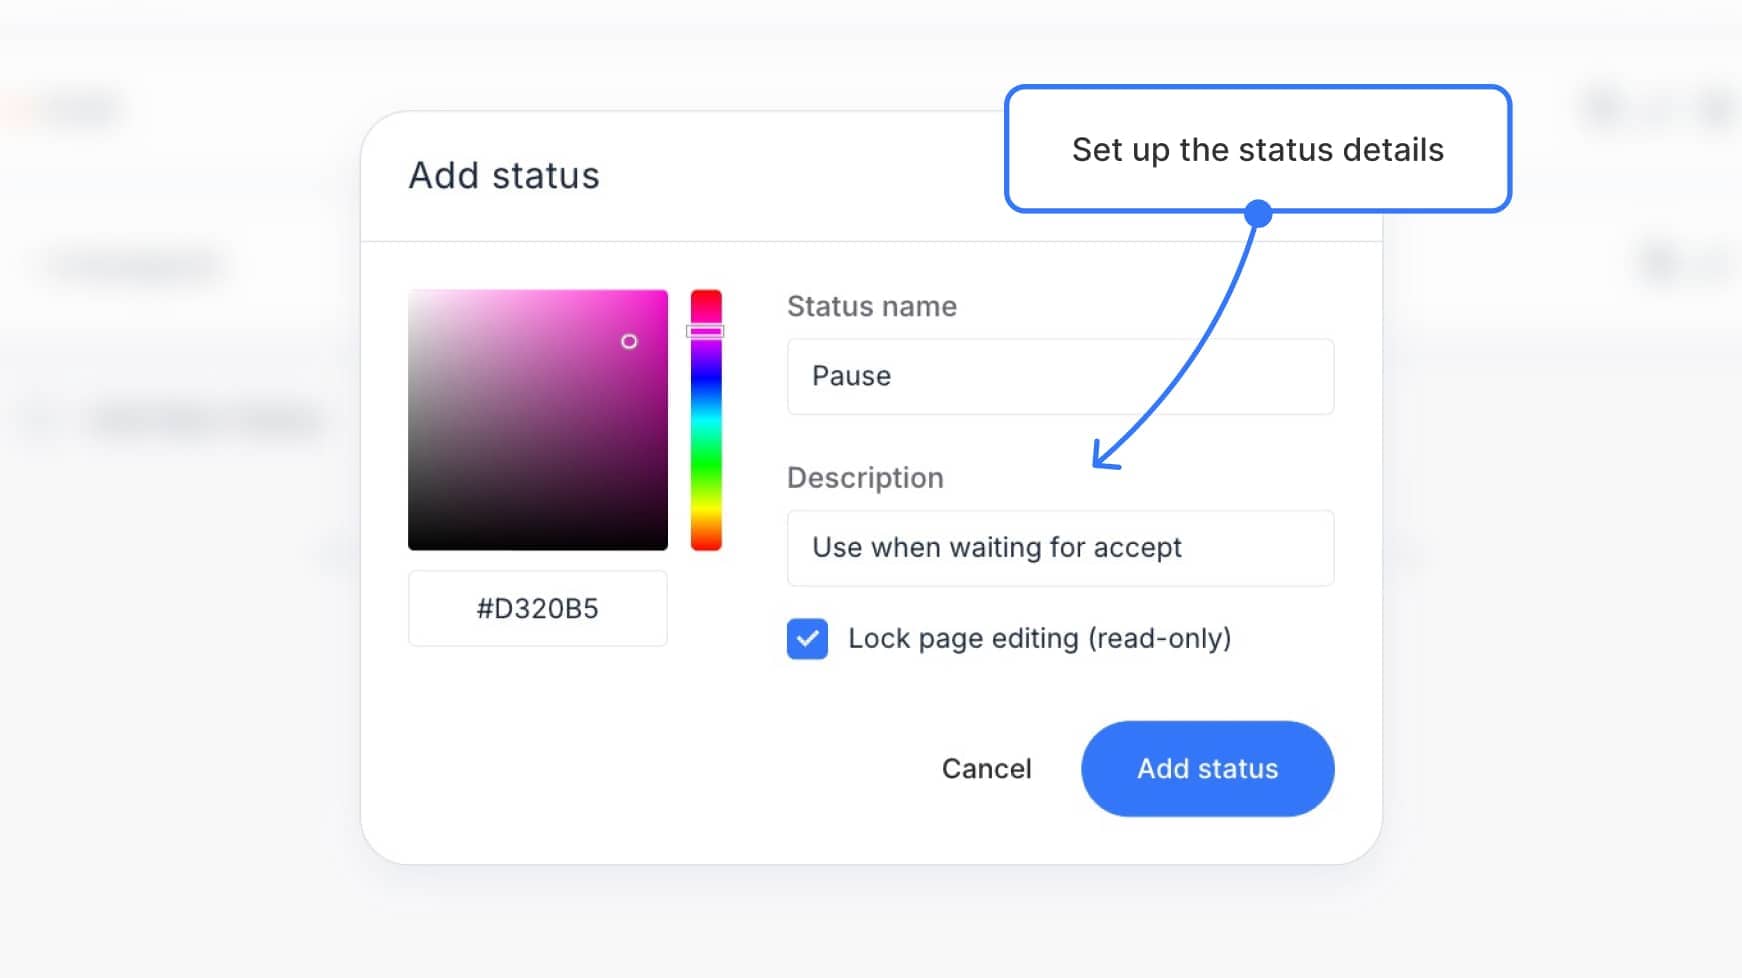
This will open the Status modal, where you can:
- Choose a color using the color picker
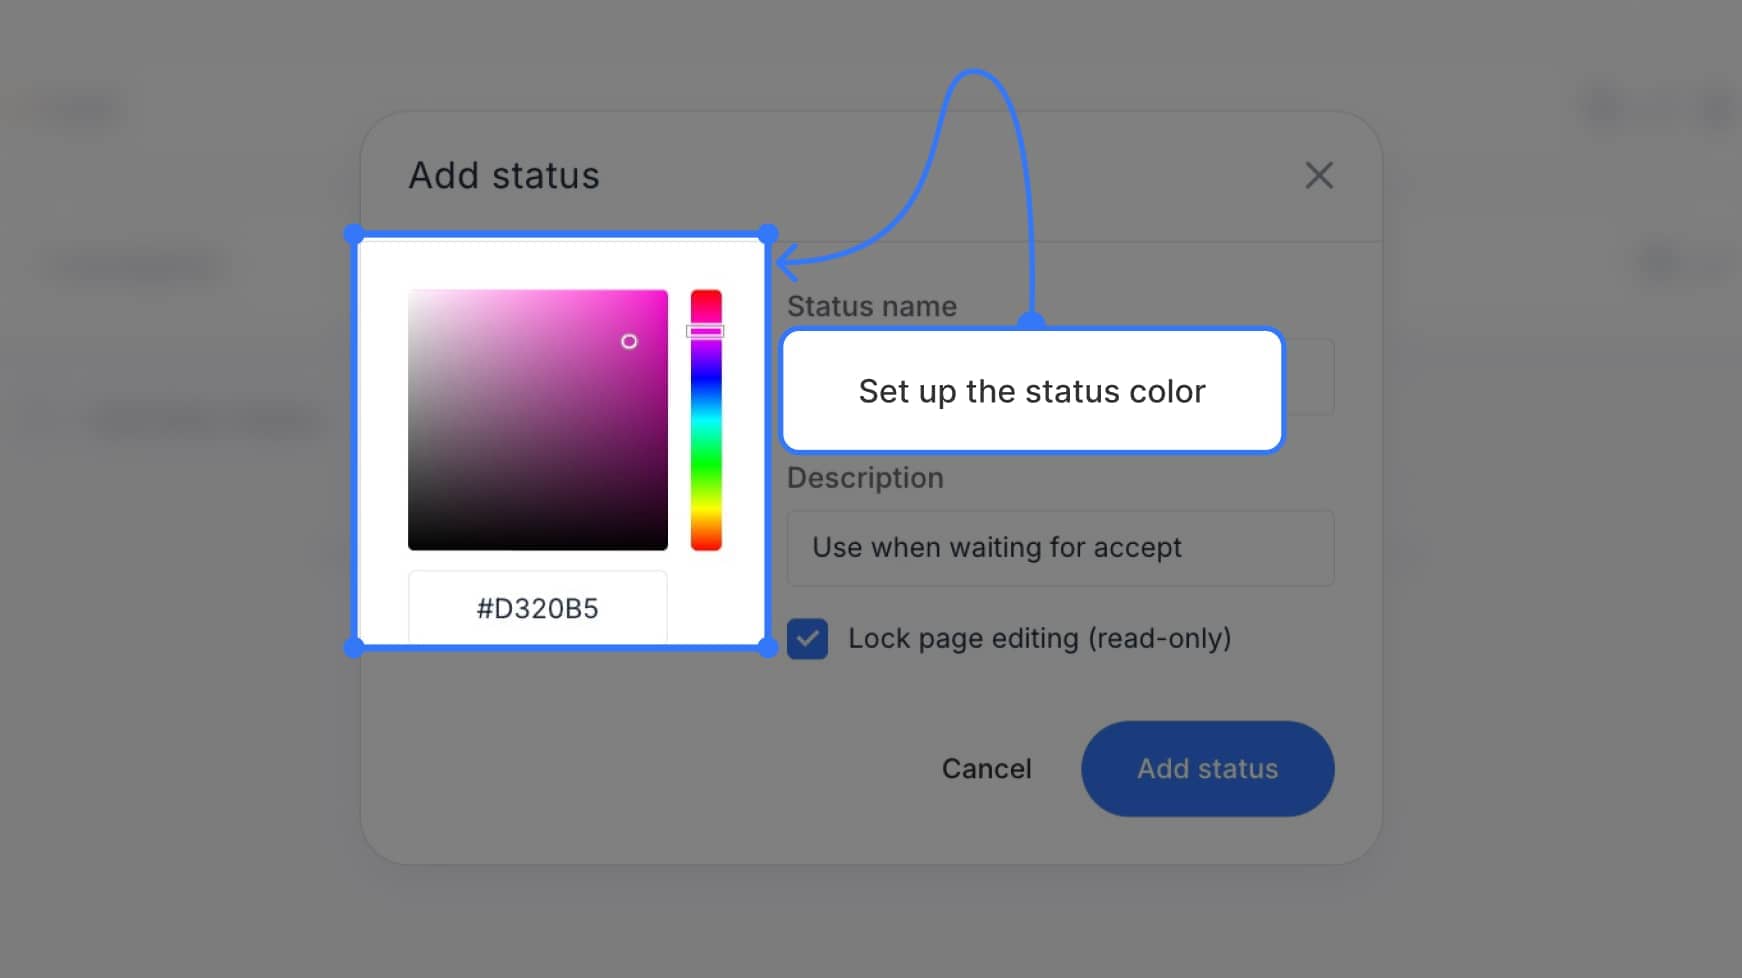
- Enter a Status name (e.g.
Needs Further Revisions) - Add an Optional description
- Check Lock page editing (read-only) to prevent future edits to any page with this status
Click Add status to save your changes.
Your new status will now appear in the Status dropdown throughout the app and can be applied to any page.
Managing existing statuses
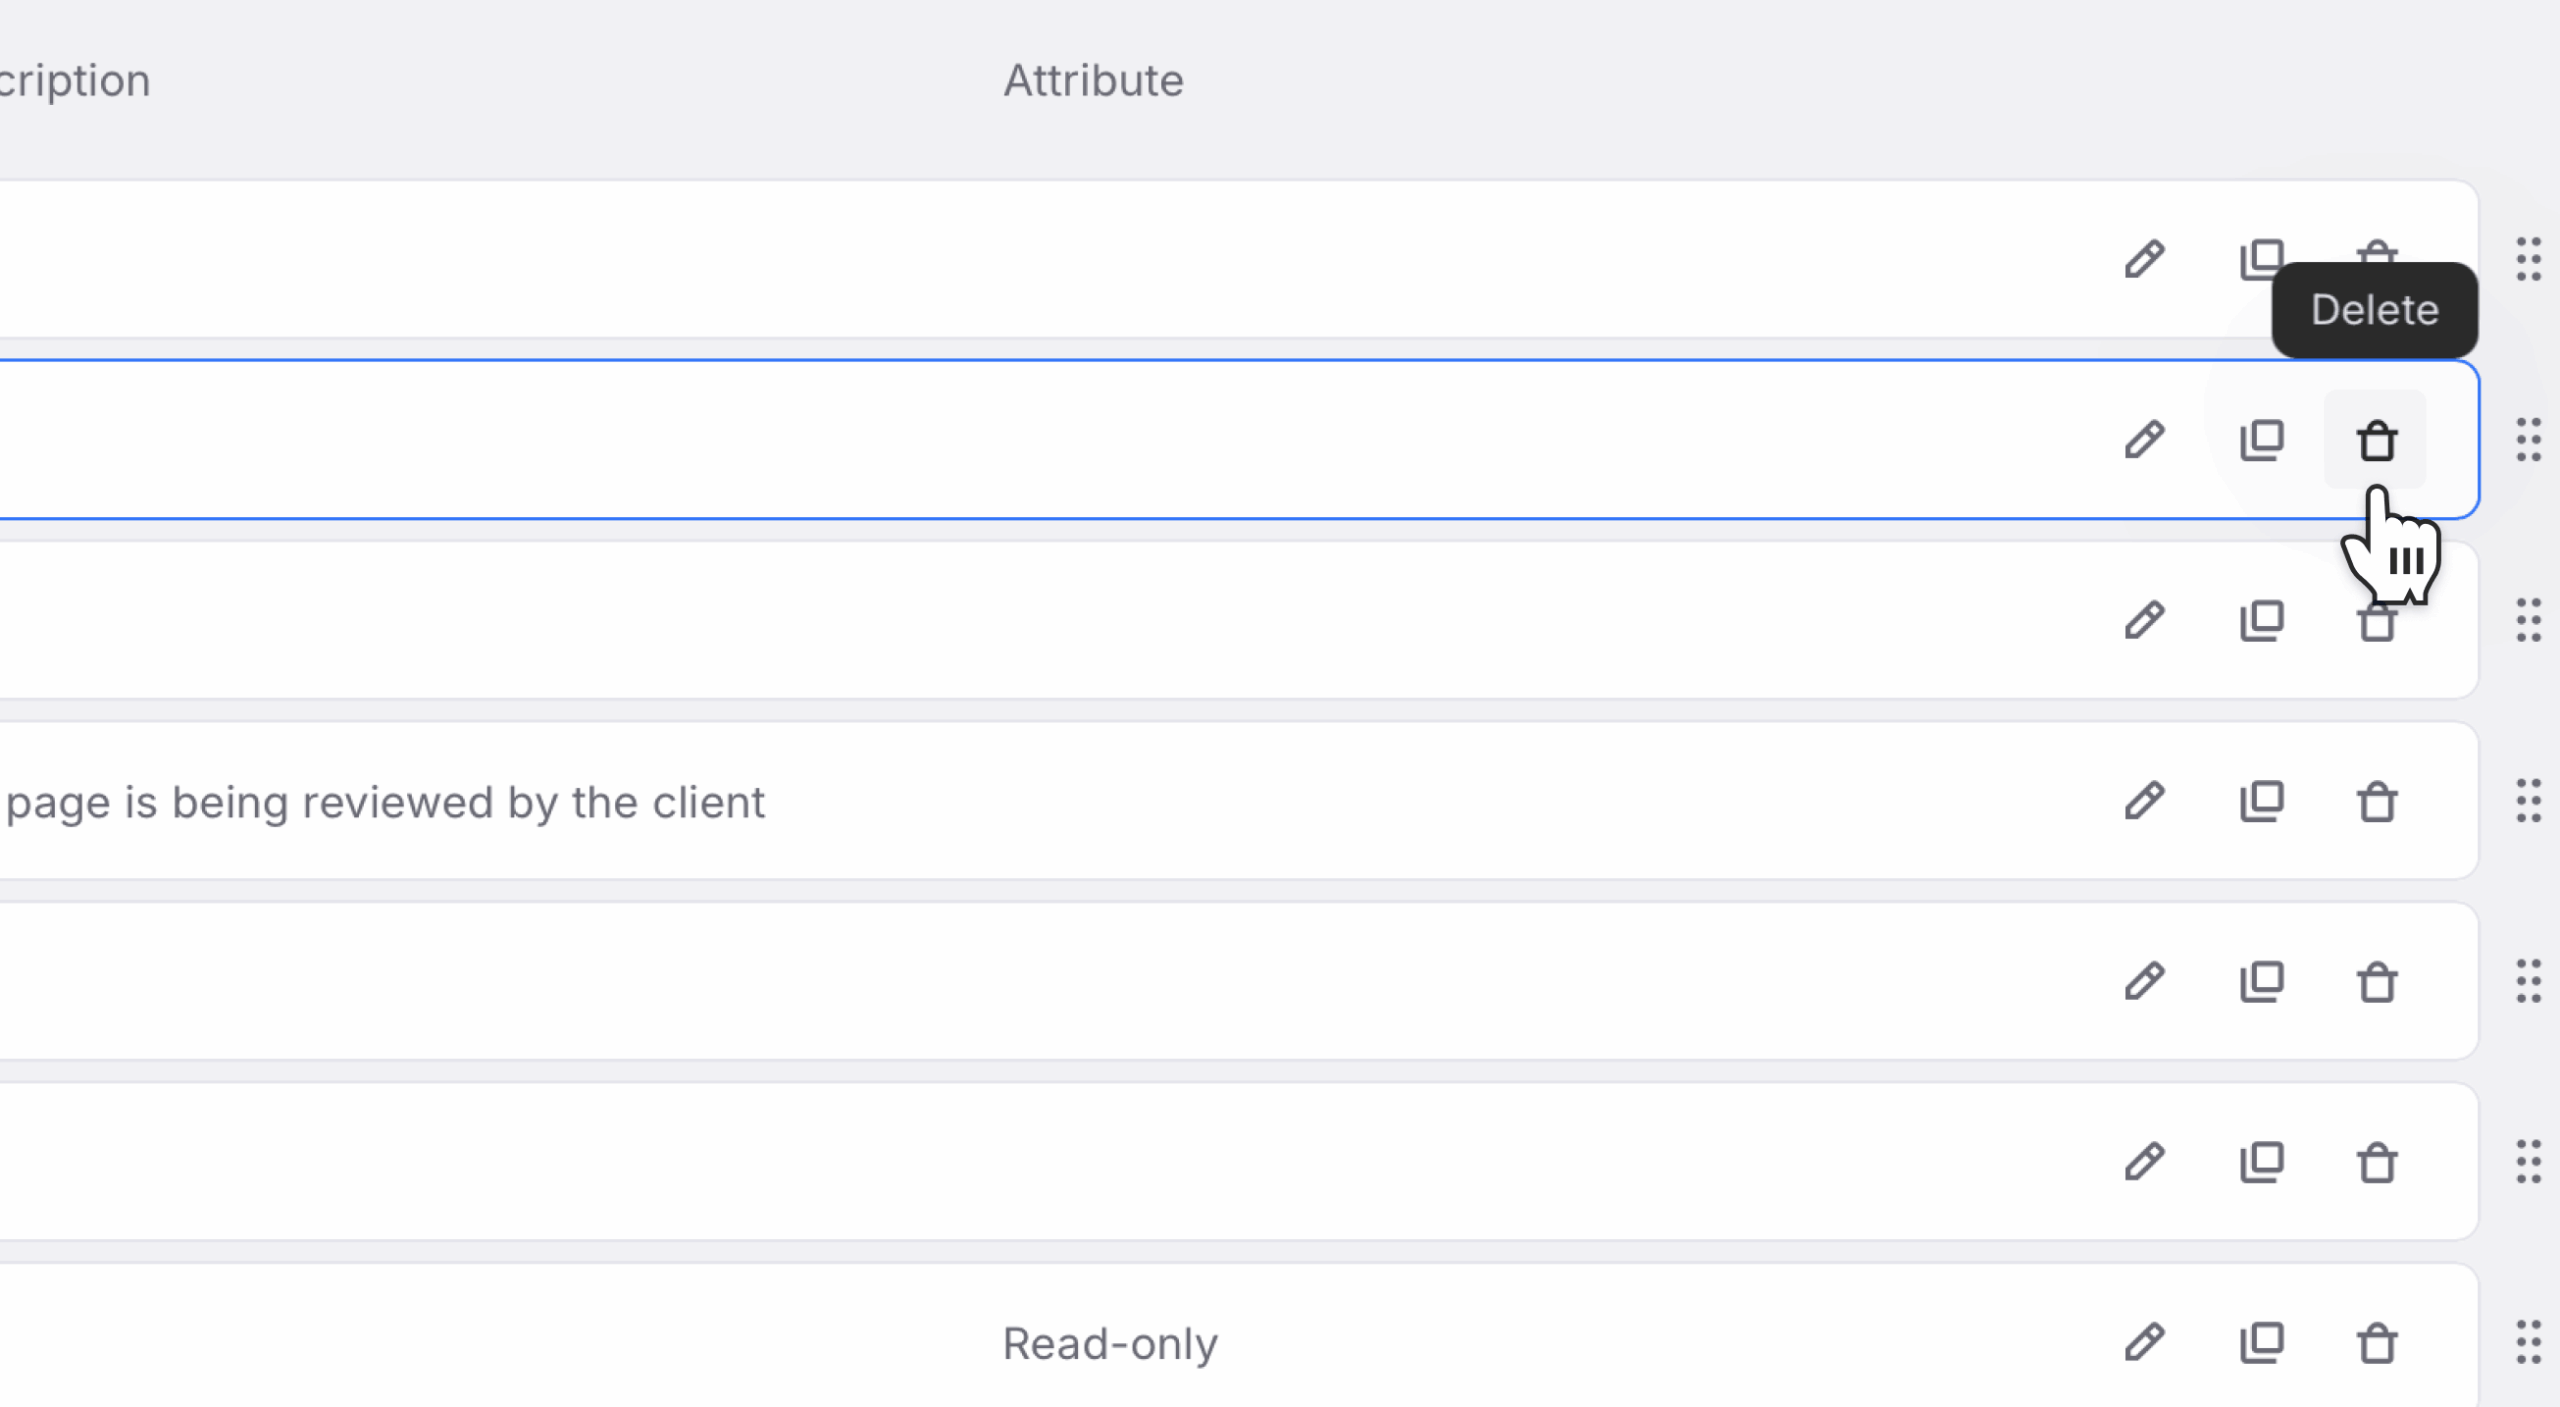
To edit, duplicate, or delete a status:
- Click the pencil icon to edit

- Click the clone icon to duplicate an existing status
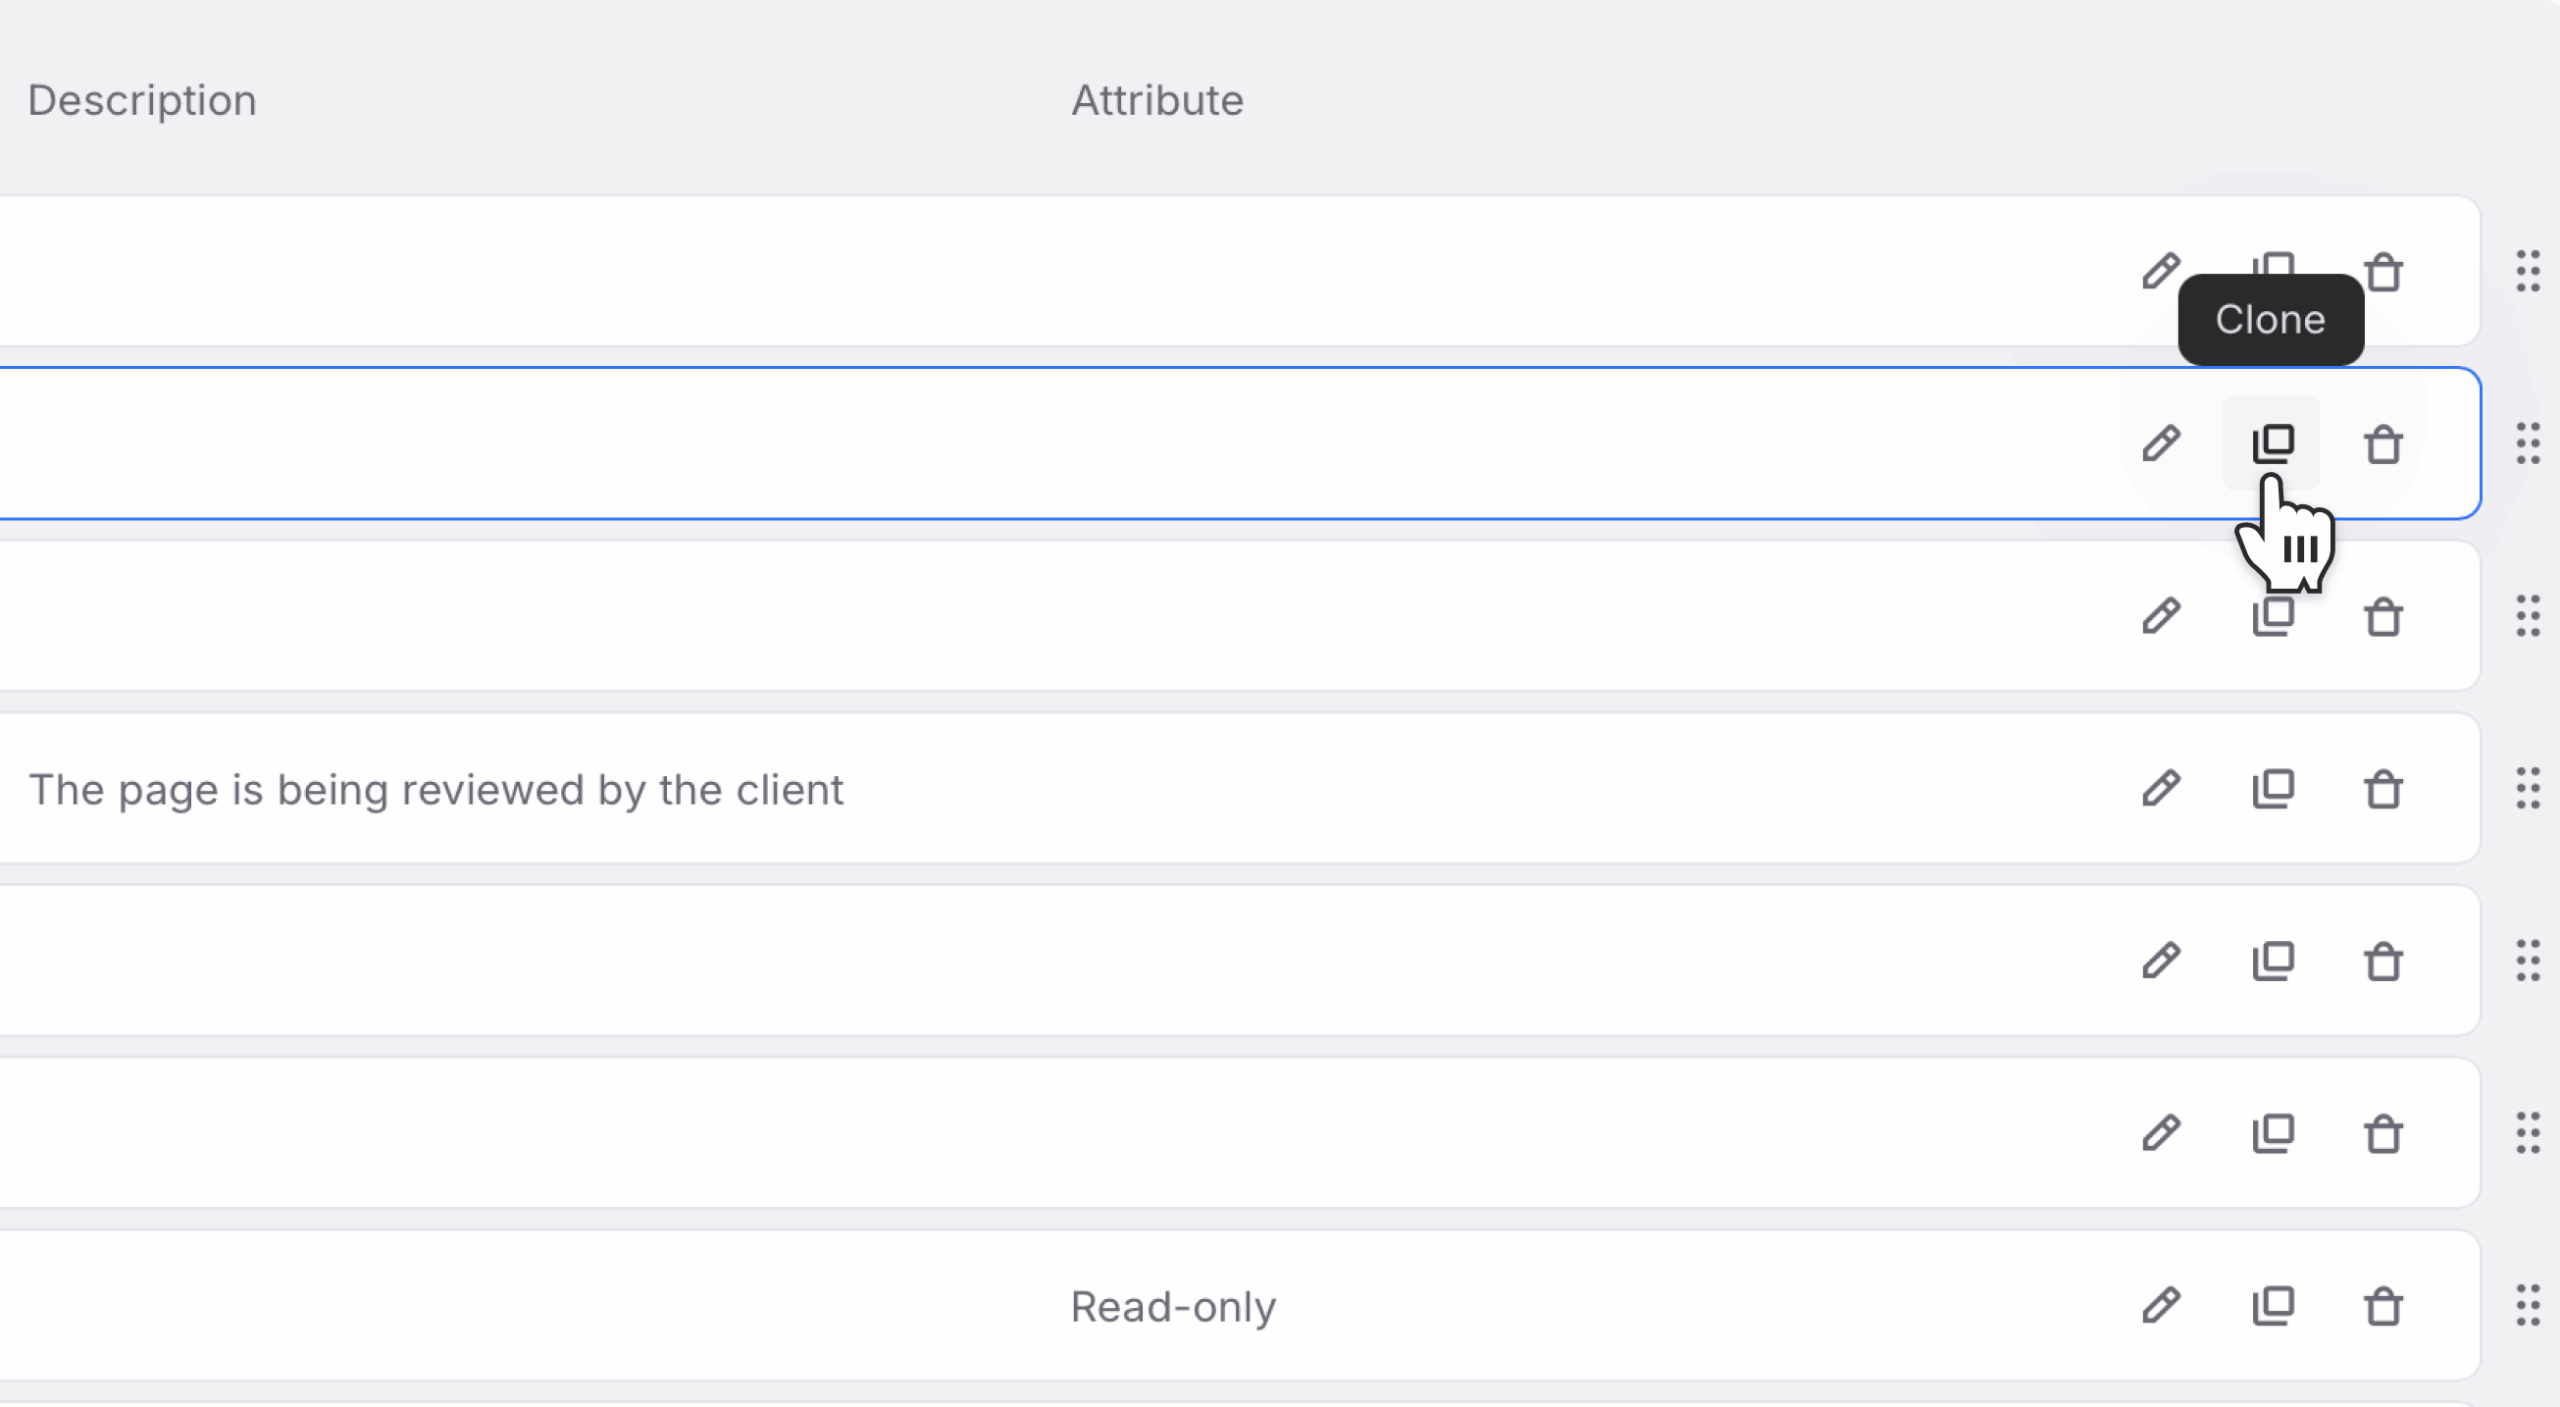
- Click the trash can icon to remove the status
💡 Note: The only default status that cannot be deleted is Unassigned. All other statuses, including Draft and Complete, can be edited or removed as needed.
Import workflow statuses from templates
If you work across multiple projects with similar workflows, you don’t need to recreate the same workflow statuses every time. Slickplan lets you import workflow statuses from reusable templates.
Workflow templates are created at the account level and can be imported into any project.
Where imported statuses come from
Workflow templates are managed outside individual projects. They act as reusable collections of workflow statuses that you can quickly apply when starting or updating a project.
To access workflow templates:
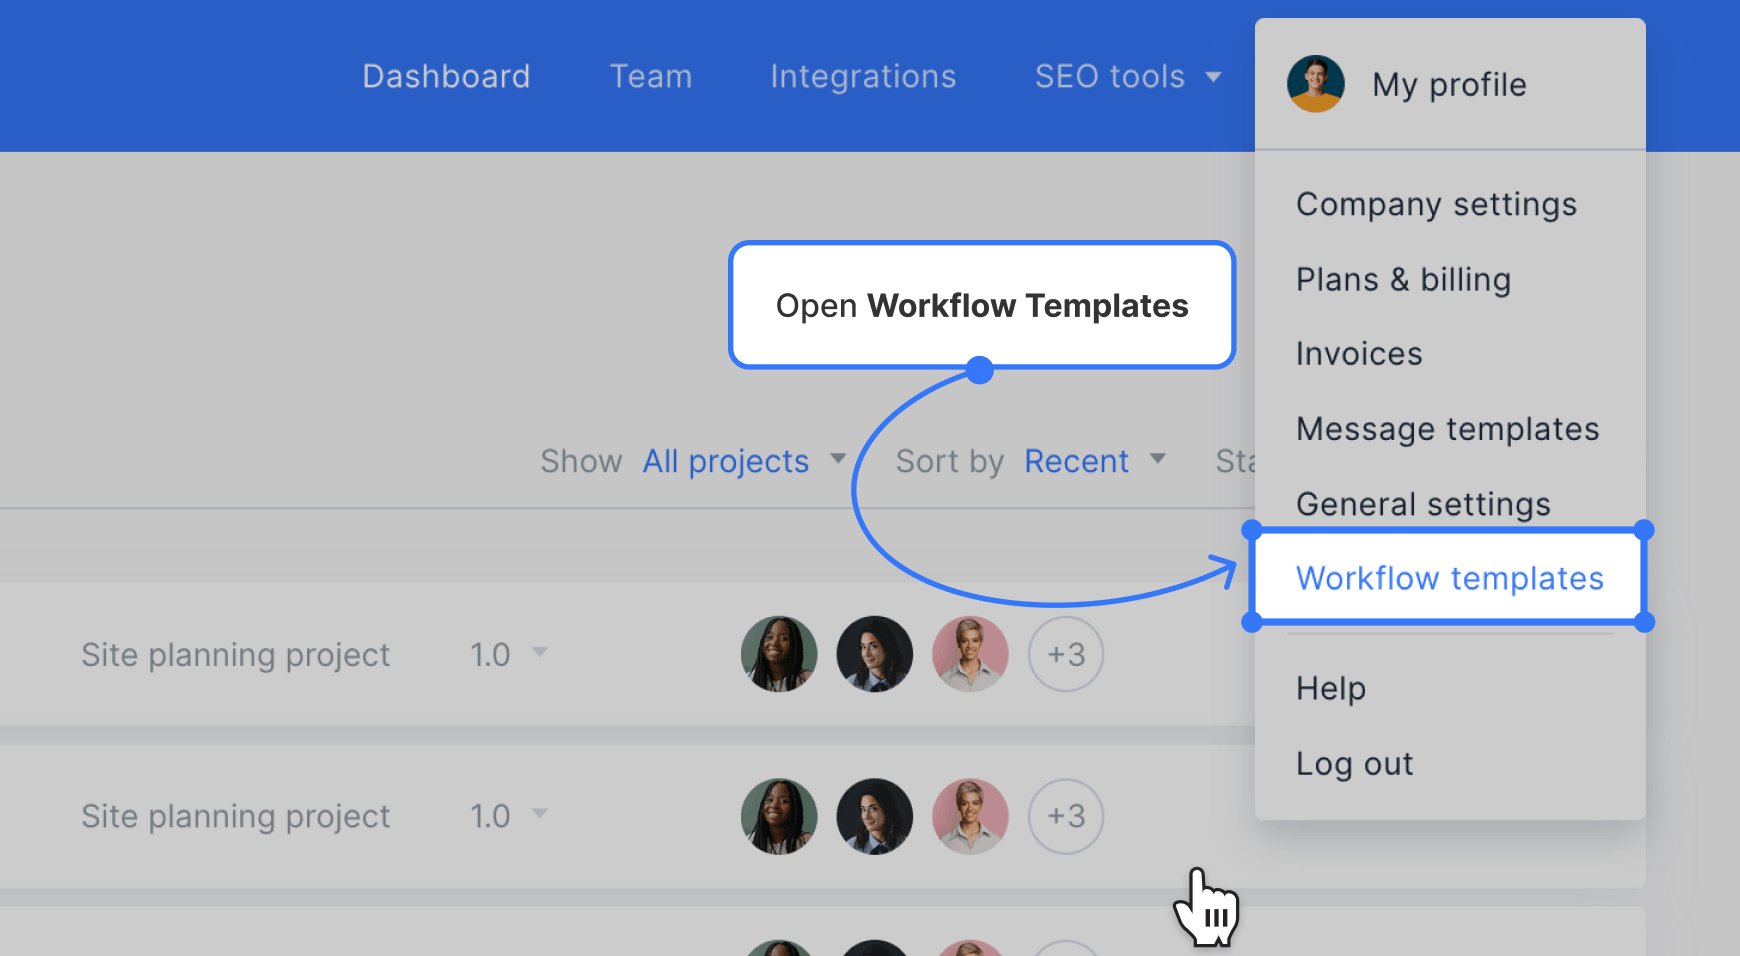
- Click your profile name in the top-right corner of the app.
- Select Workflow Templates from the account menu.
From here, you can create a new template, give it a name, and add workflow statuses the same way you would at the project level.
💡 Note: Creating a workflow template follows the same process as creating workflow statuses inside a project—no special setup is required.
Import a workflow template into a project
Once a workflow template exists, you can import it into any project.
To import workflow statuses:
- Open the Content Dashboard for your project.
- Click Workflow Status in the submenu.
- Click Import in the top-right corner.
- Select a workflow template from the list.
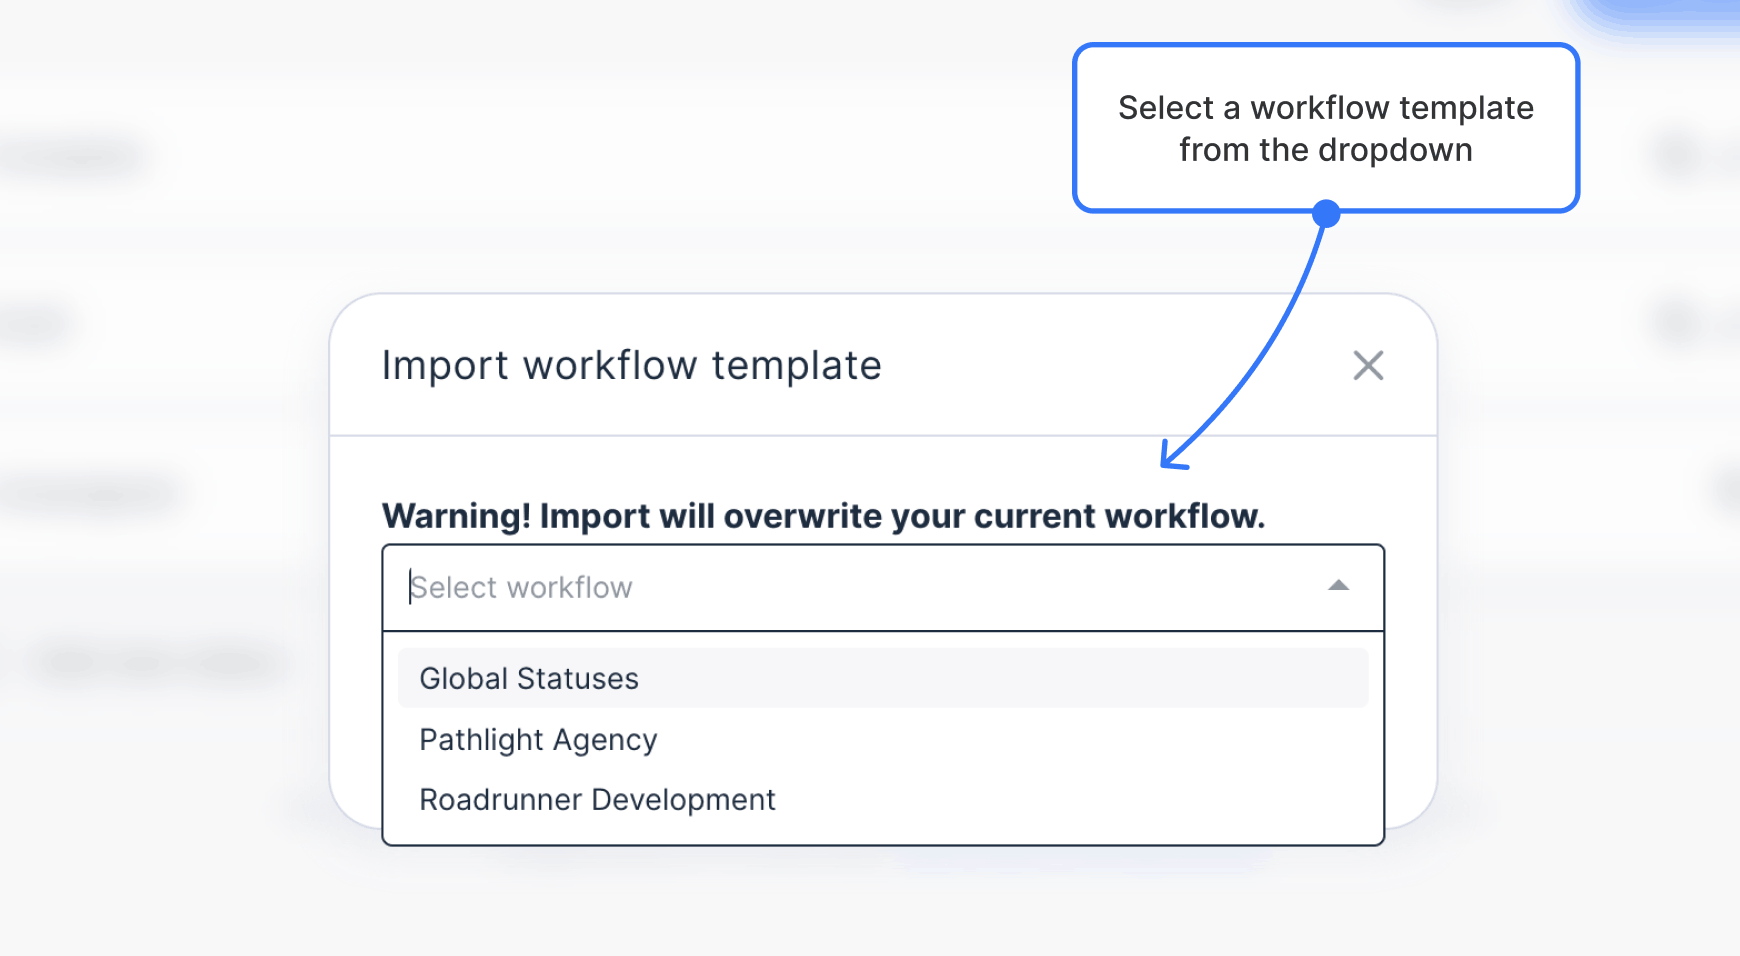
All statuses from the selected template will be added to your project and can be edited or removed as needed.
💡 Tip: Imported statuses behave like any other custom status. You can rename, recolor, lock, or delete them per project without affecting the original template.