Adding a new user
- To add a new user, open the Team panel at the top of your Slickplan dashboard.
- Click the New User button on the top right of the Team panel.
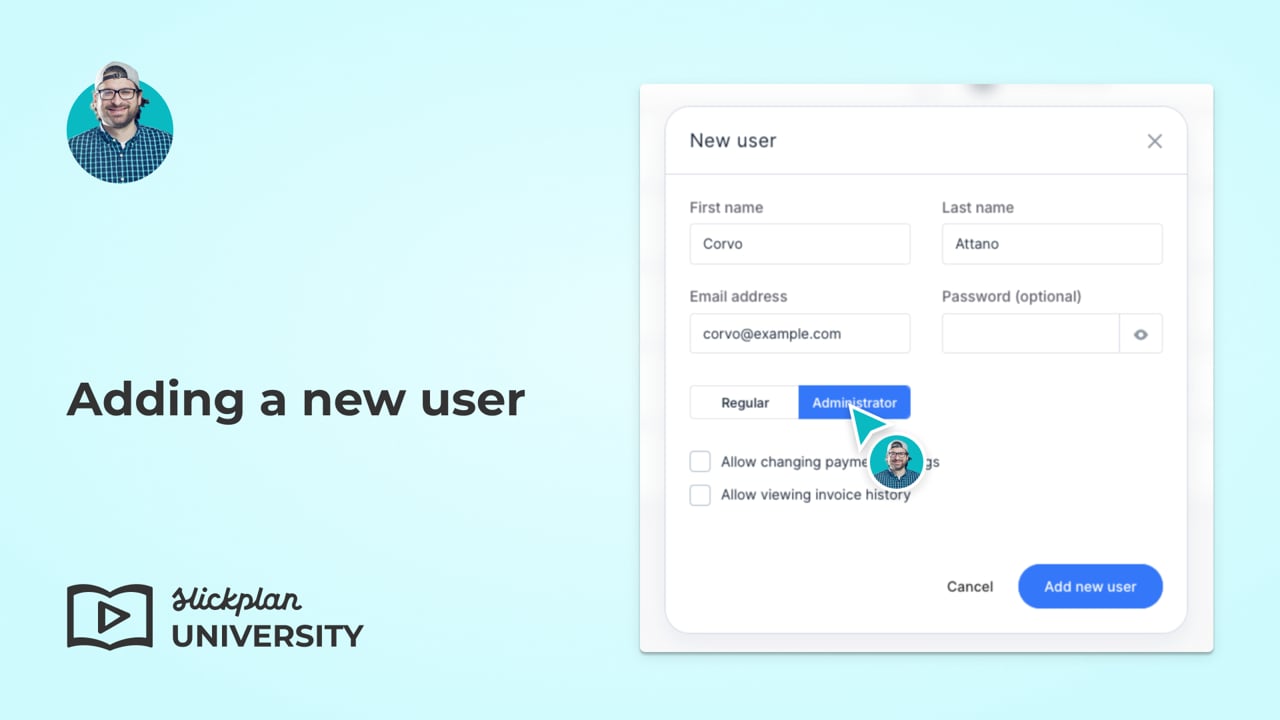
- Within the Add User modal window, enter the user name, email address, and optionally a password.
- To make the user an Administrator, toggle the switch from Regular to Administrator and optionally add permissions:
Allow Changing Payment Settings – when checked this user will be able to view/edit payment details as well as changing the plan.
Allow Viewing Invoice History – when checked this user will be able to view invoices.
- When completed, click Add New User. The new user will show up in the Team panel.


If you have added a new user and they have not received the invitation email, please visit Why aren’t the people I invited getting system emails?
If you have any additional questions about team members in Slickplan, please don’t hesitate to contact our support team. We’re always happy to help!