Creating custom page types
To create a custom page type:
- Select a page and open its properties panel. Click the plus icon next to Assign Page Type.

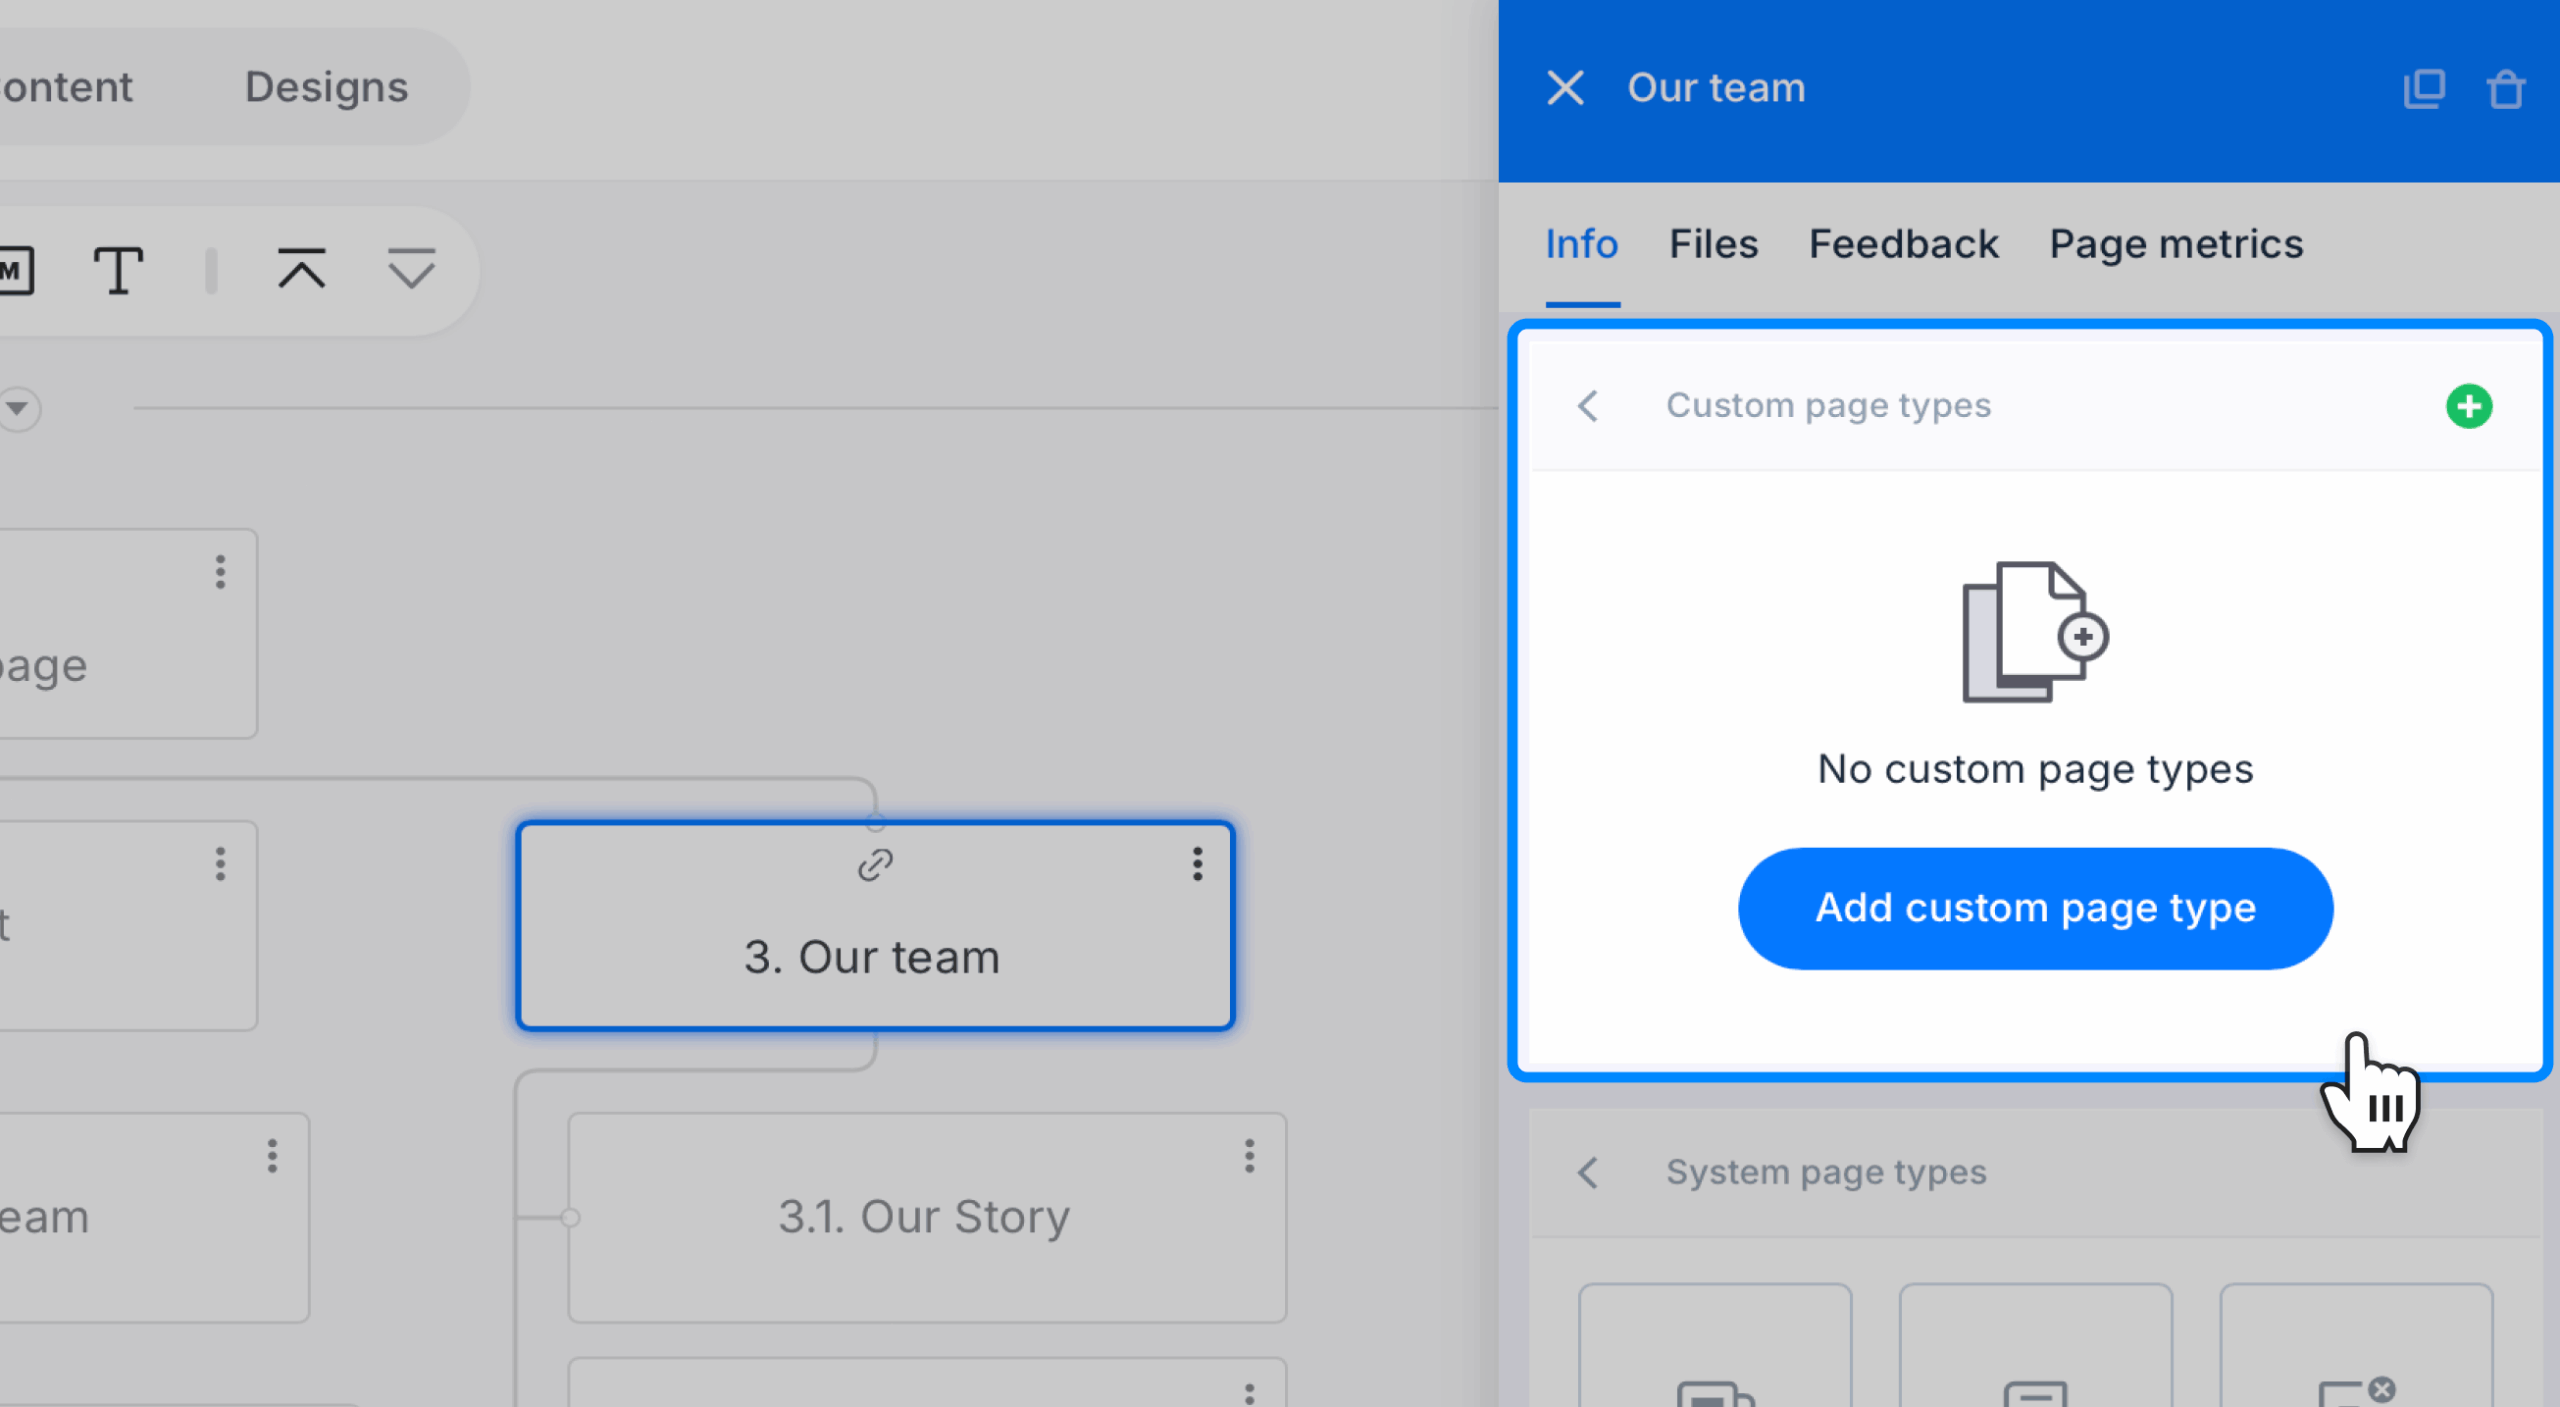
- Click the Add custom page type button at the top.
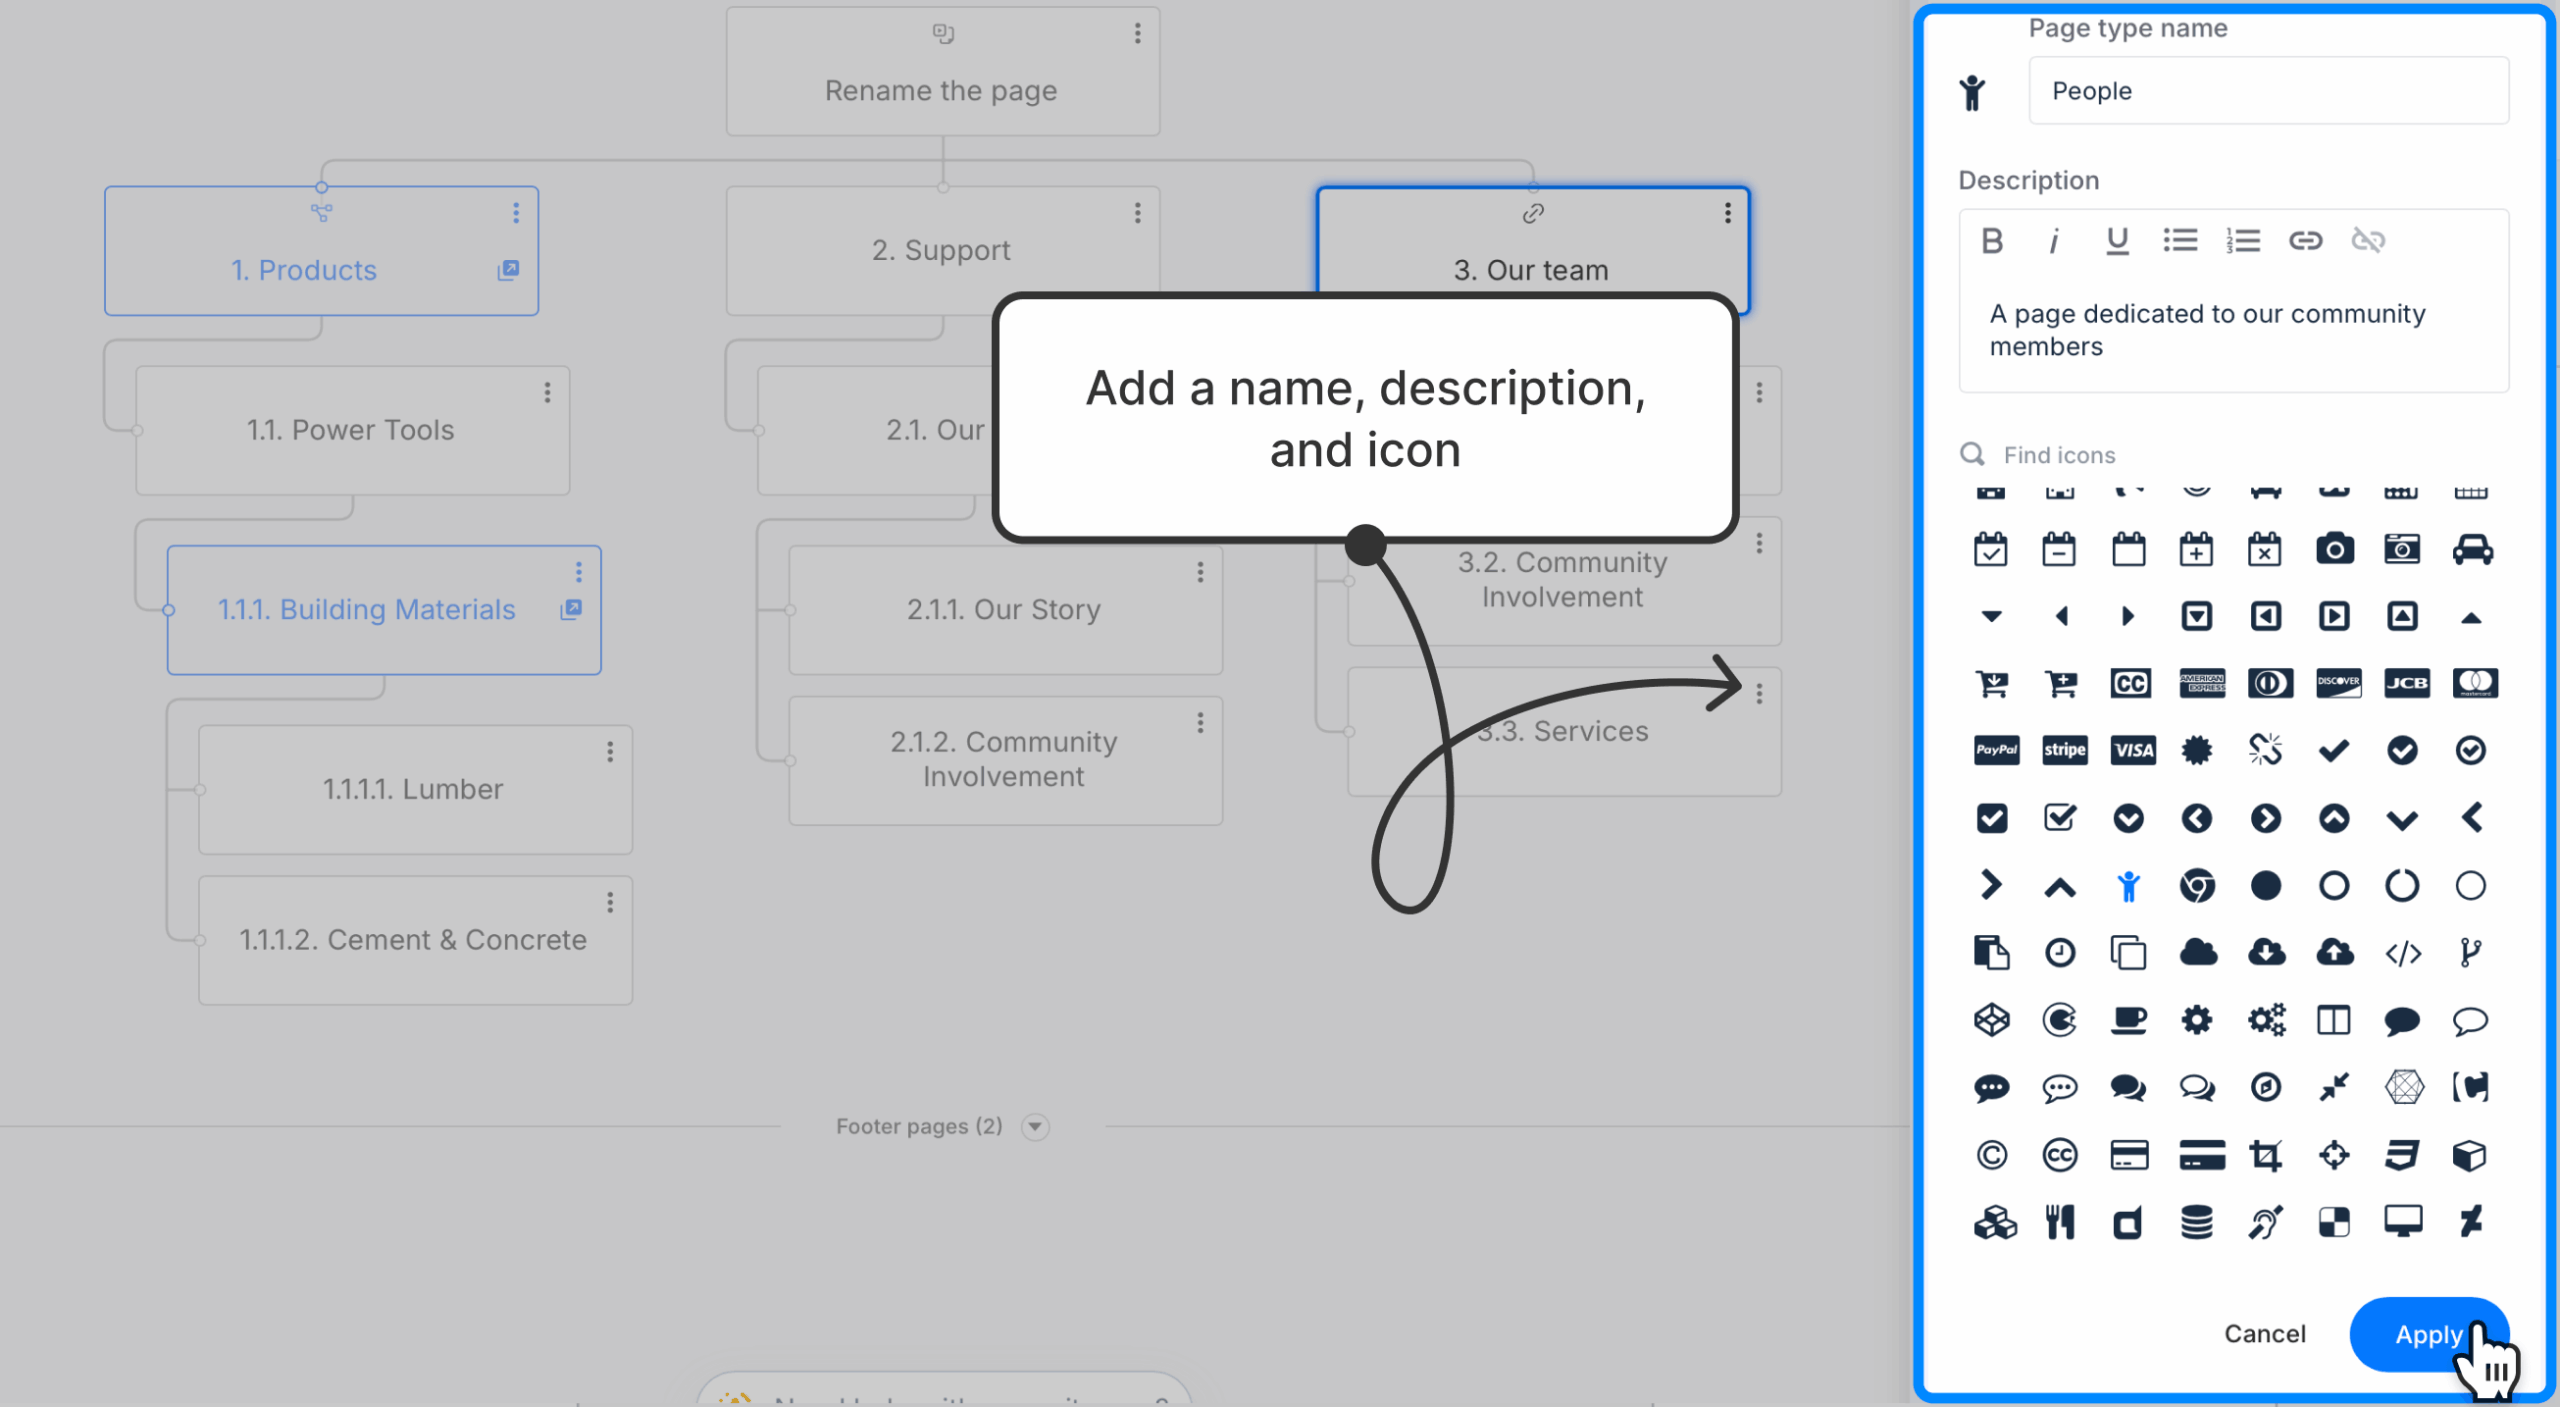
- Enter a page type name, a description that explains its meaning, and select an icon. Apply to confirm.
- Your new custom page type can be applied to any of the other pages on your sitemap. Custom page types are visible above the default page types.
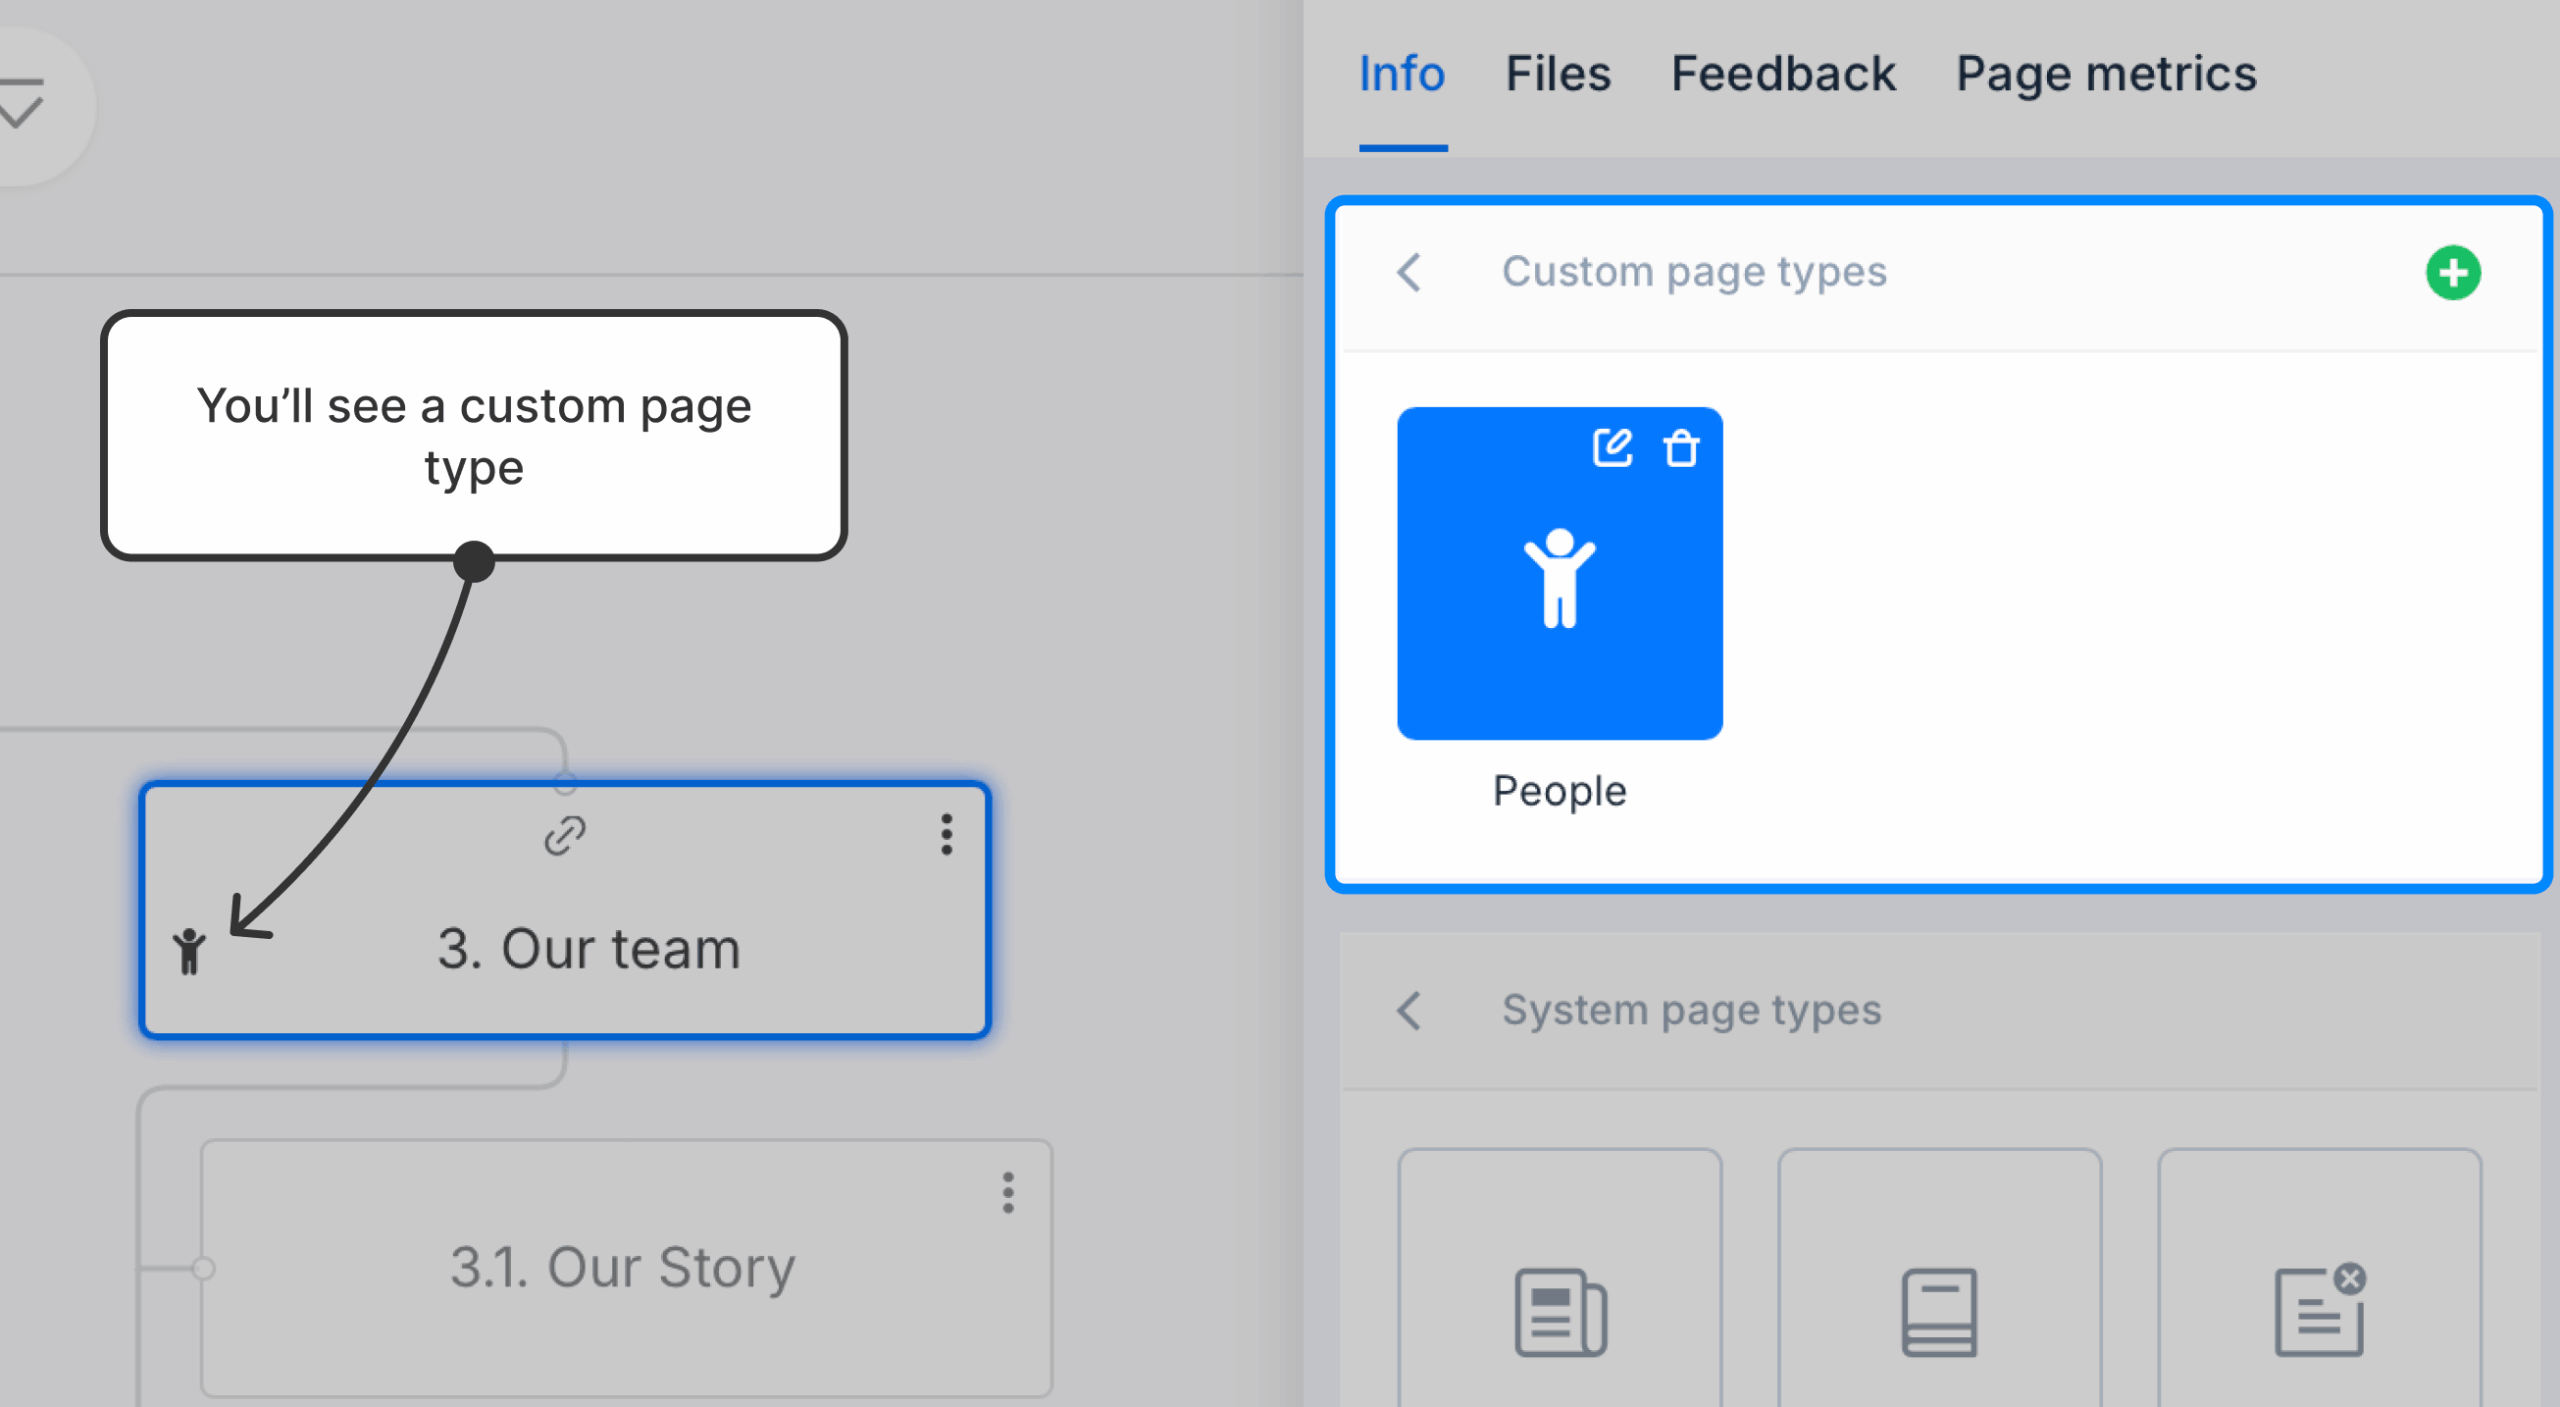
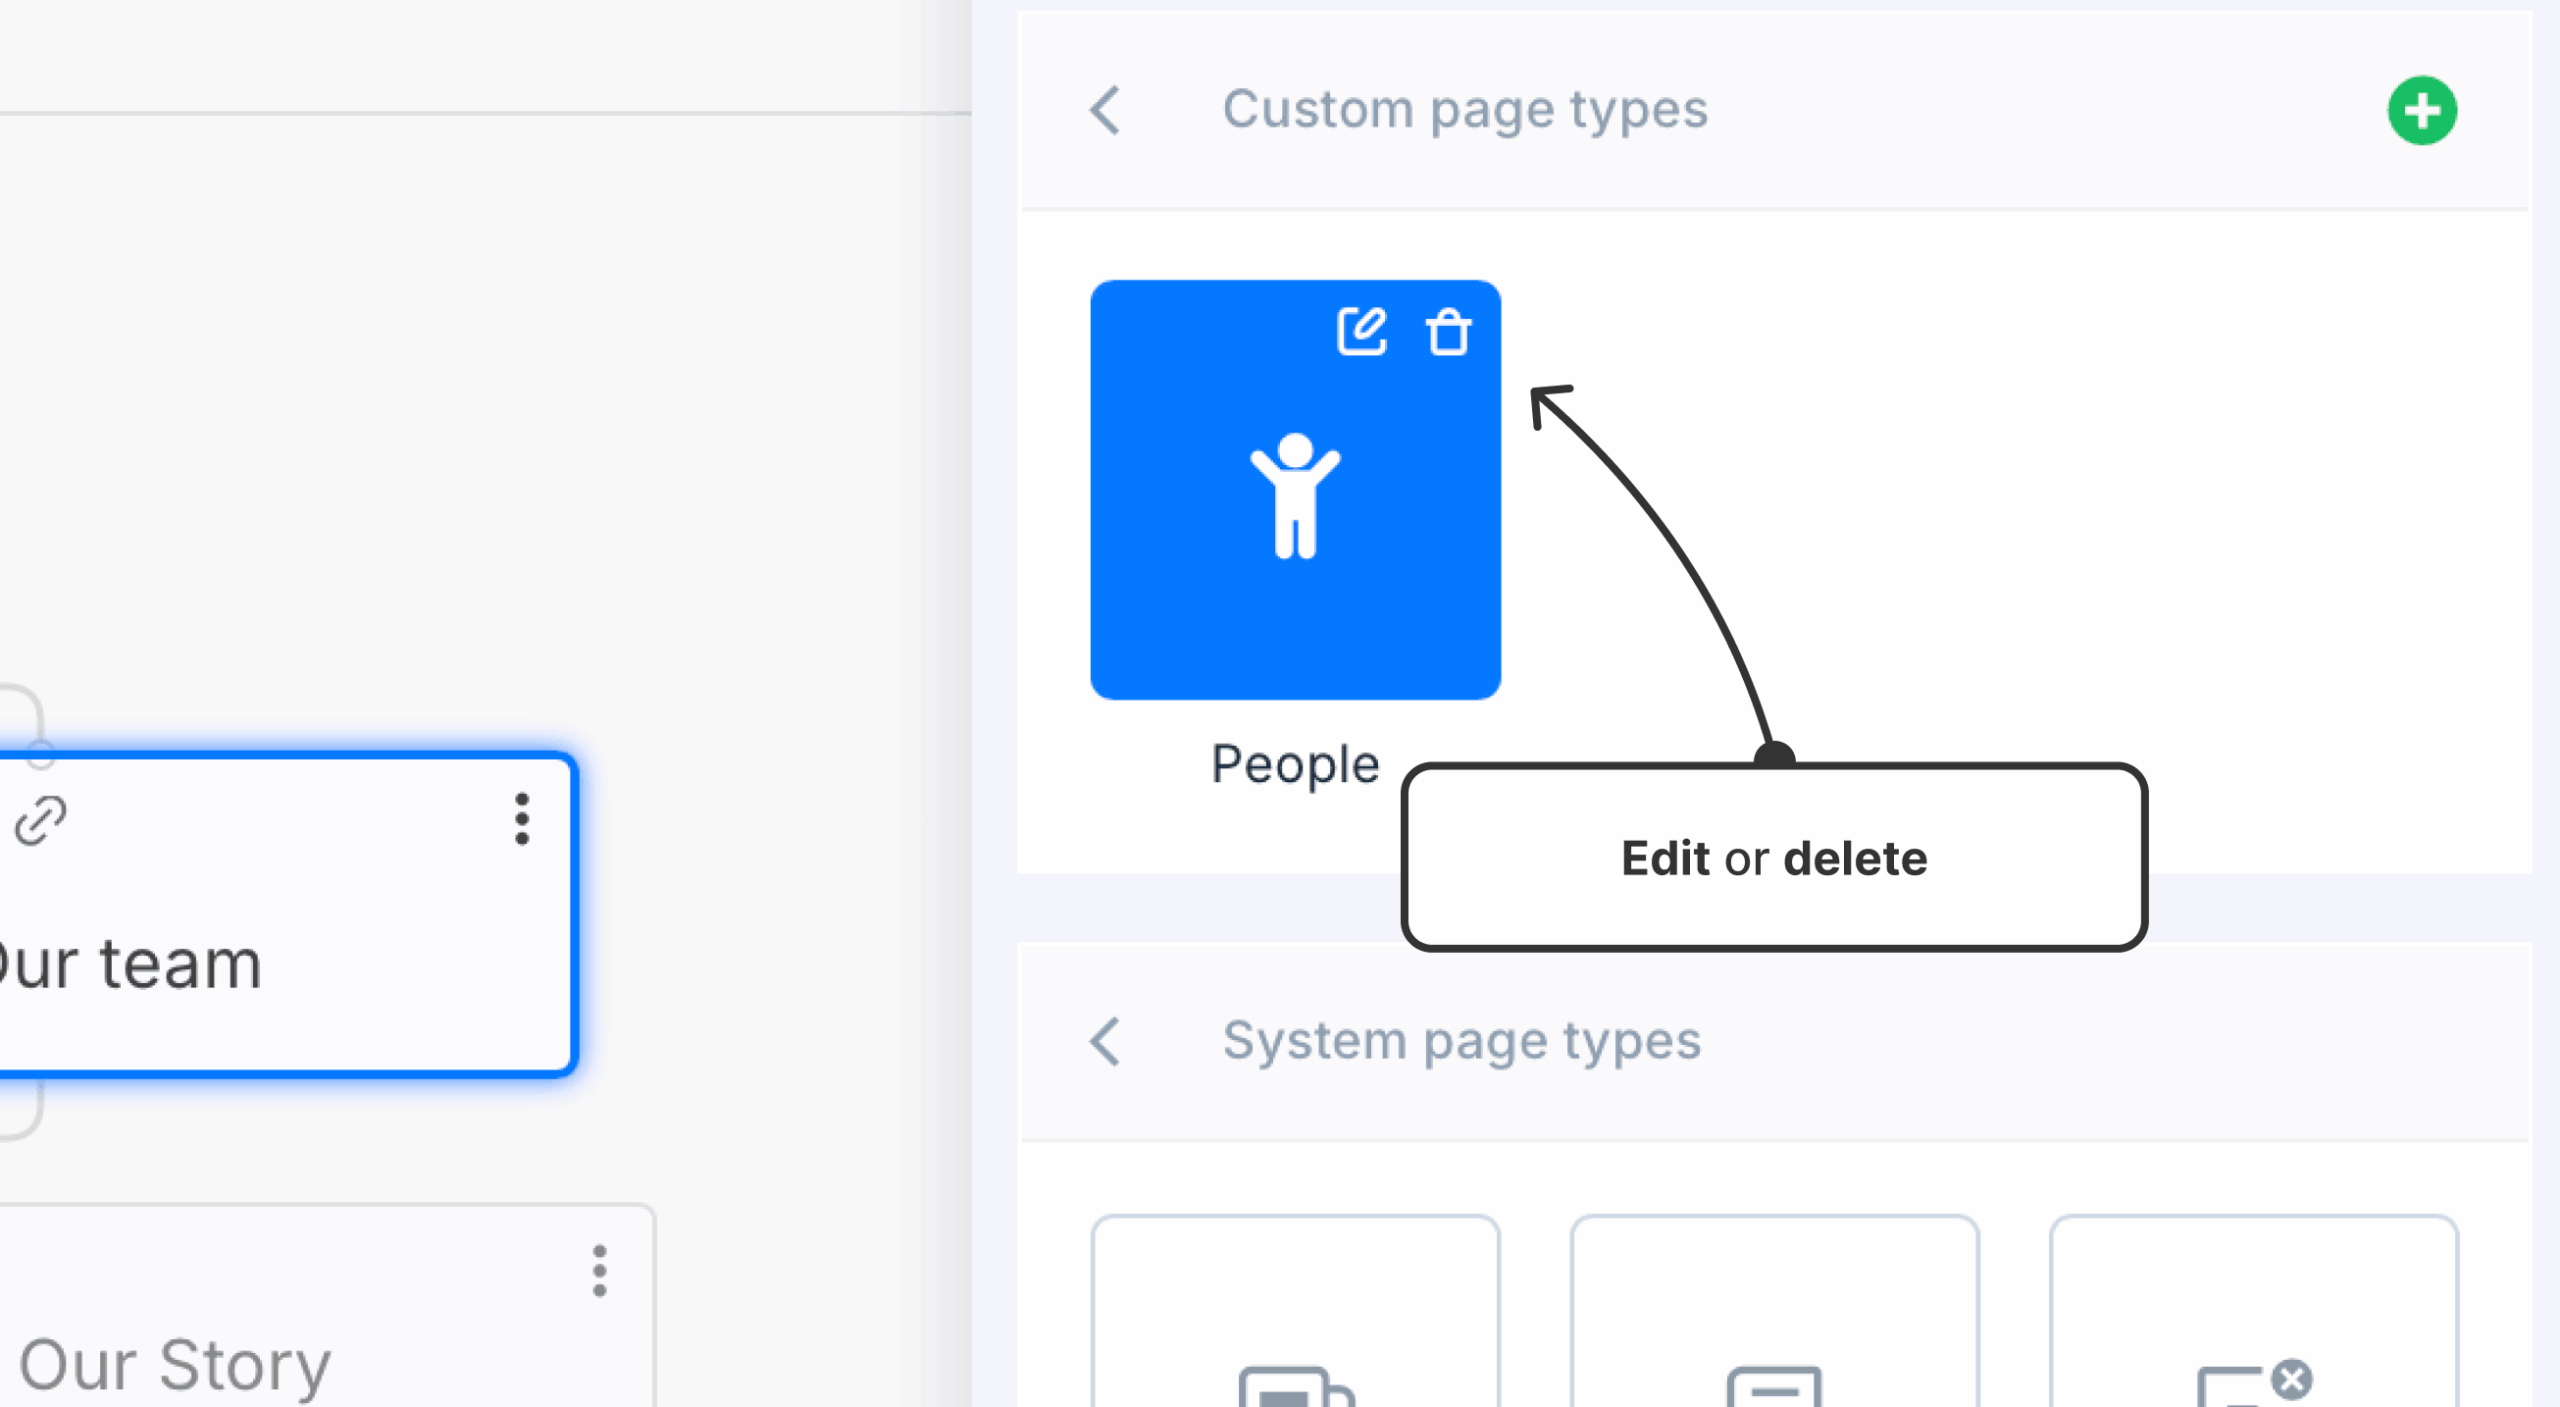
To remove a custom page type:
- Open the page properties panel and click the trash can icon next to the custom page type.