Updating page statuses
Page statuses help visually communicate each page’s progress—such as “Draft,” “In Review,” or “Complete”—throughout your project. Statuses appear as small, color-coded dots next to pages in both the Sitemap Builder and Content Planner.
💡 Tip: You can create custom status labels to fit your team’s specific workflow.
Update a page status from the Sitemap Builder
Open your project and select the page you want to update in the Sitemap Builder.
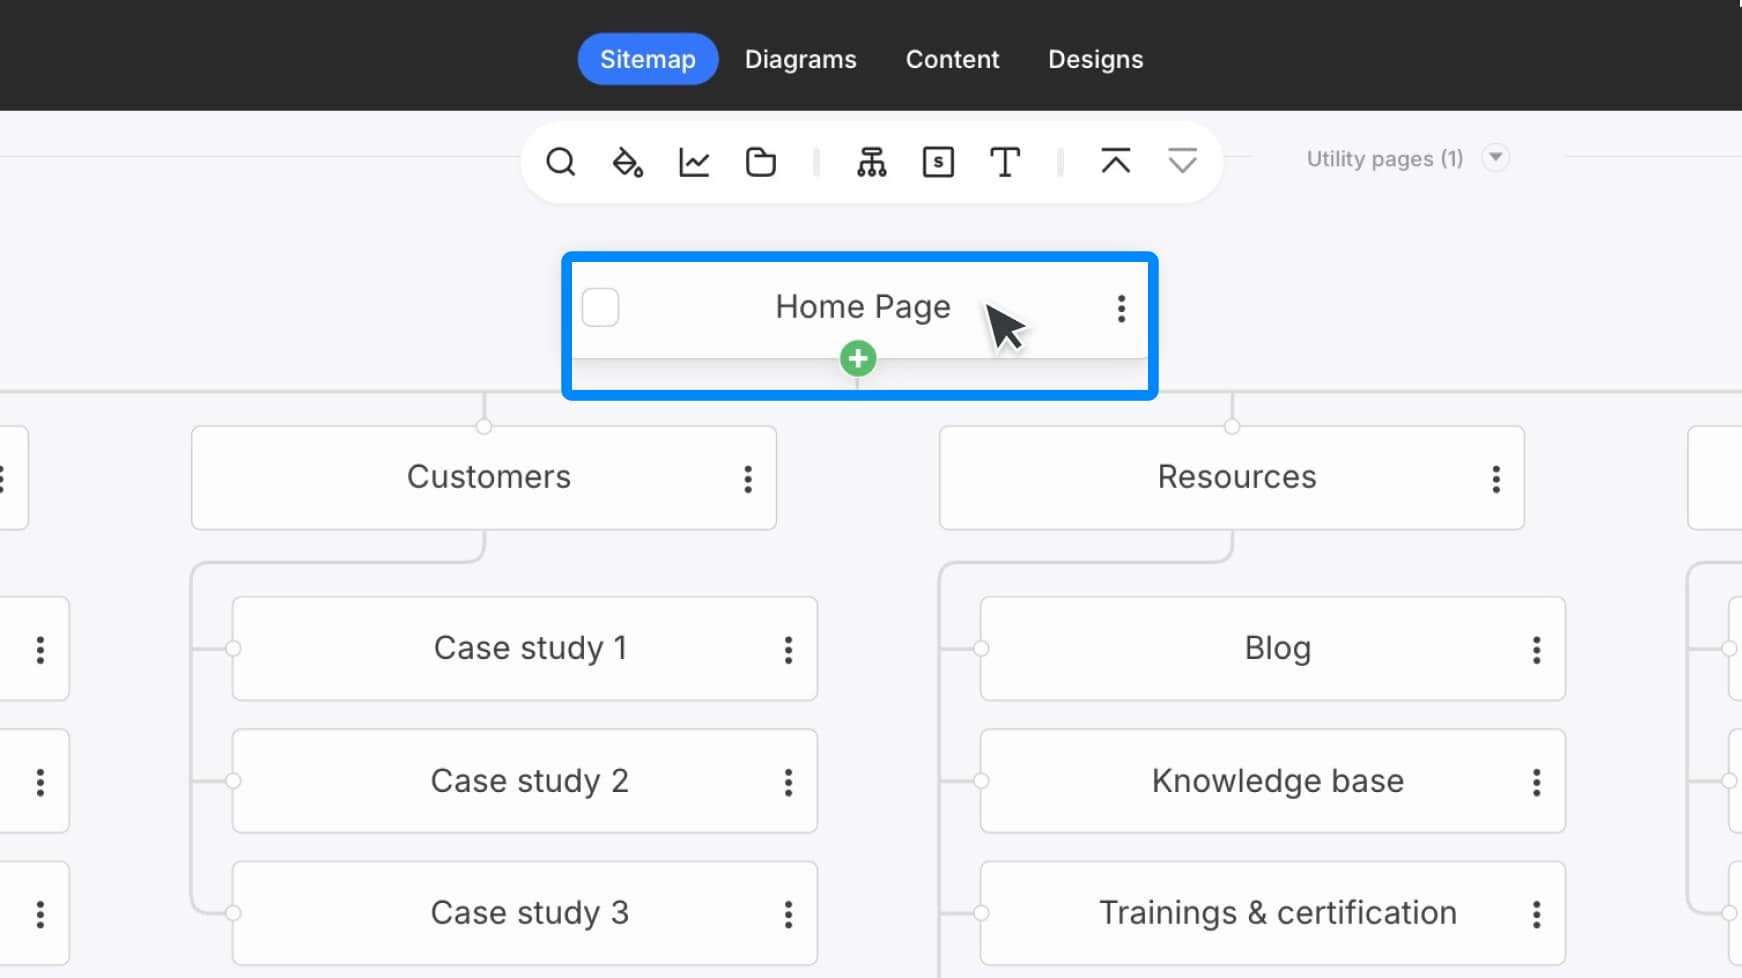
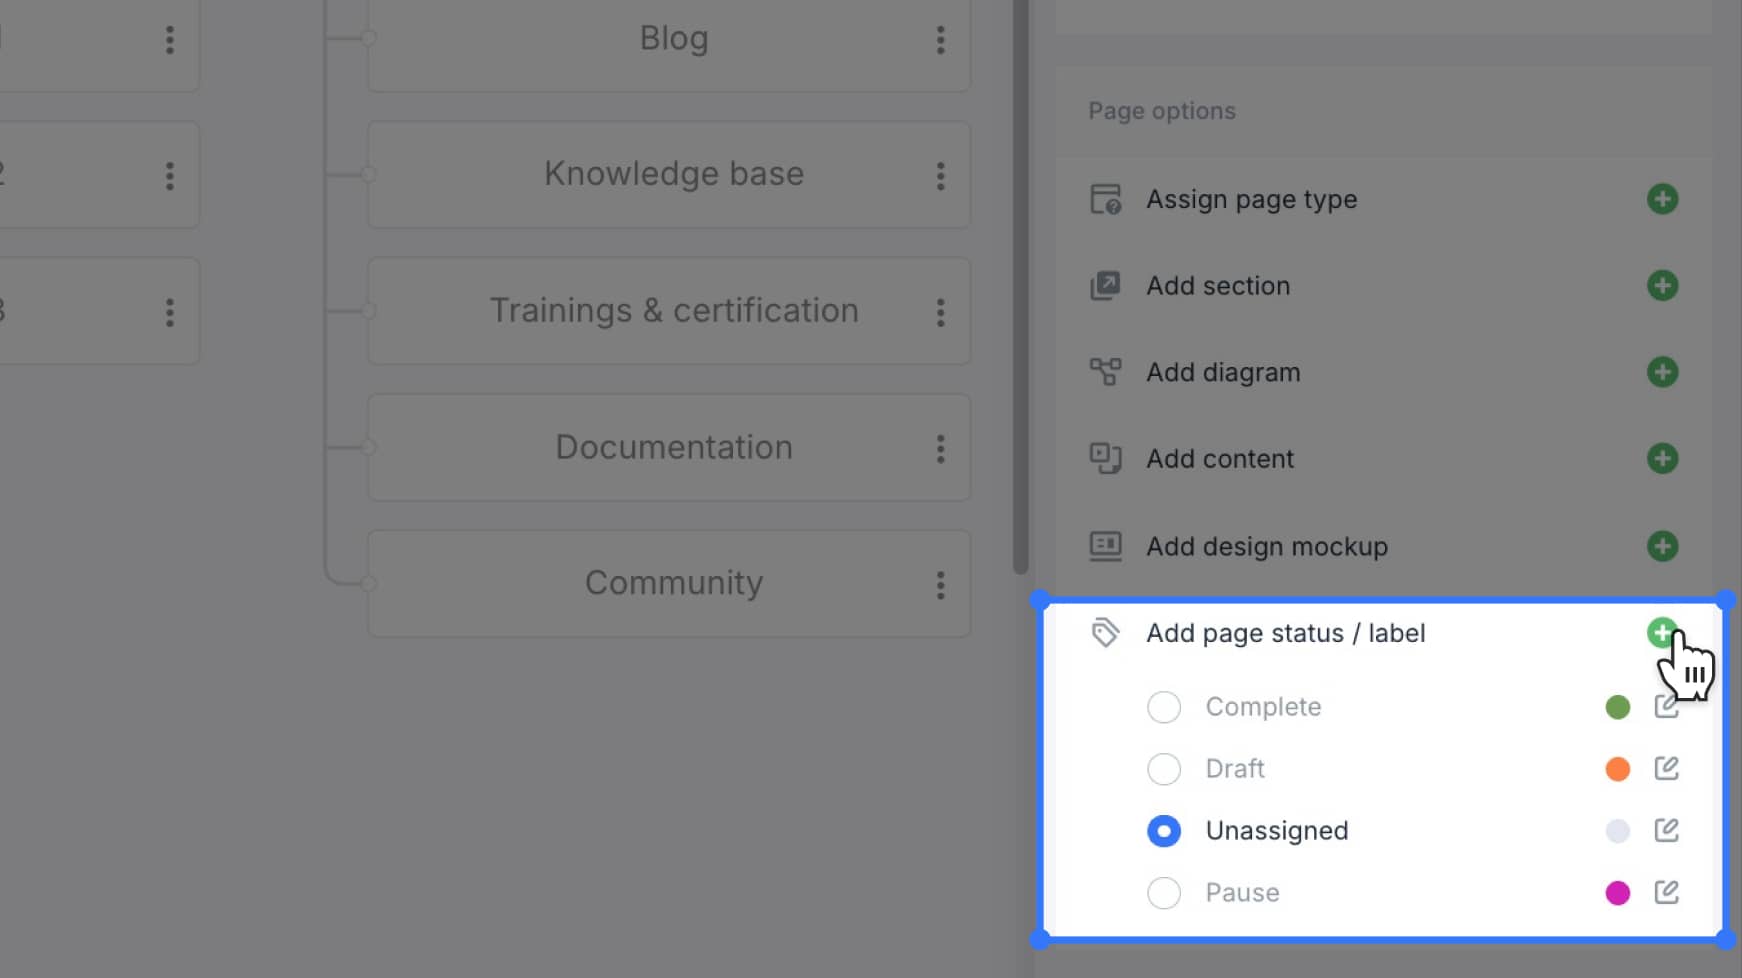
In the Page Properties panel on the right, locate the Status dropdown menu under Page Options.

Click to select a new status. Changes save automatically, and the selected color-coded status dot will appear on the page.
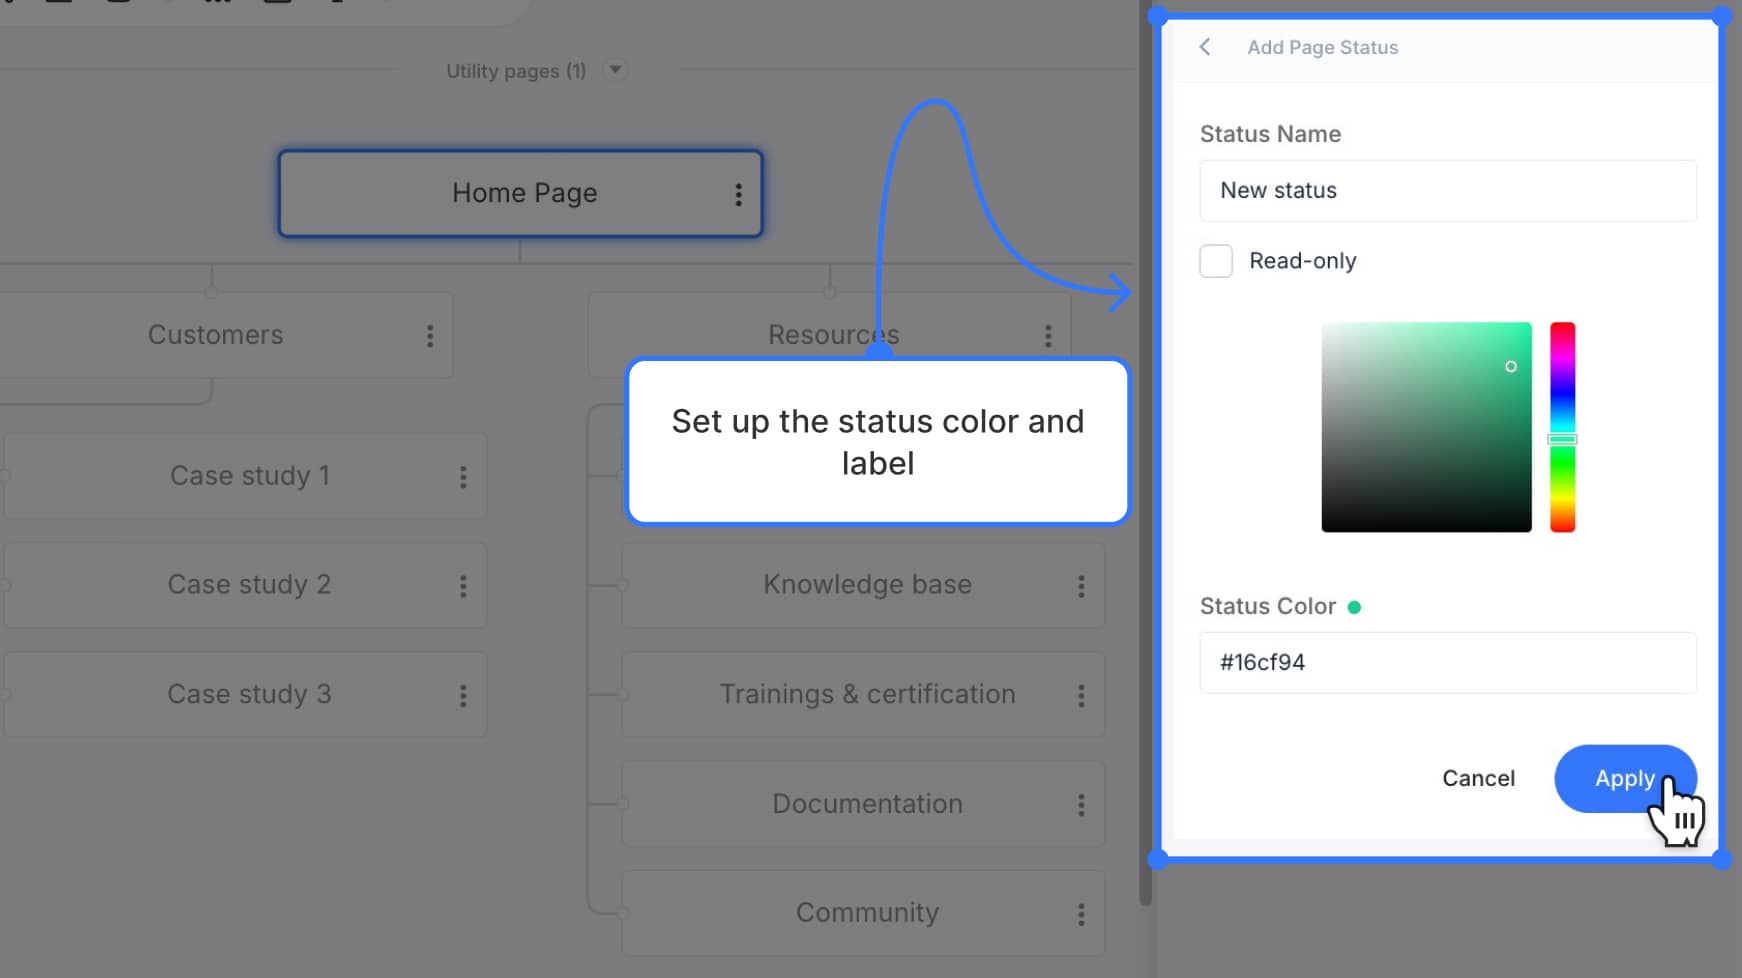
Want to learn how to create new workflow statuses →
Update a page status from the Content Planner (page editor)
Open the Content Planner dashboard.
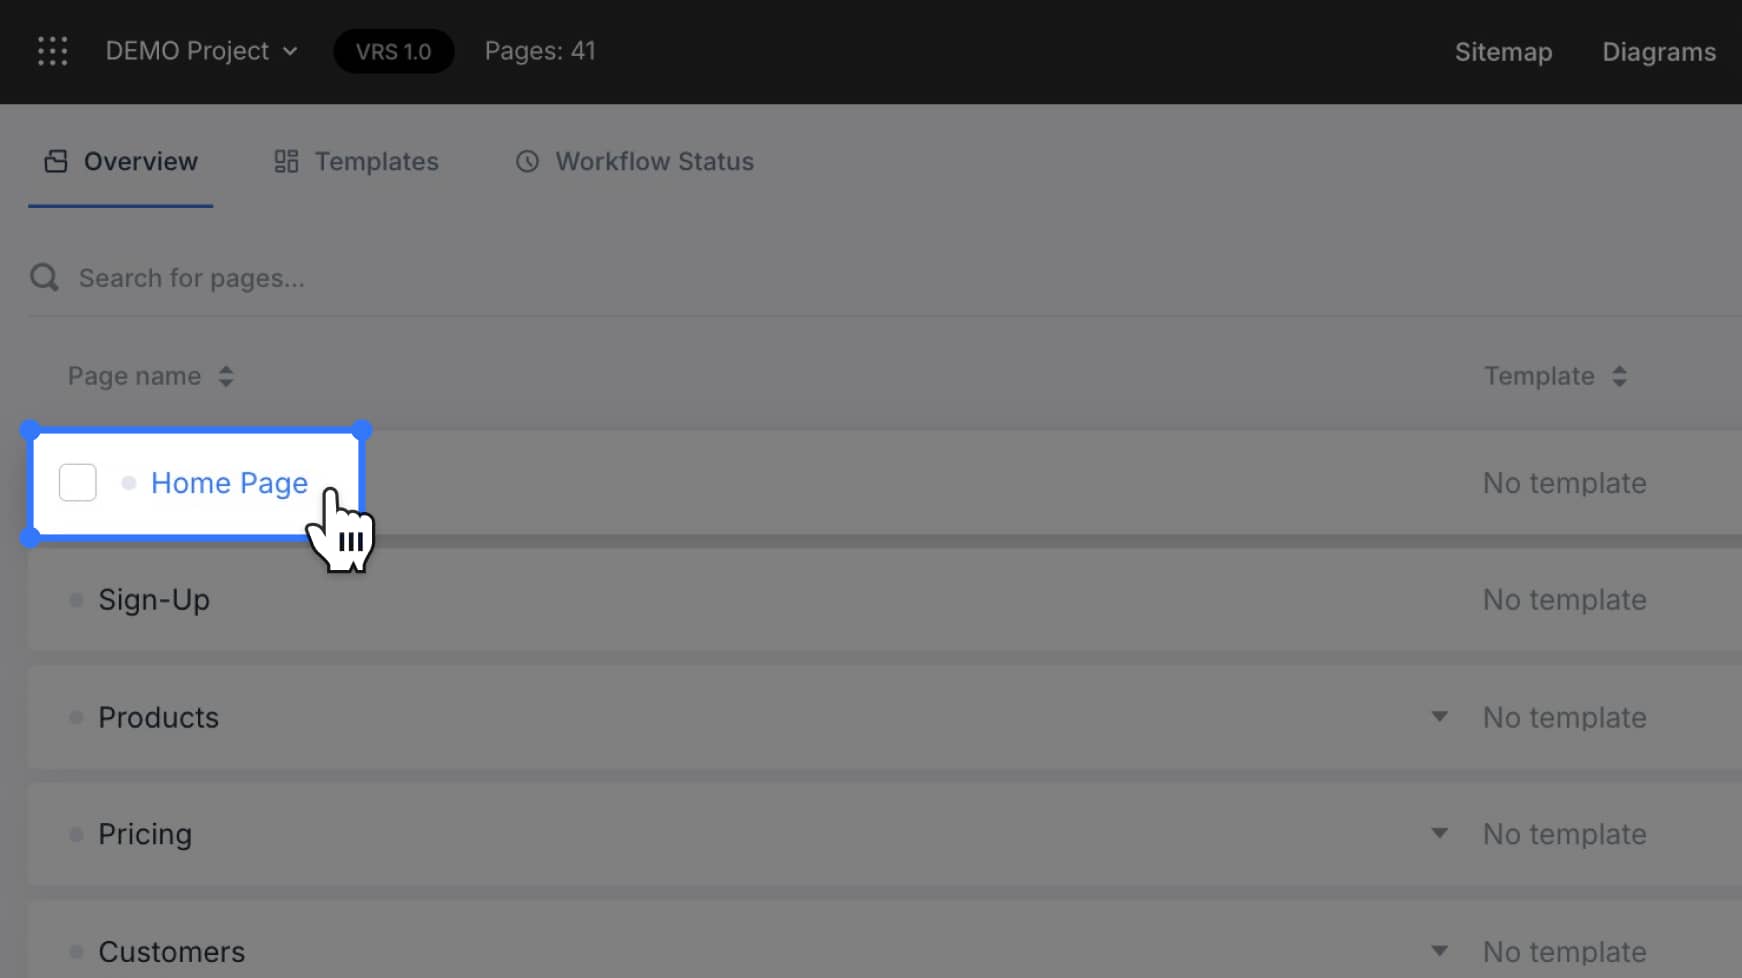
Click to open the page whose status you’d like to update.
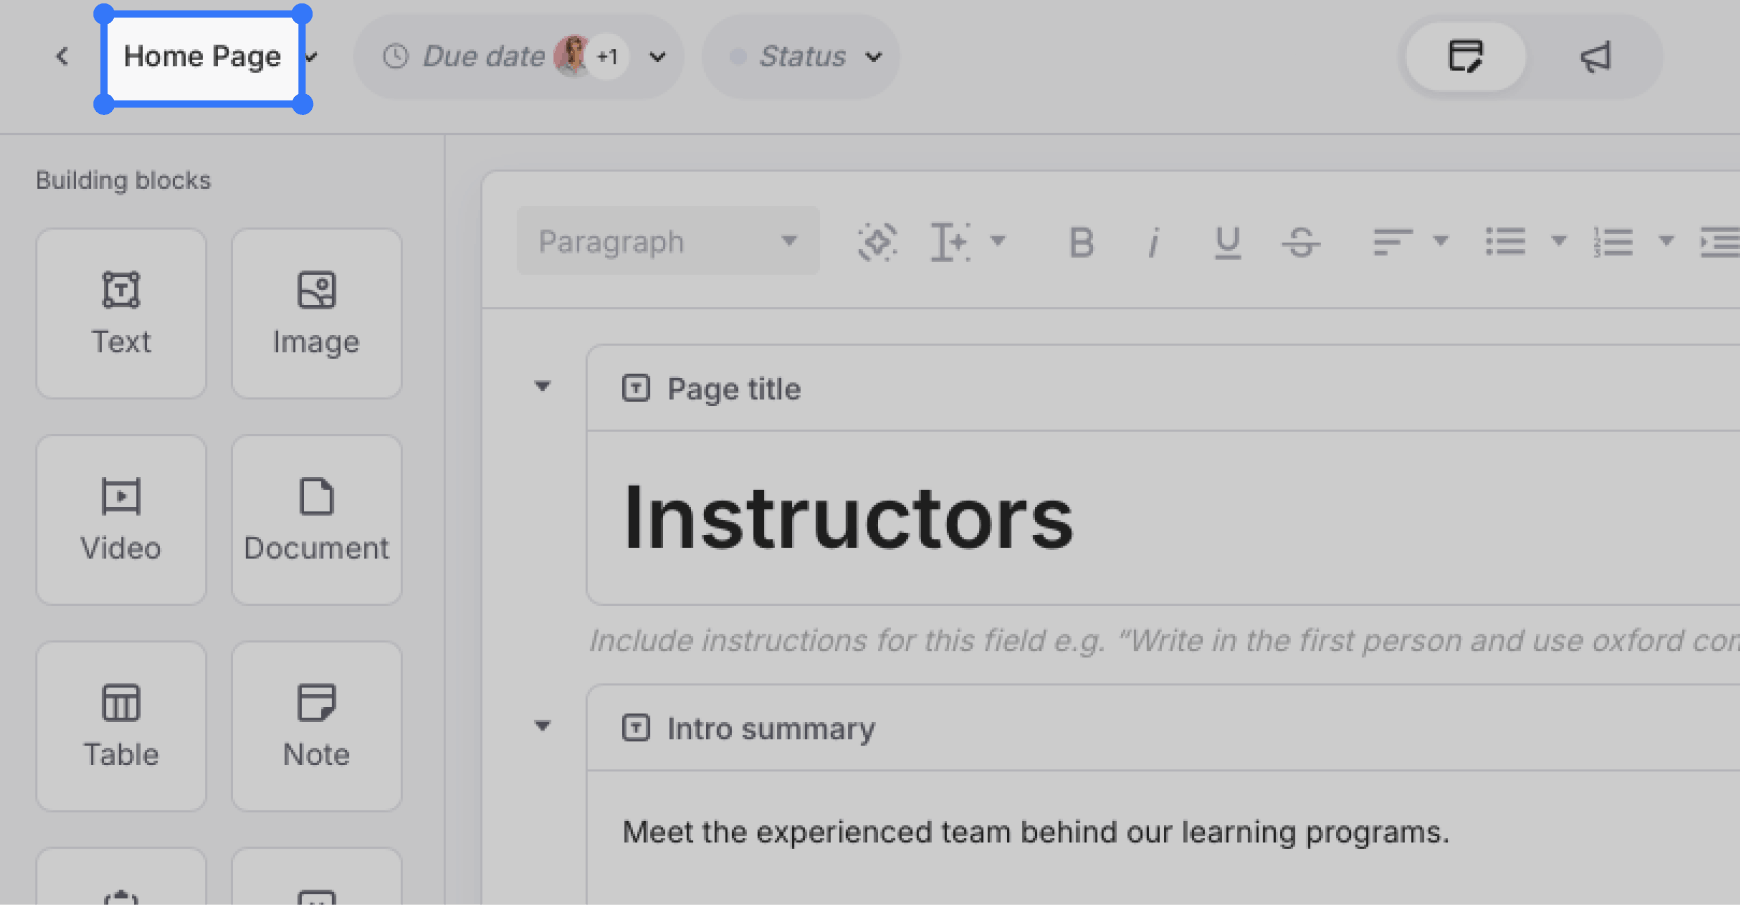
At the top of the page, open the Status dropdown and choose a new status.
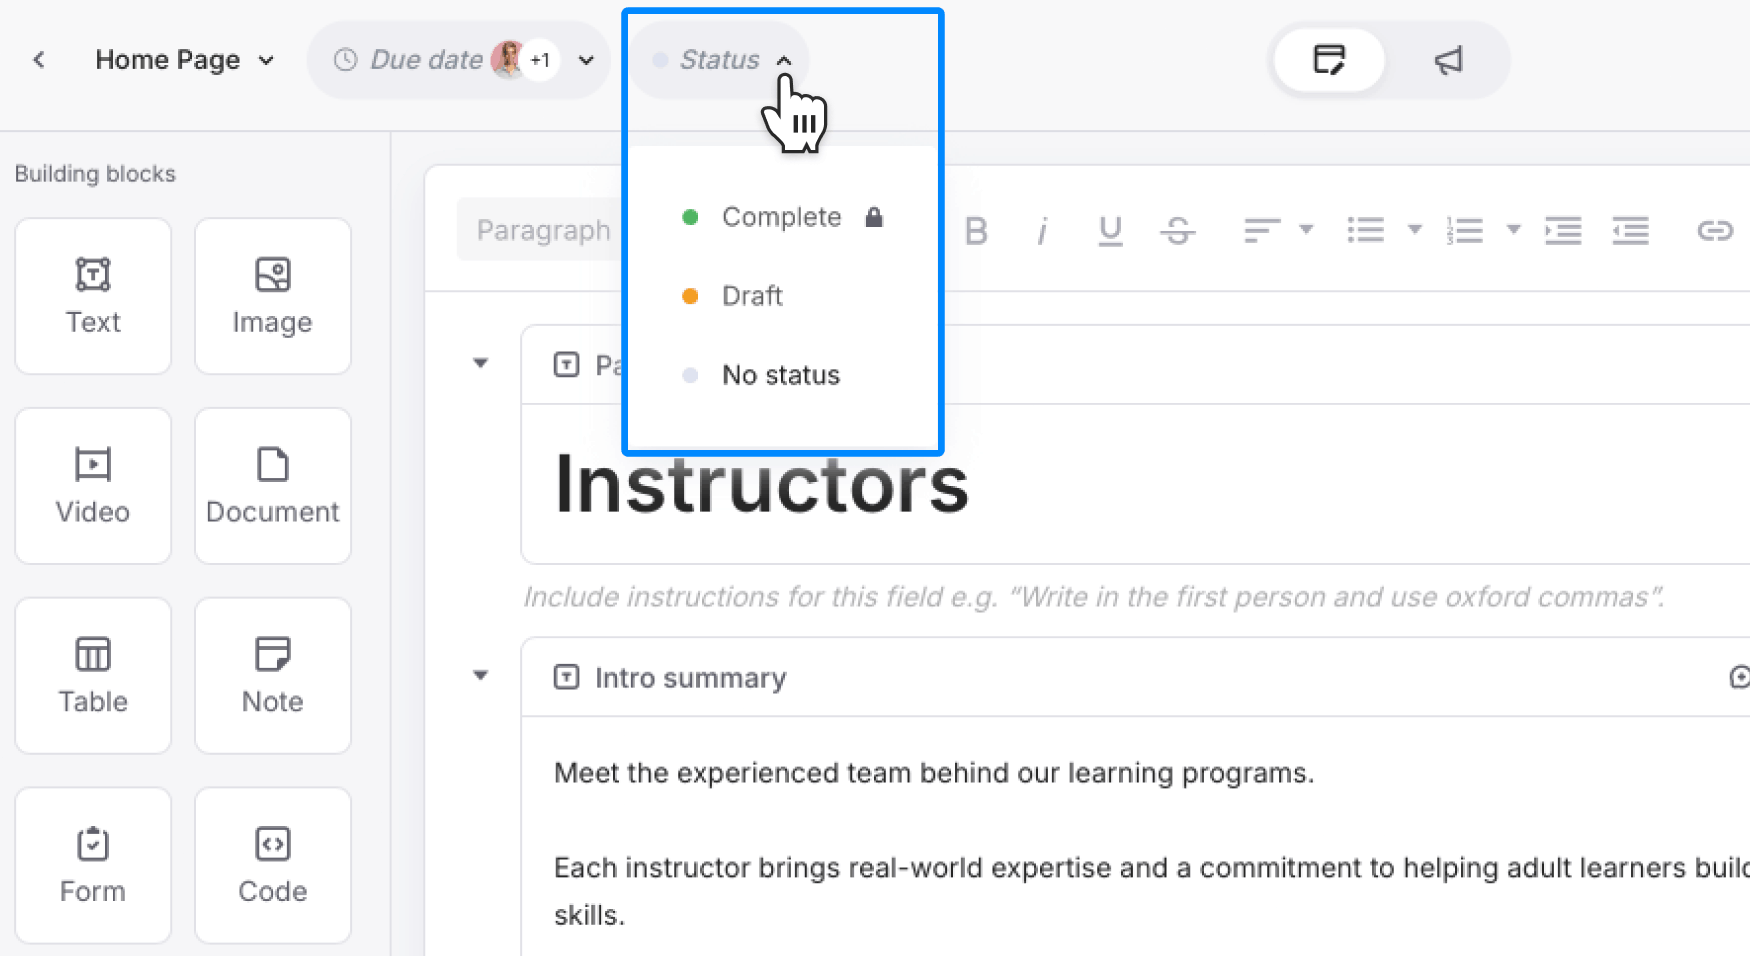
The updated status is immediately reflected with a color-coded indicator and synced across your project dashboards.
Update status for multiple pages (bulk actions)
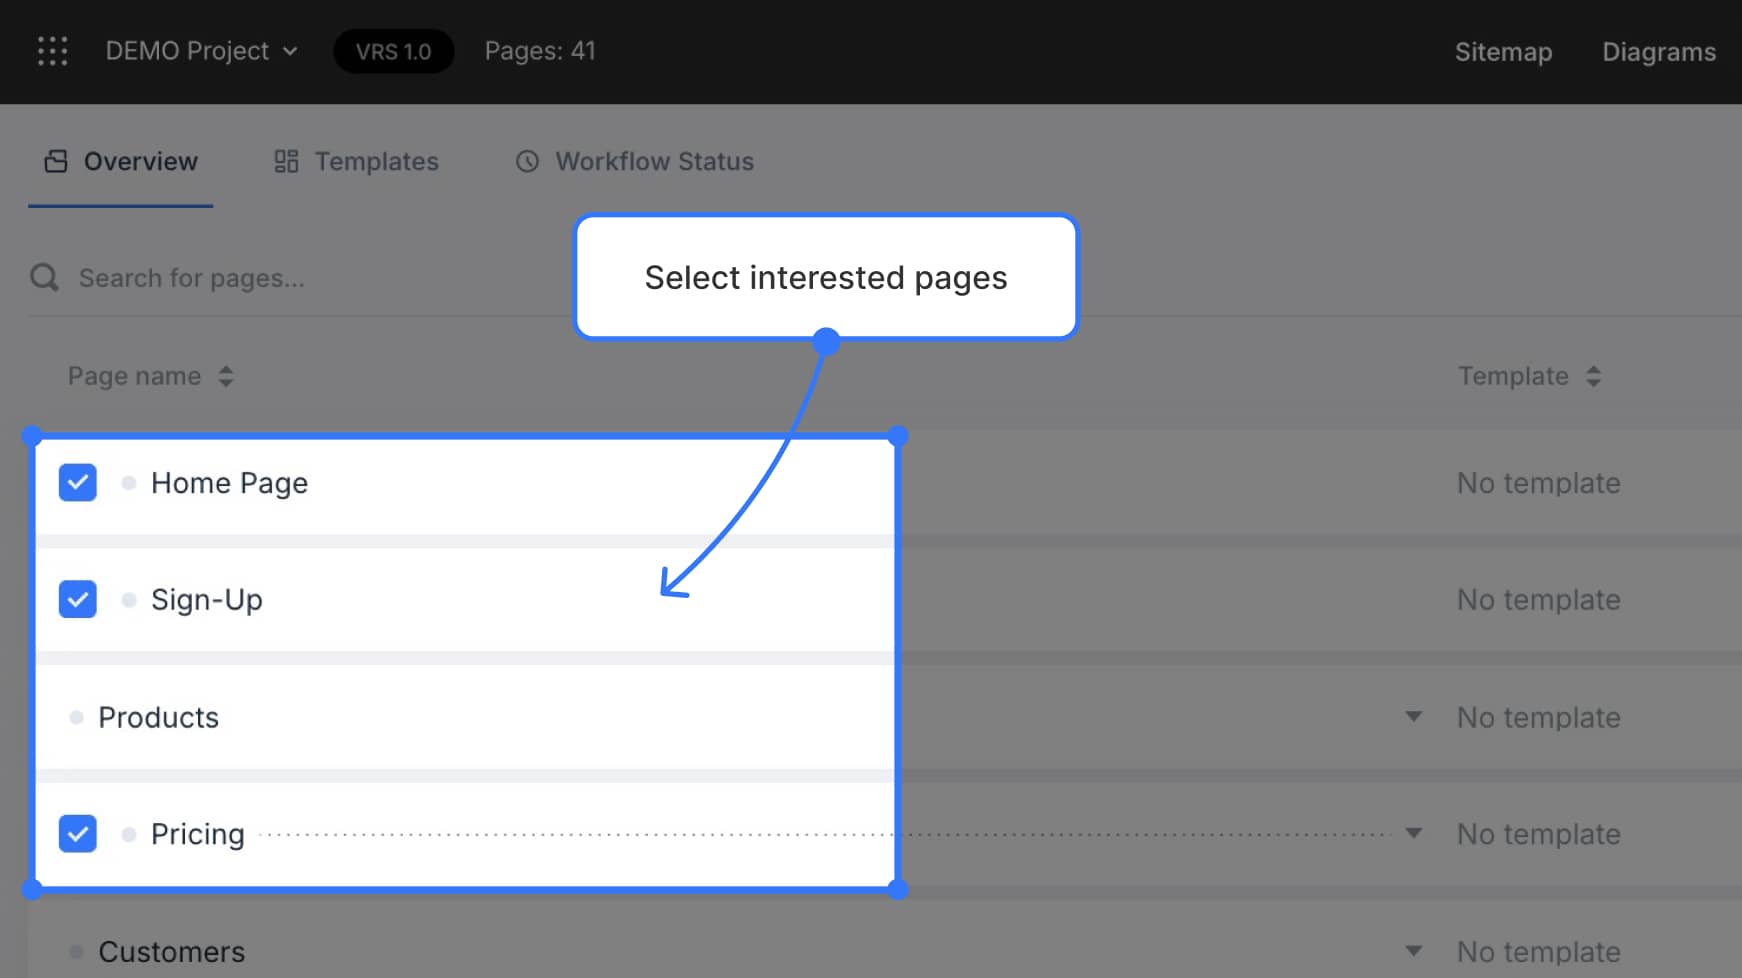
From the Content Planner dashboard, select the pages you want to update by clicking their checkboxes.
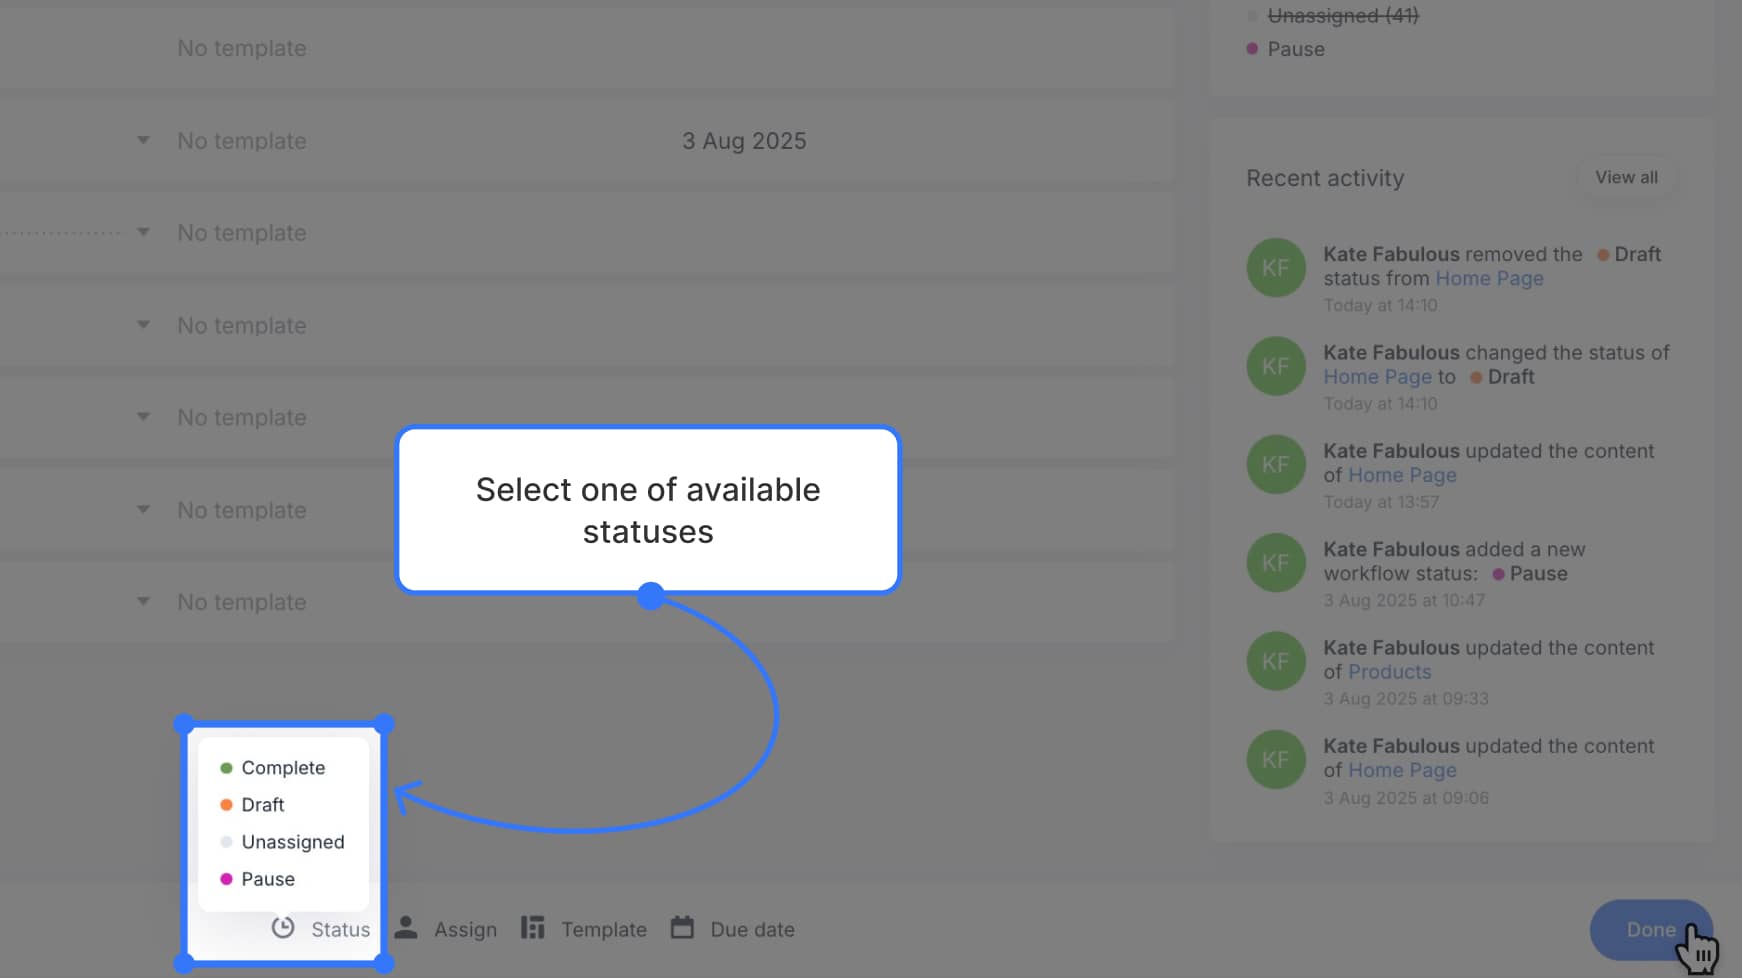
A bulk action toolbar will appear at the bottom of your screen. Click Status.
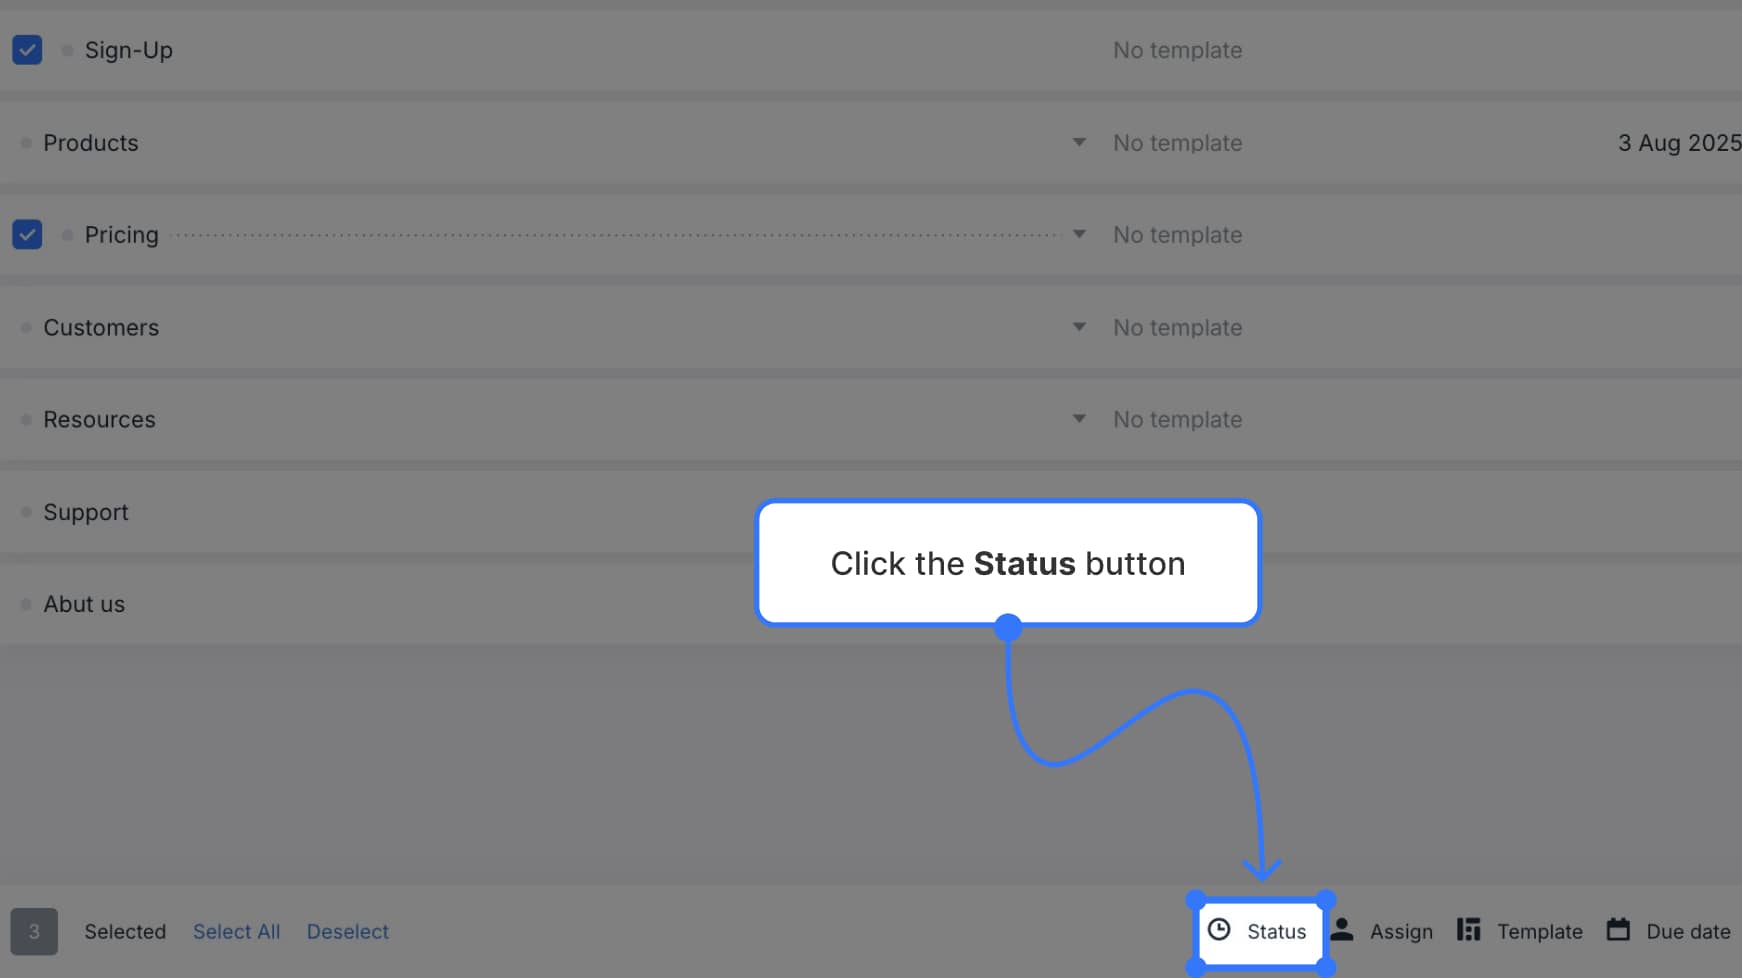
Choose a new status from the dropdown list, then click Done to apply changes to all selected pages.
This method is perfect for updating many pages at once to keep your workflow organized and efficient.