Adjusting sitemap page and text sizes
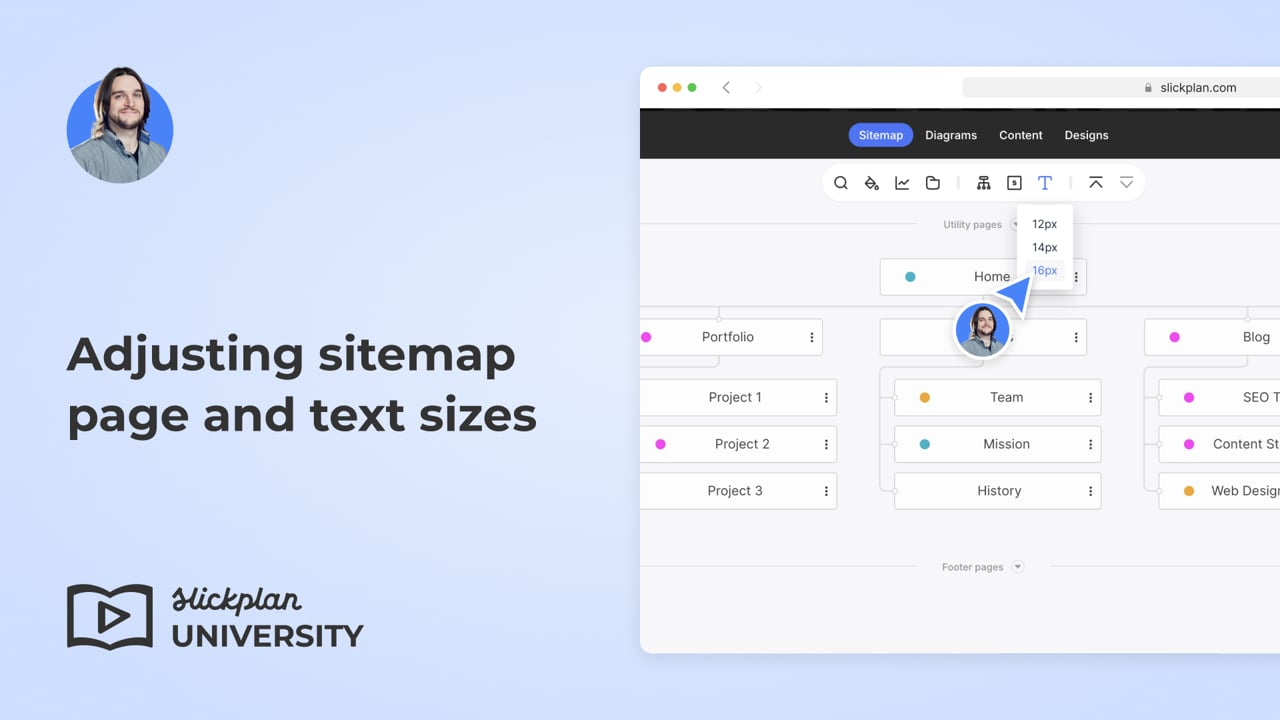
Adjusting the page and text sizes in your sitemap to fit your preferences will improve the readability and organization of your workspace.
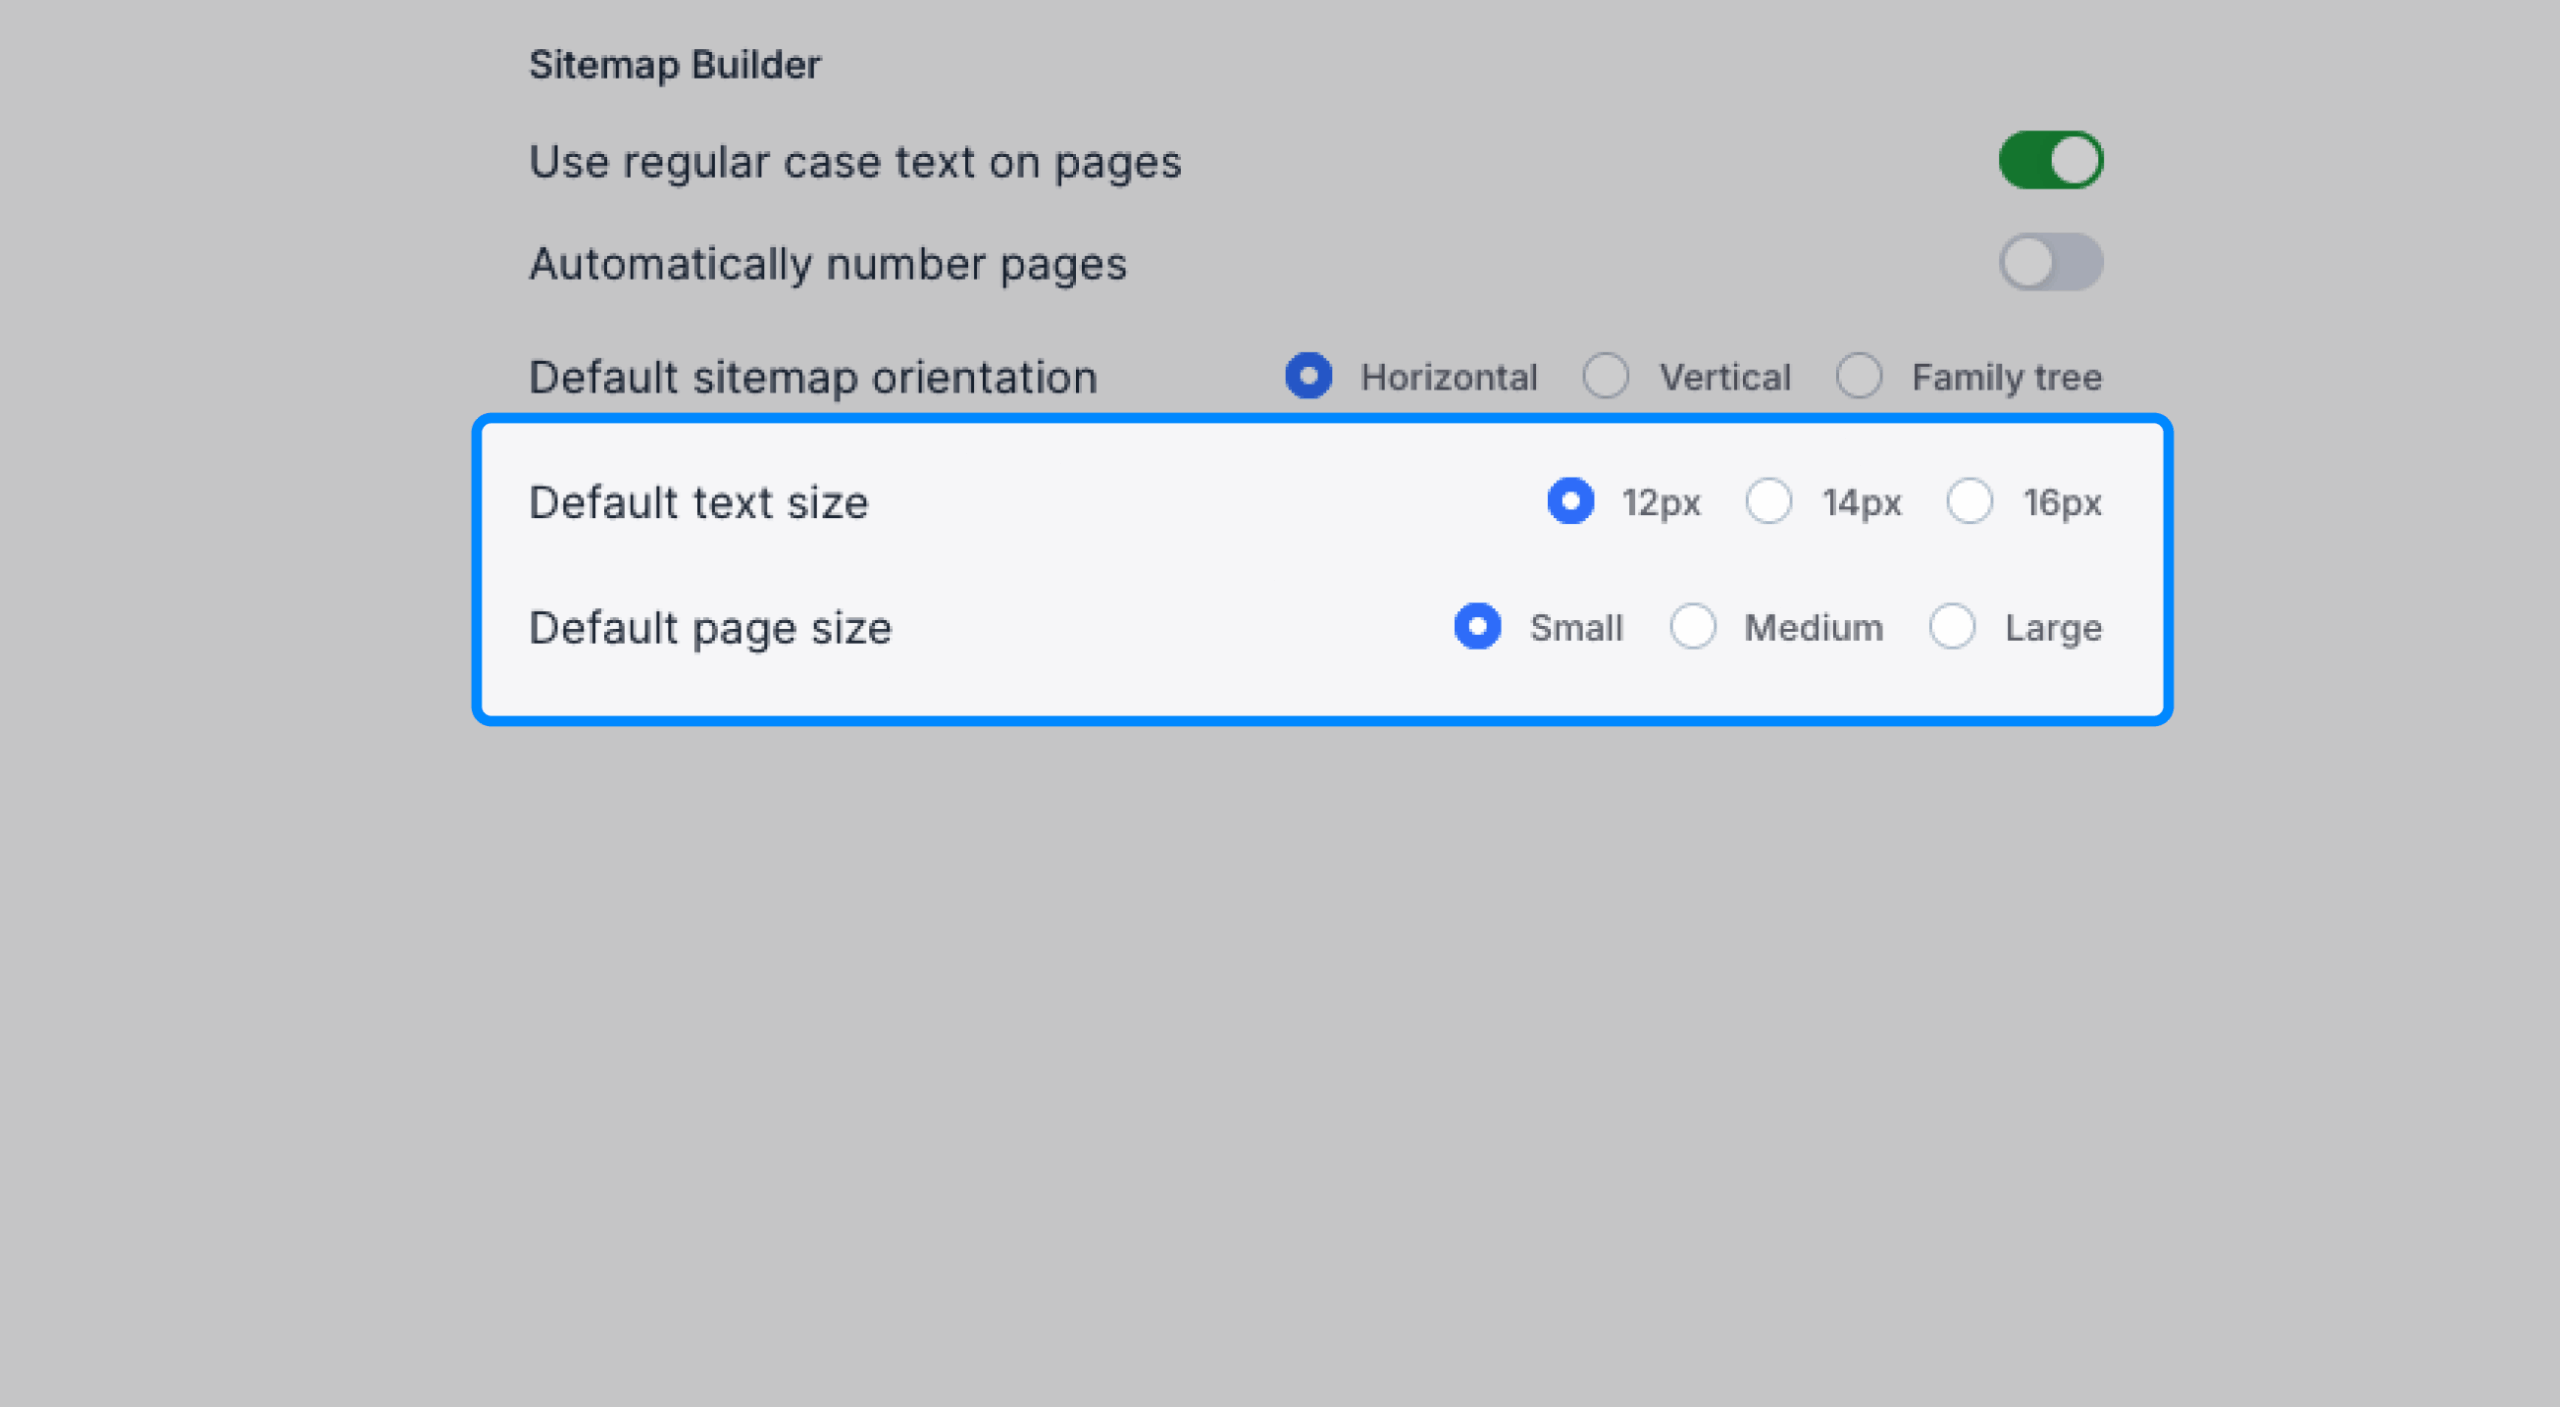
This article will walk you through how to customize page and text sizes for each project separately and how to establish them as default settings for all your projects and in the shared view.
To begin, open a sitemap and locate the toolbar. In the center, you will find the Page Size and Text Size menus.
Adjust the sitemap page size
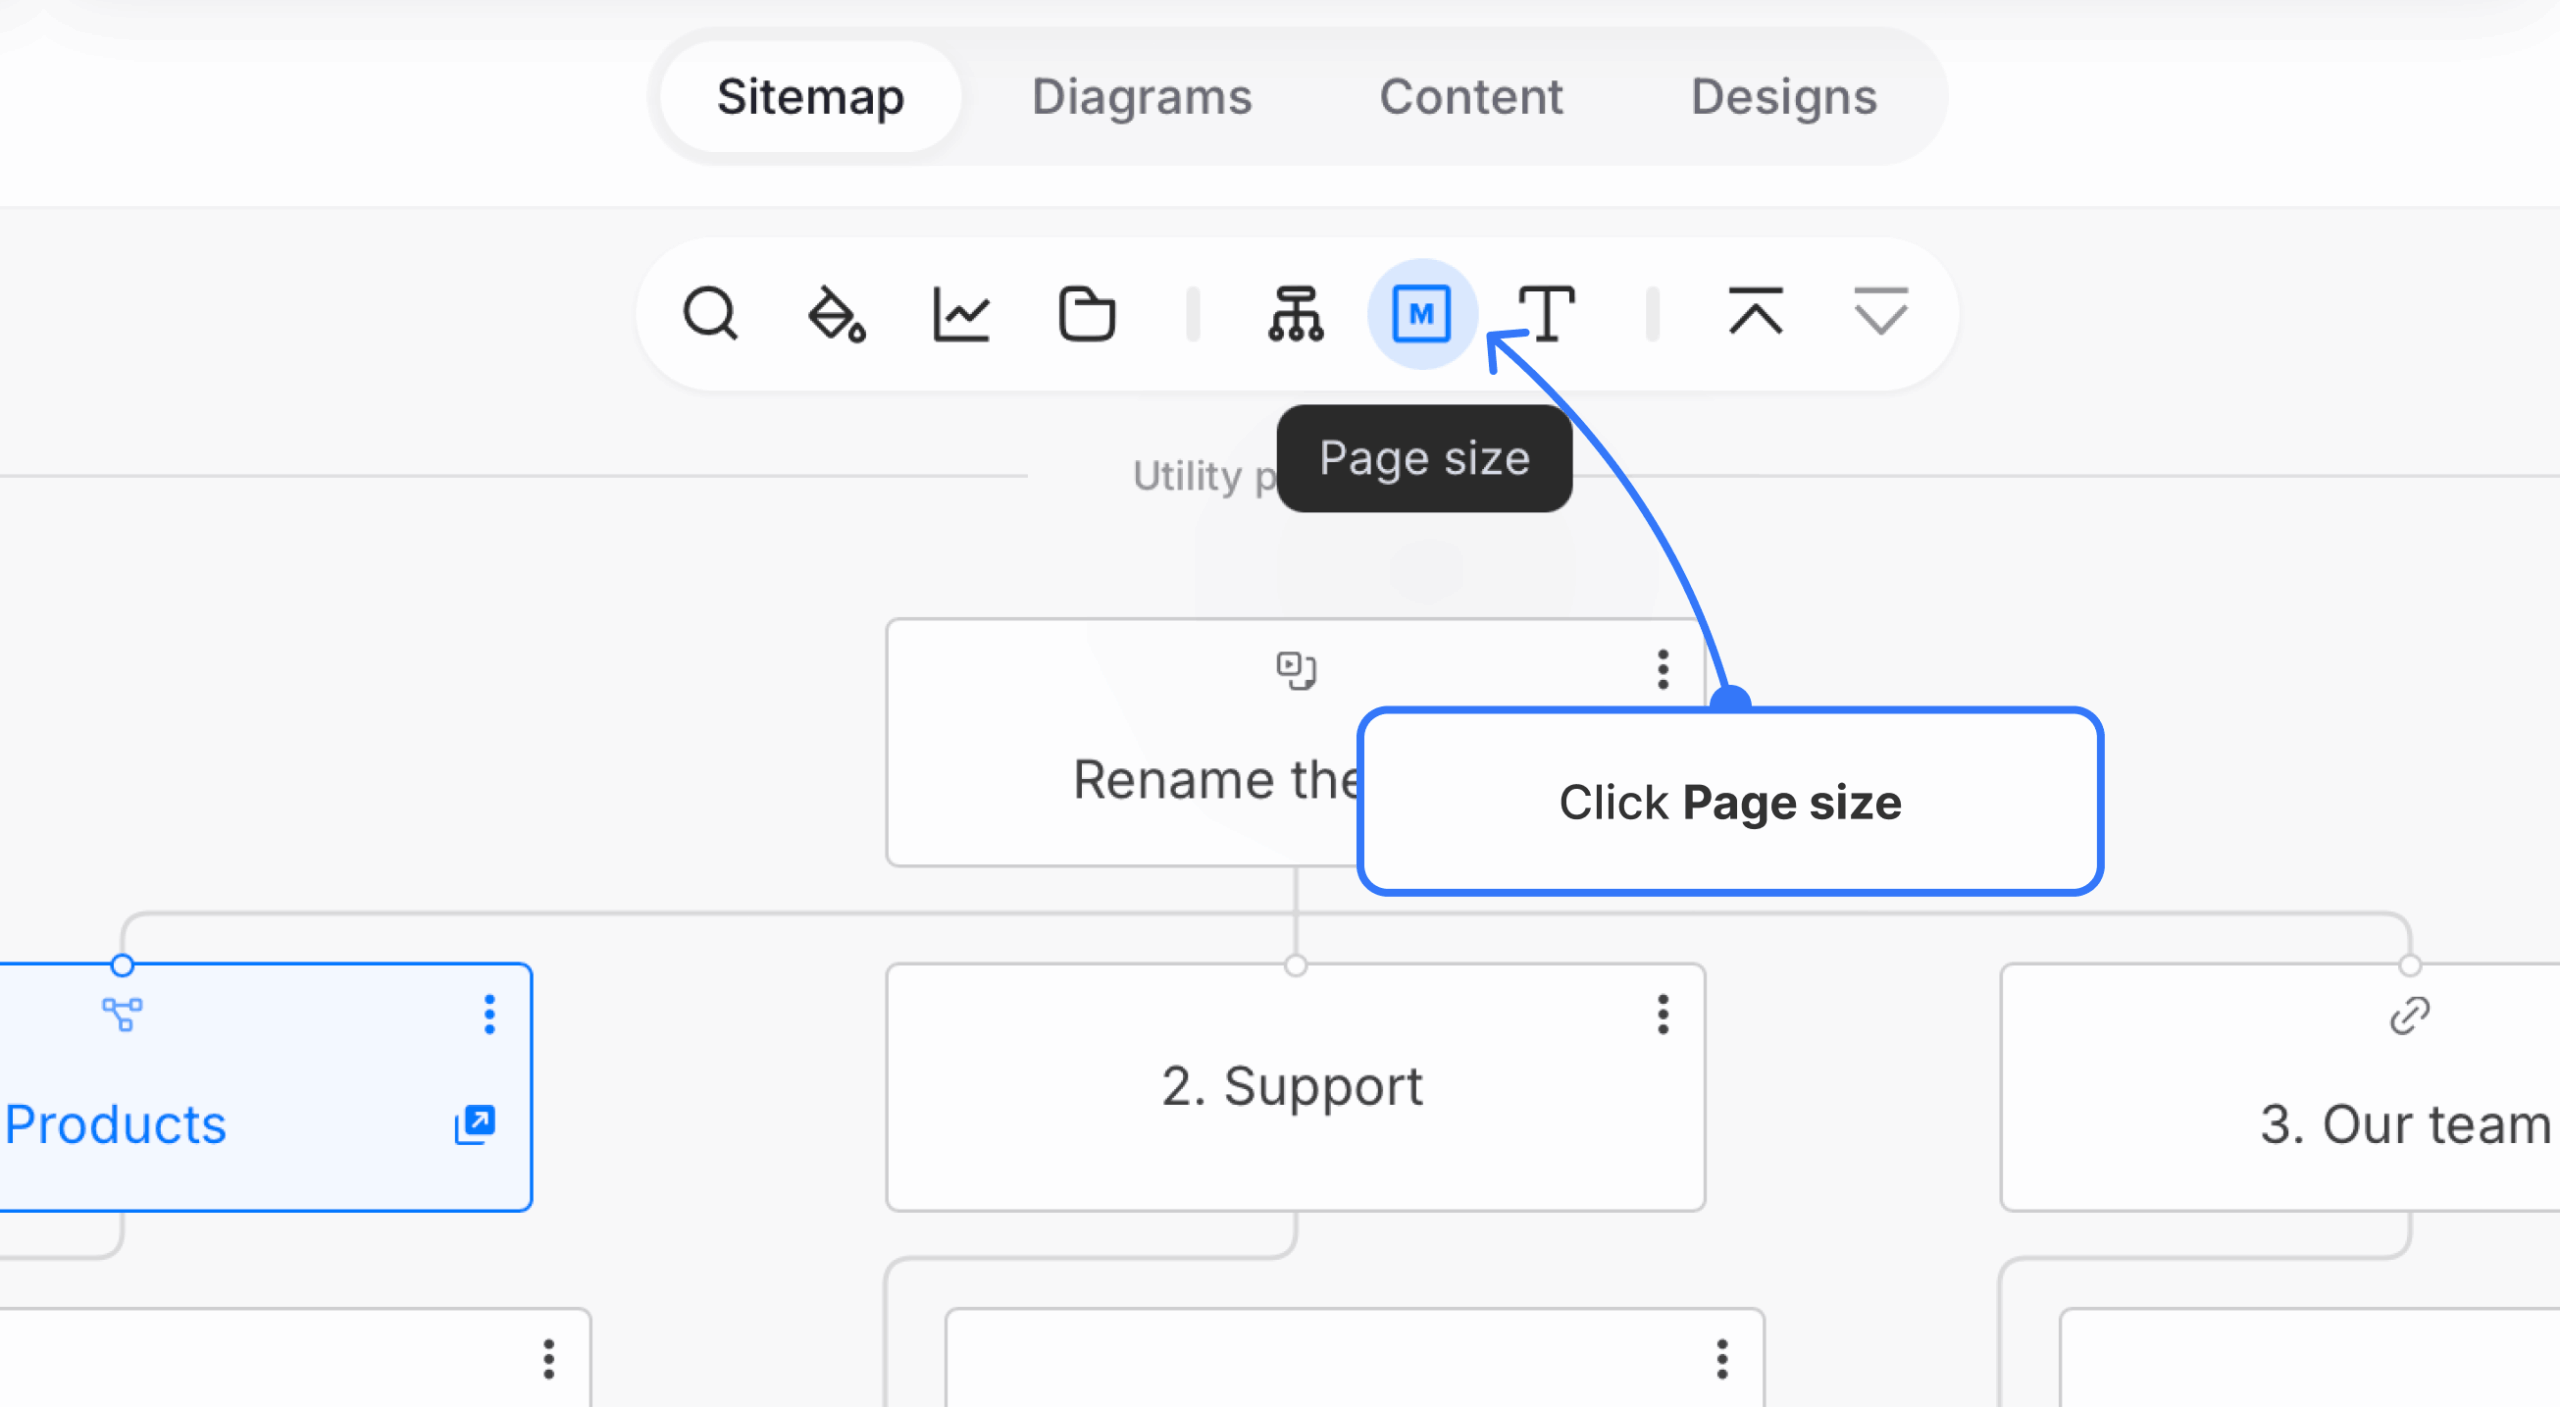
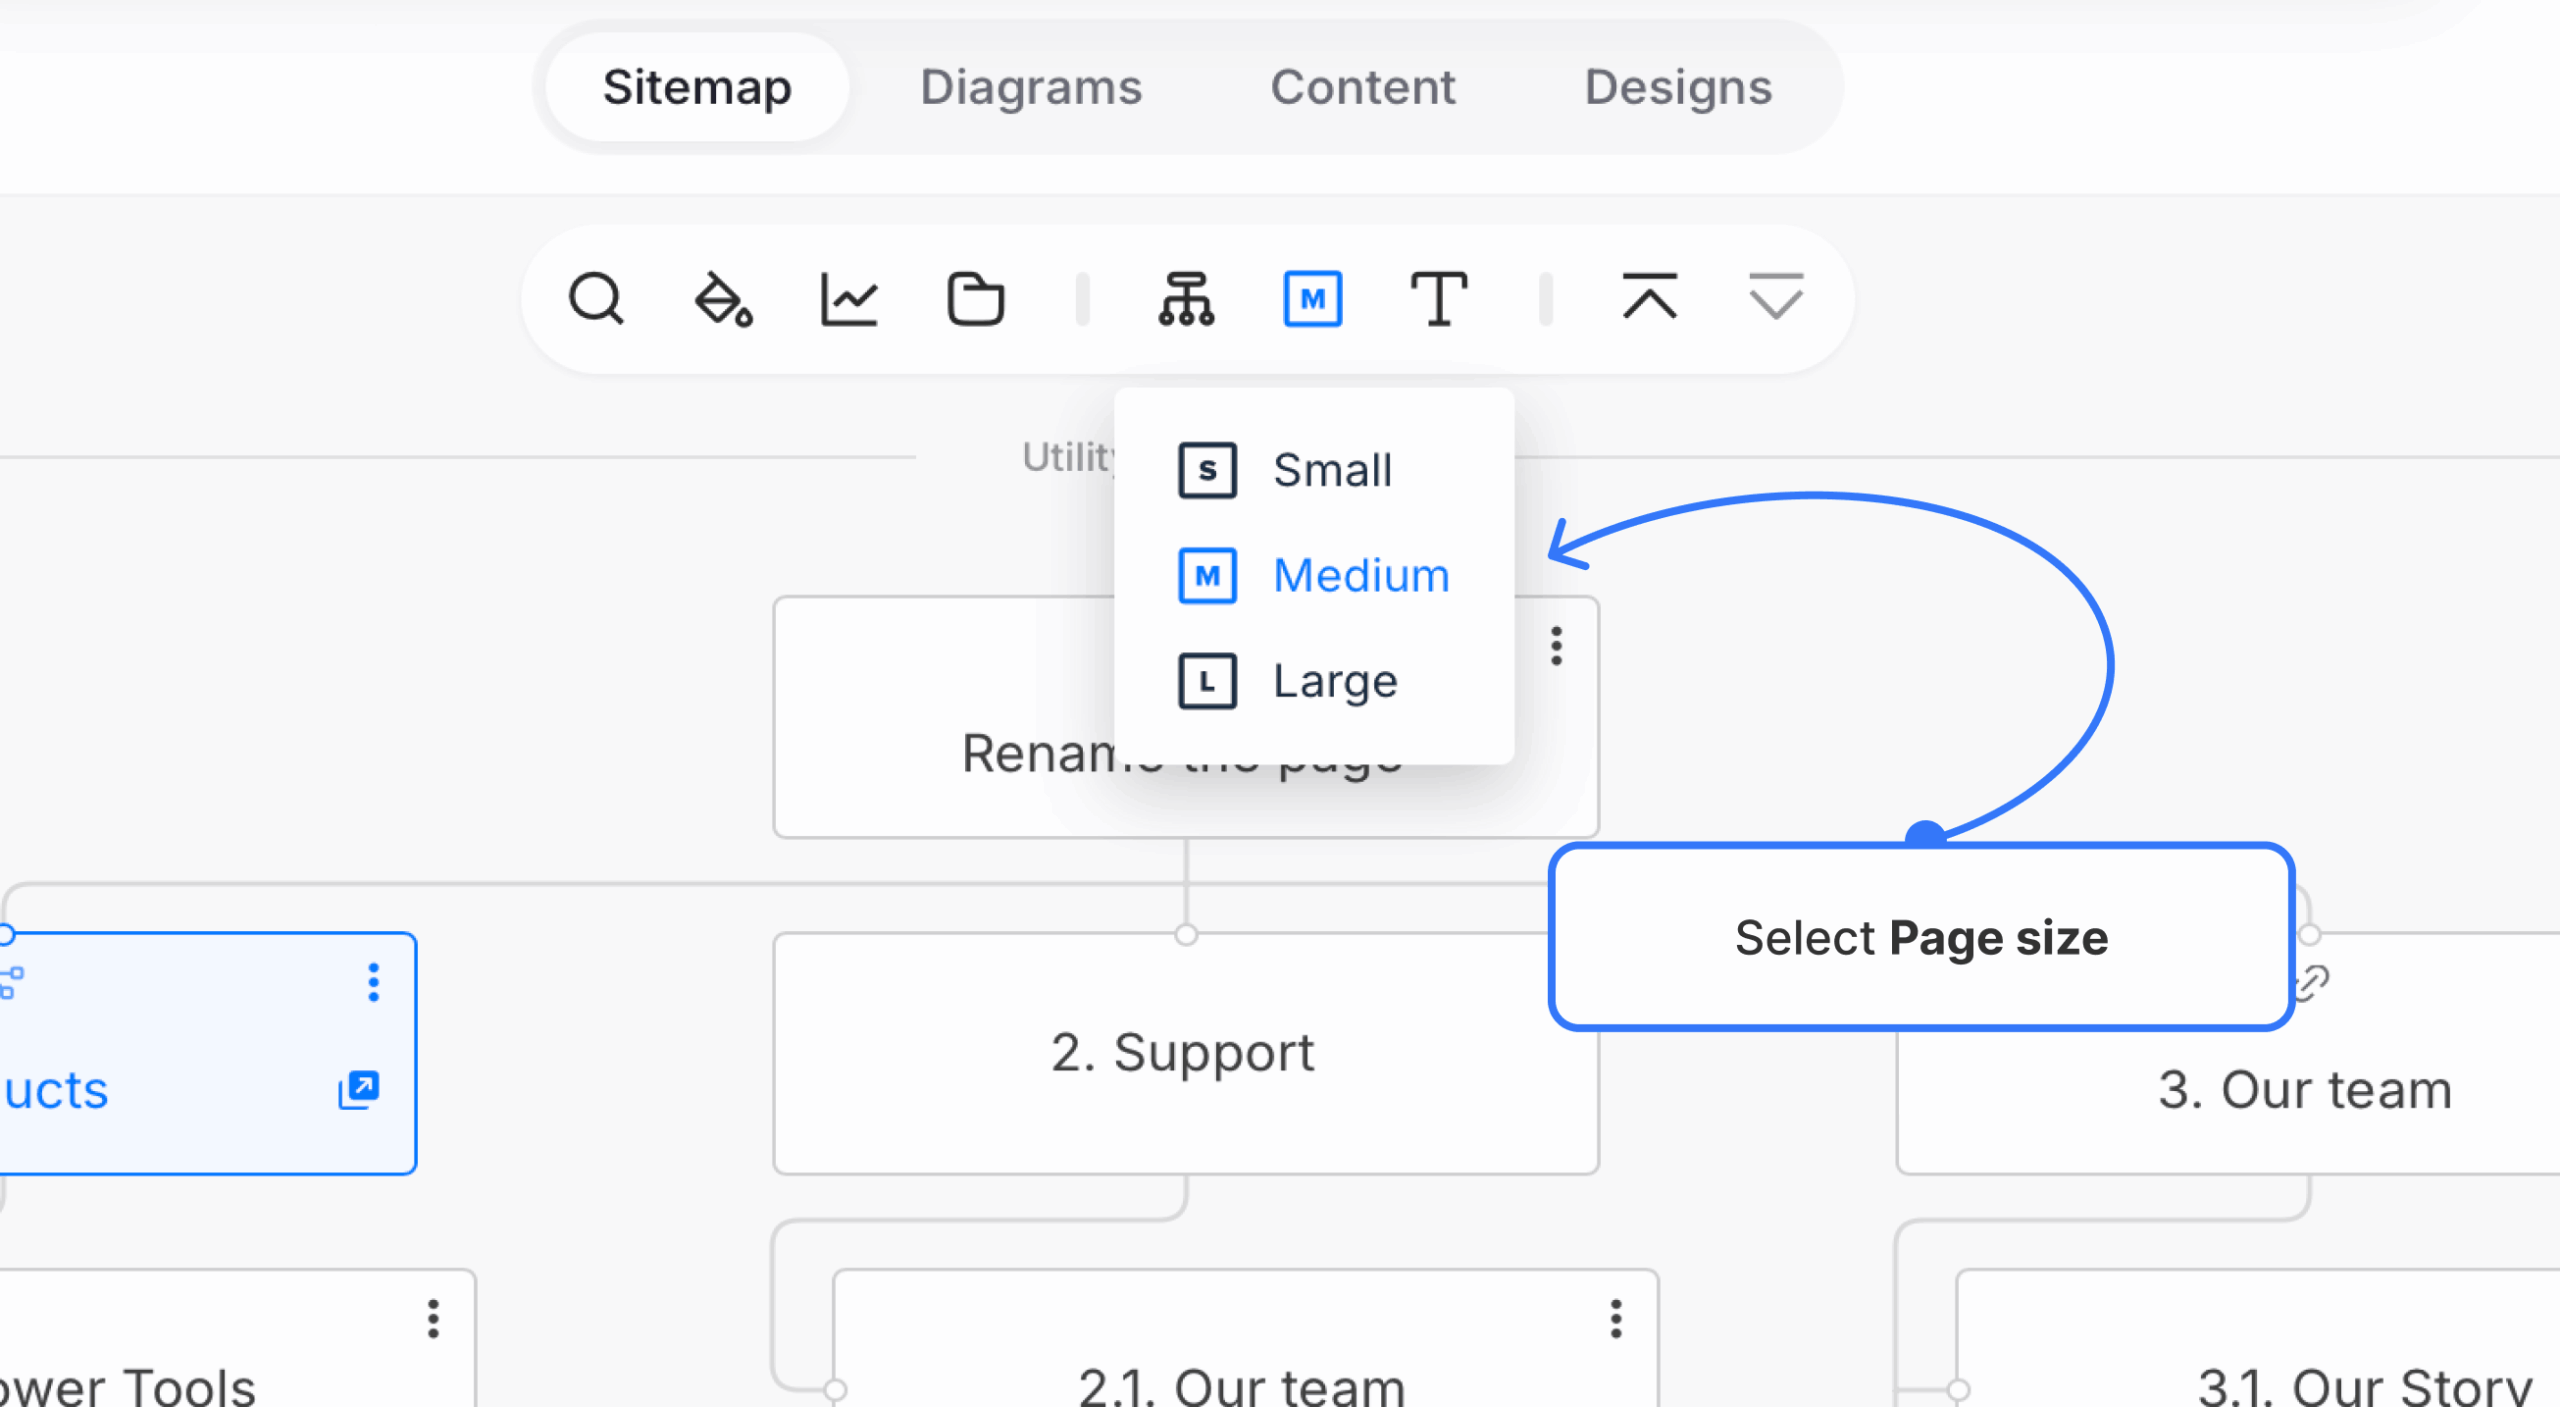
- Hover and click the Page size menu.
- Choose between Large, Medium, or Small. You’ll see the size of your sitemap pages change automatically.
Adjust the page text size
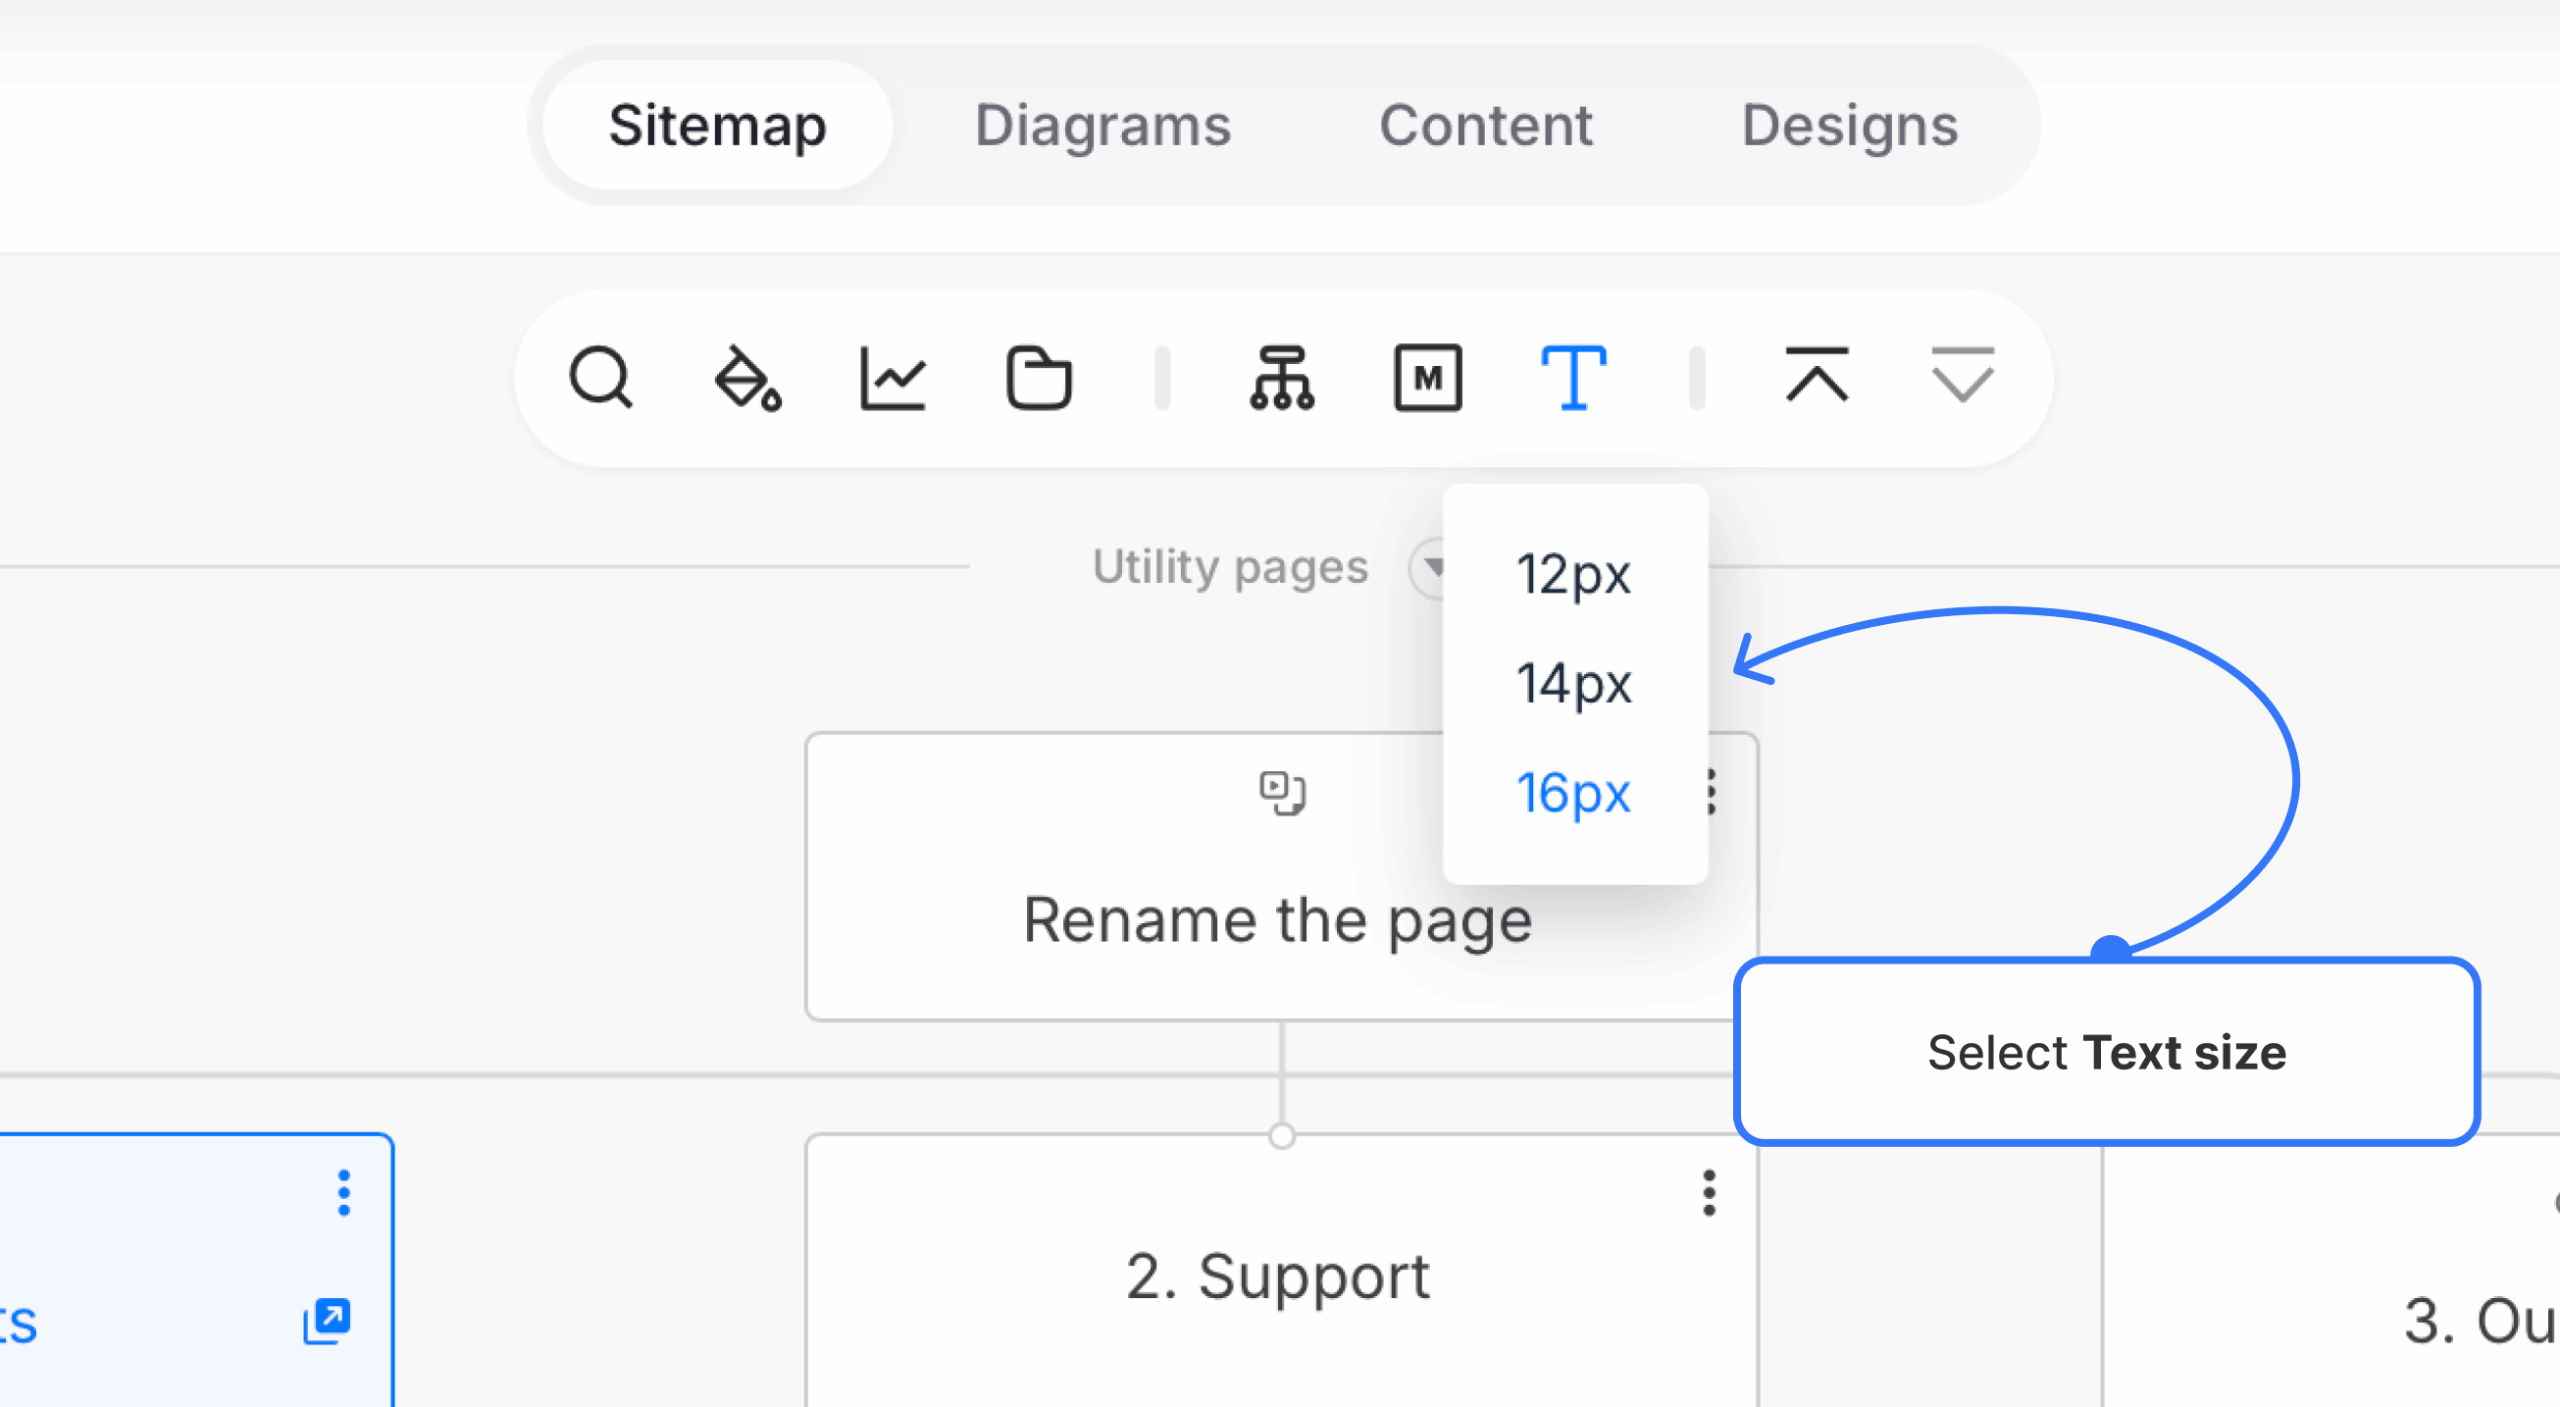
- Hover and click the Text size menu.
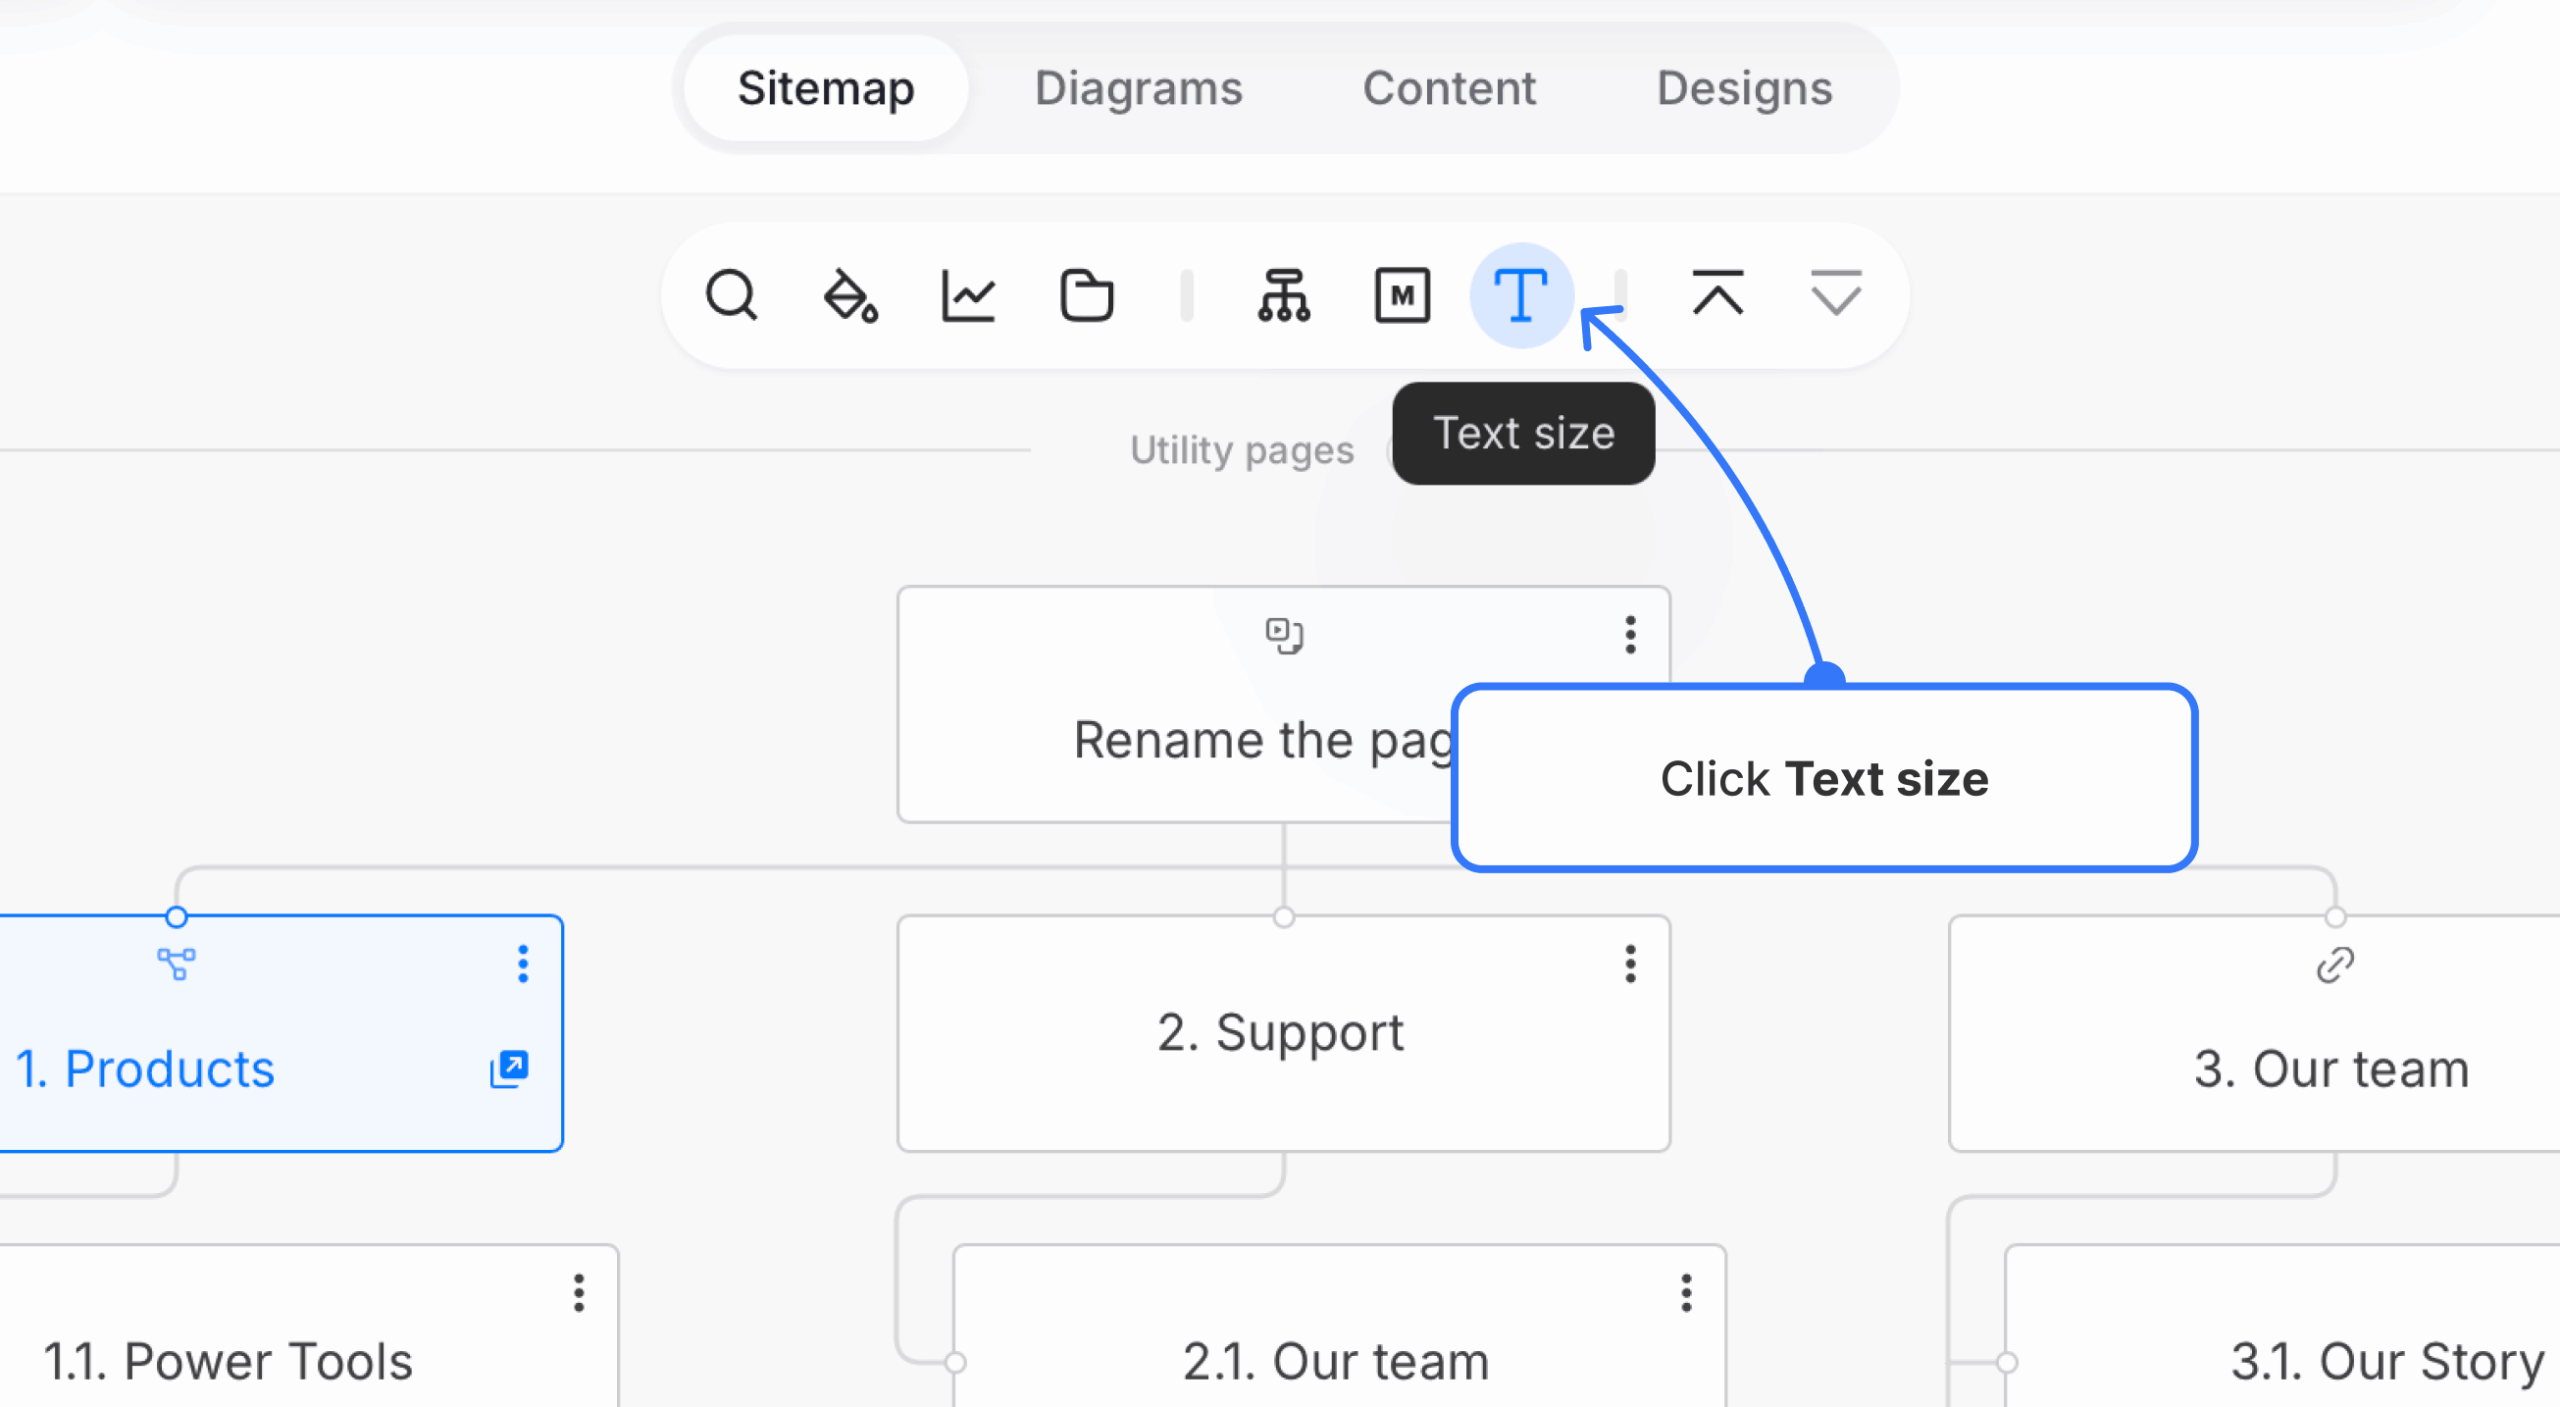
- Choose between 12px, 14px, or 16px. You’ll see the text size change automatically on your sitemap pages.
Adjust page and text size for sharing purposes only
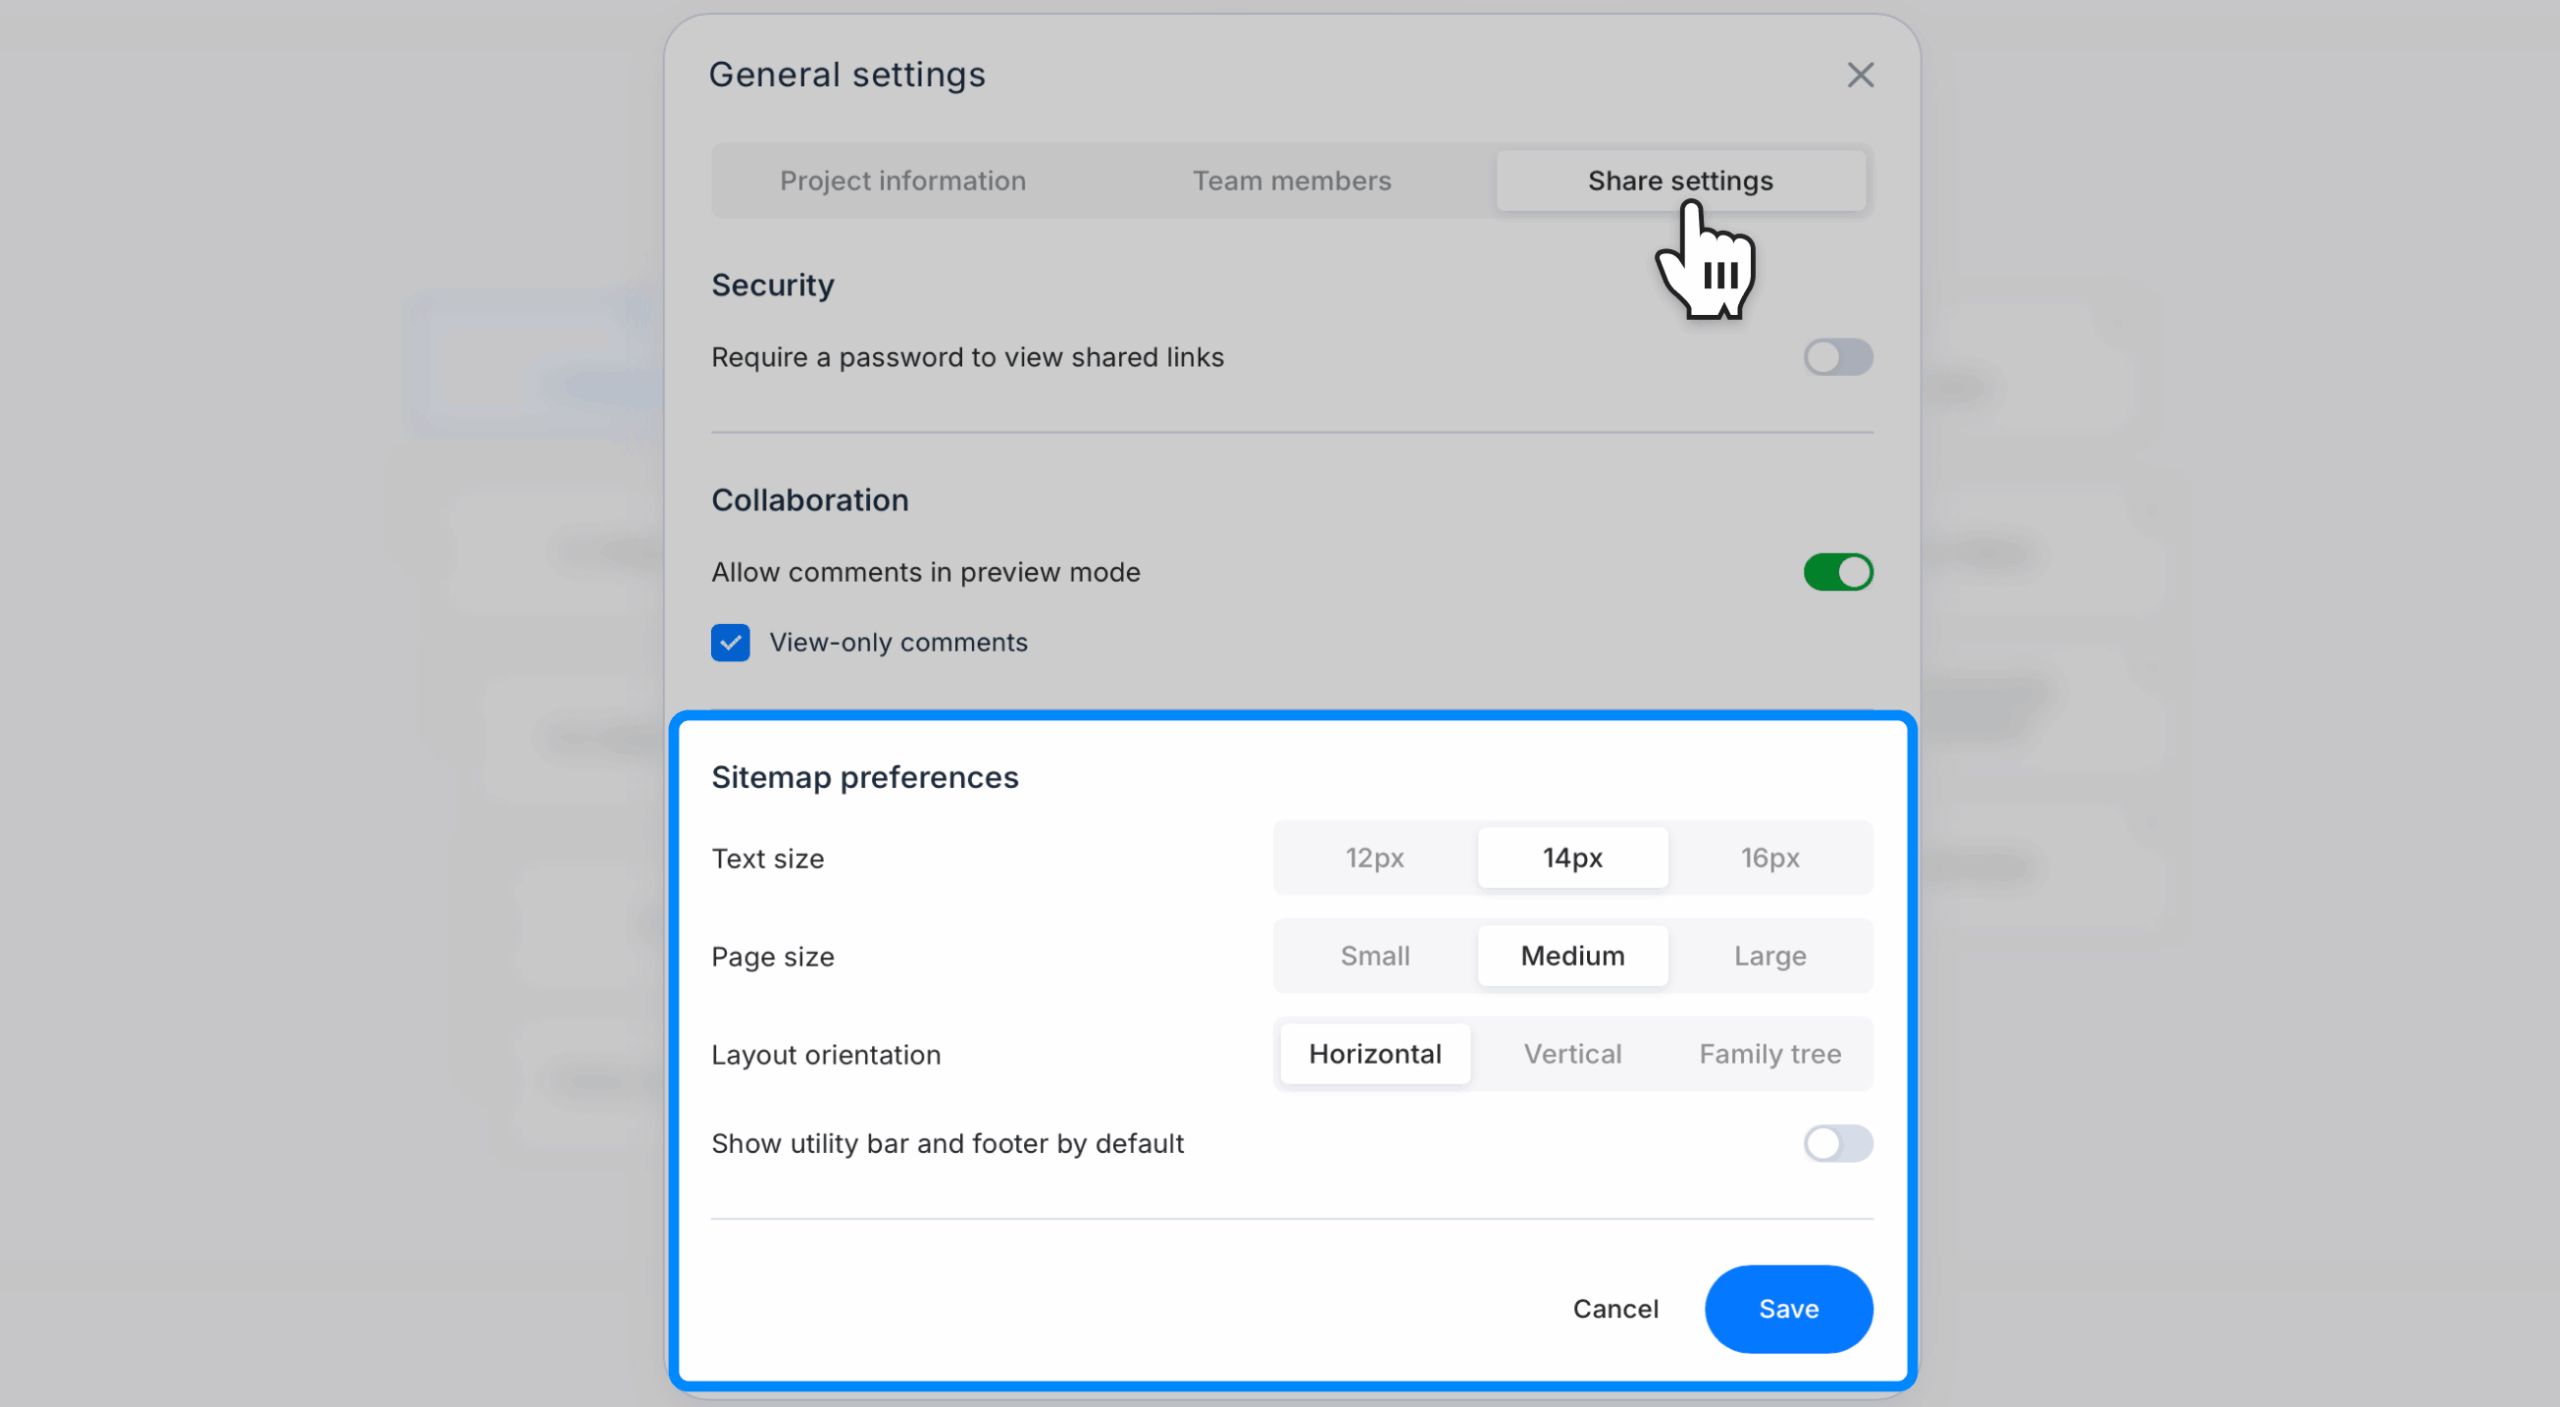
- Shared sitemaps can also be customized regarding page and text sizes, making them easier for users to view.
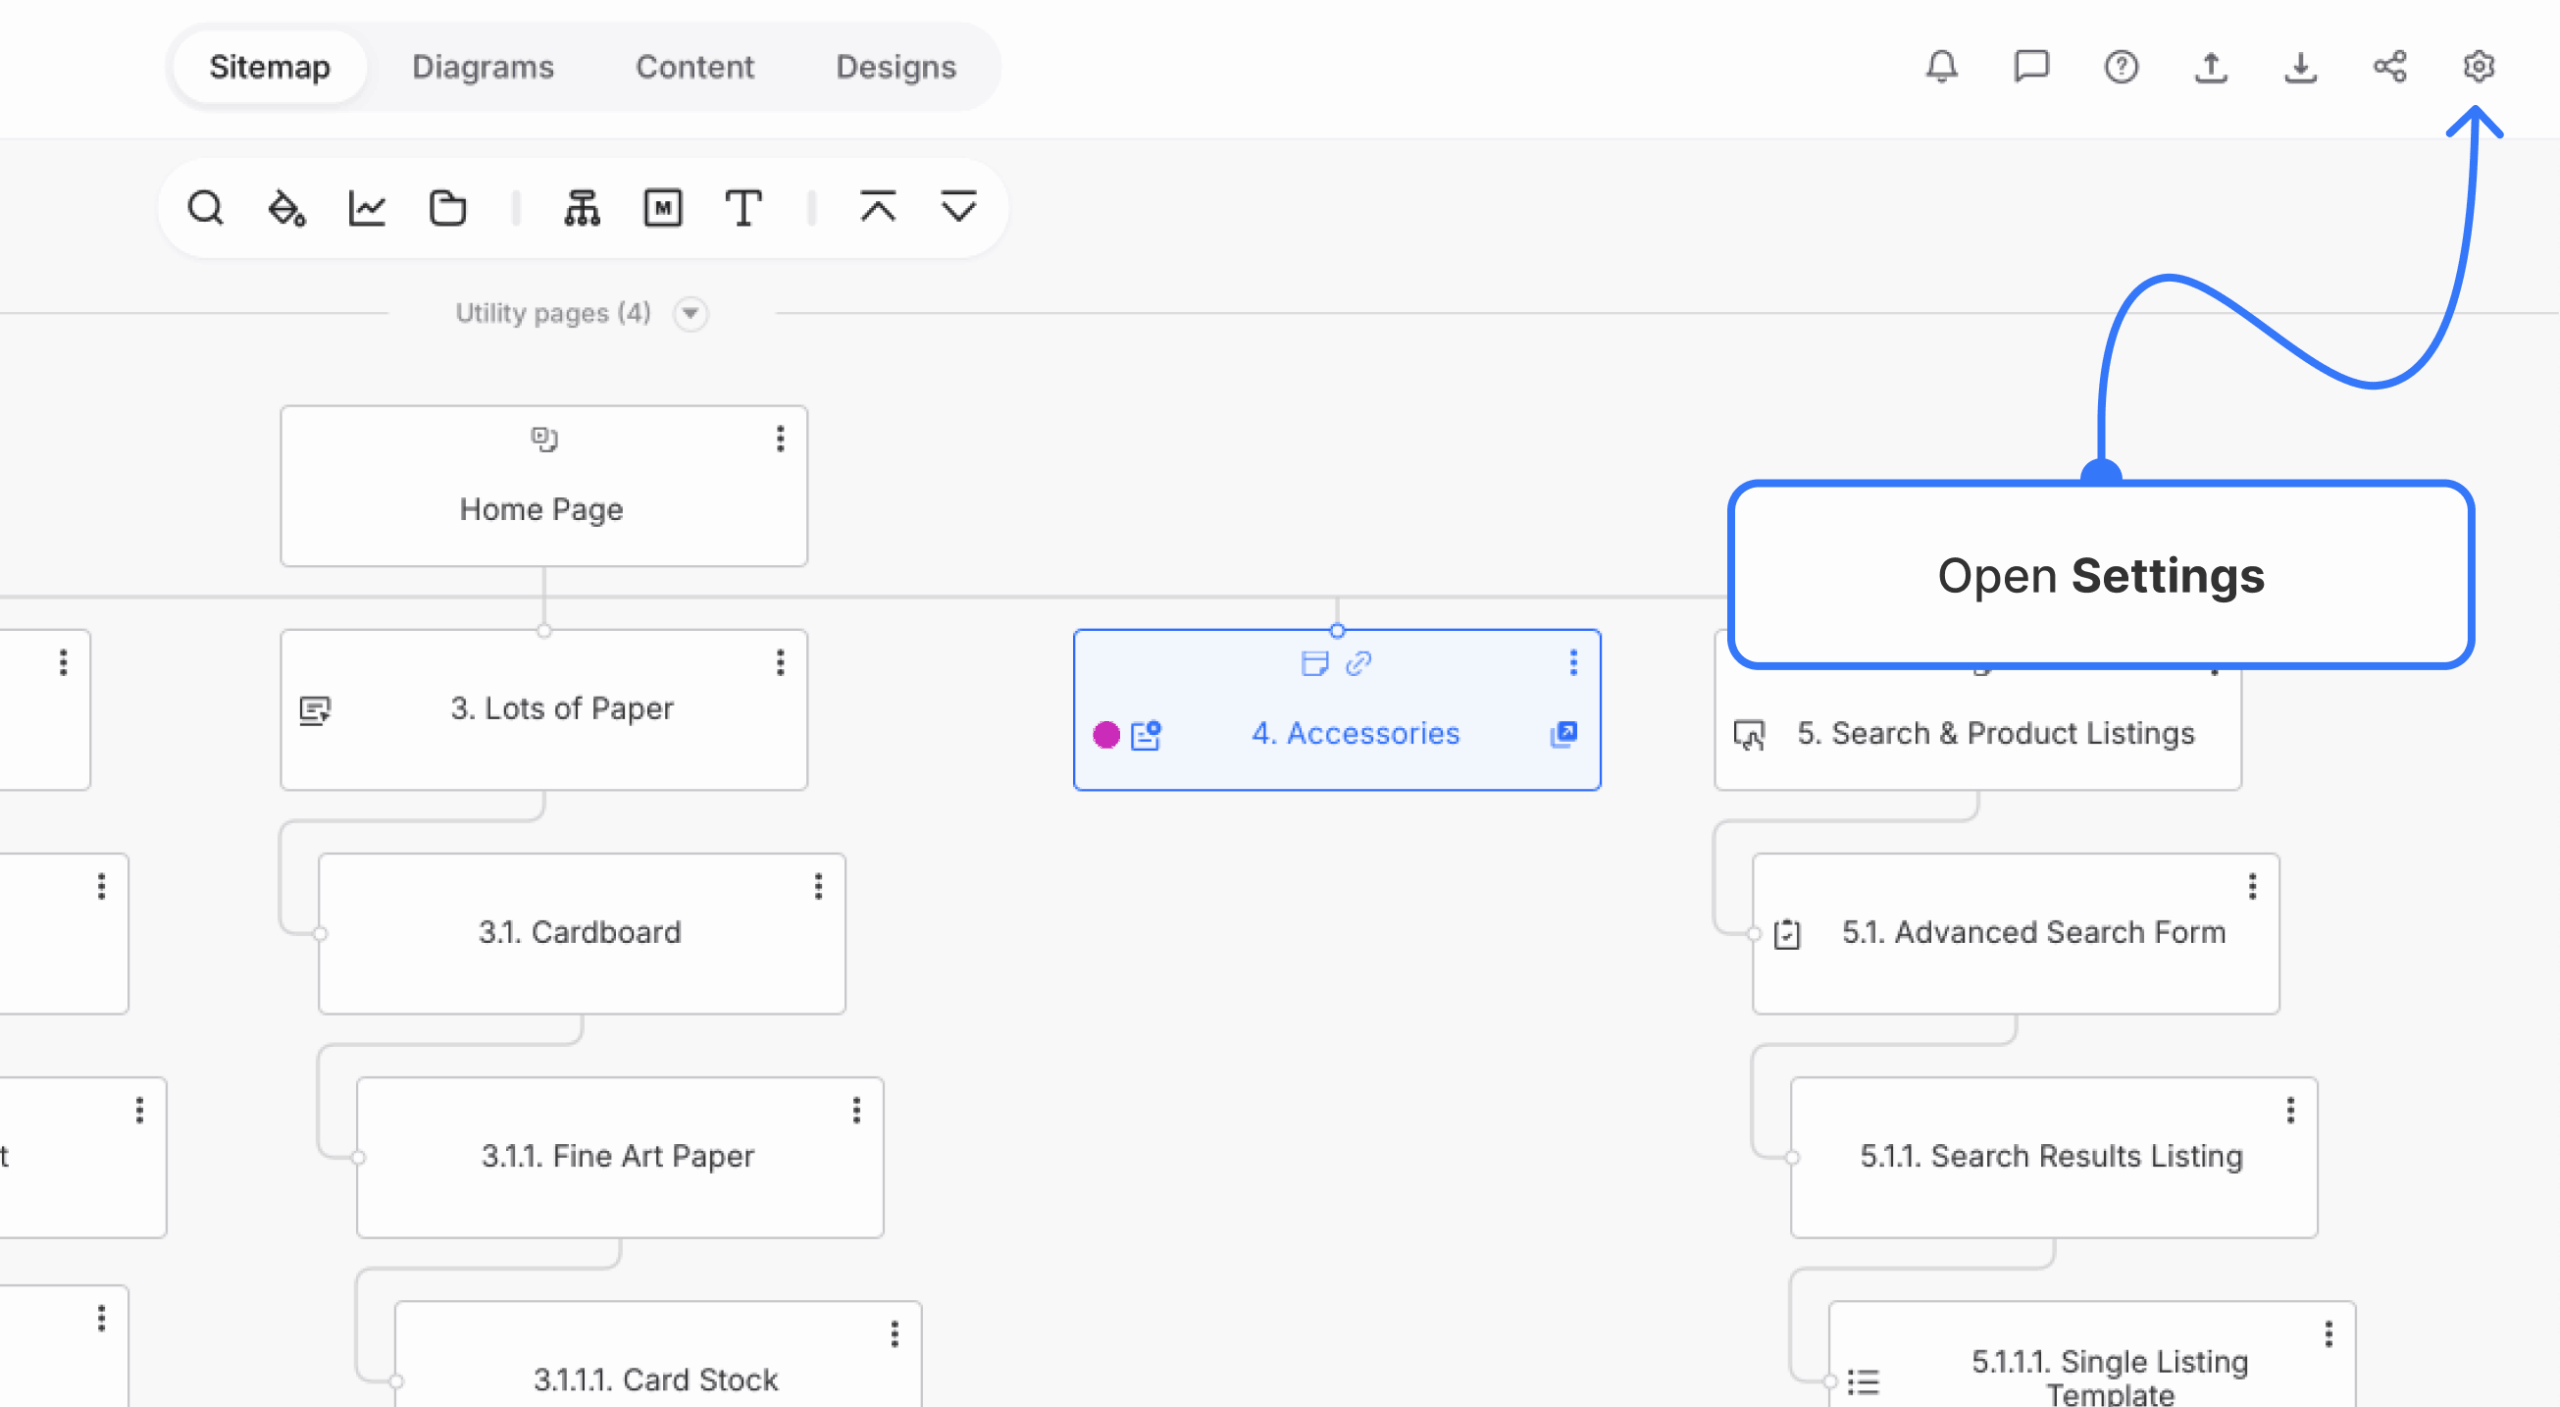
- Open Project settings from the navigation bar.
- Switch to Share settings. Under Sitemap preferences, select your desired options for shared view.
- Open the dashboard and navigate to the My Profile menu. Select General settings.

- Under Formatting
, select the preferred page cell and text size. Changes will save automatically.